Add Authentications
Last updated 4/05/2023
If you have not added an Authentication record before, please refer to the introduction on Authentications to have an understanding of the Authentications form.Add an Authentication with an OAUTH Type
Prerequisites- The role of Admin or Control
- Application deployed in the Cloud
- A multiuser application
Steps
1. Select your application and click the Manage button.
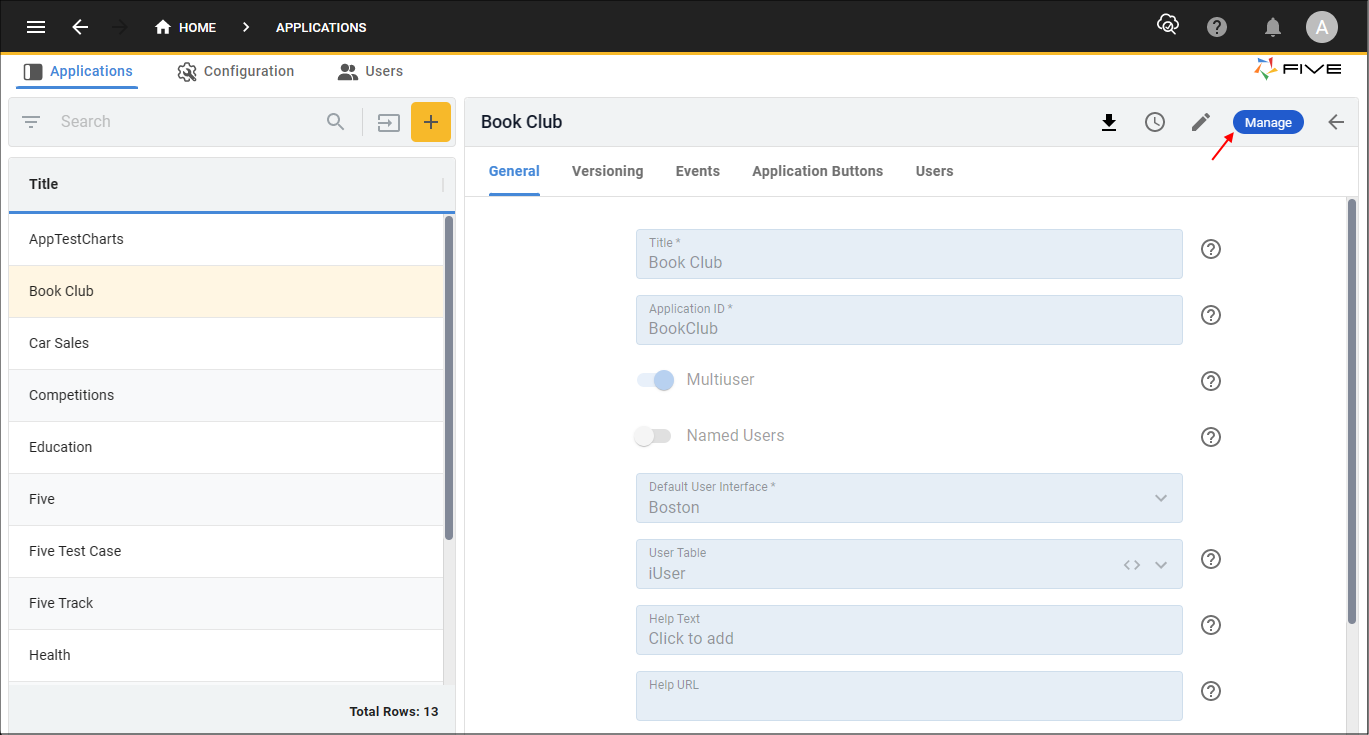
Figure 1 - Manage button
2. Select Setup in the menu.
3. Select Authentications in the sub-menu.
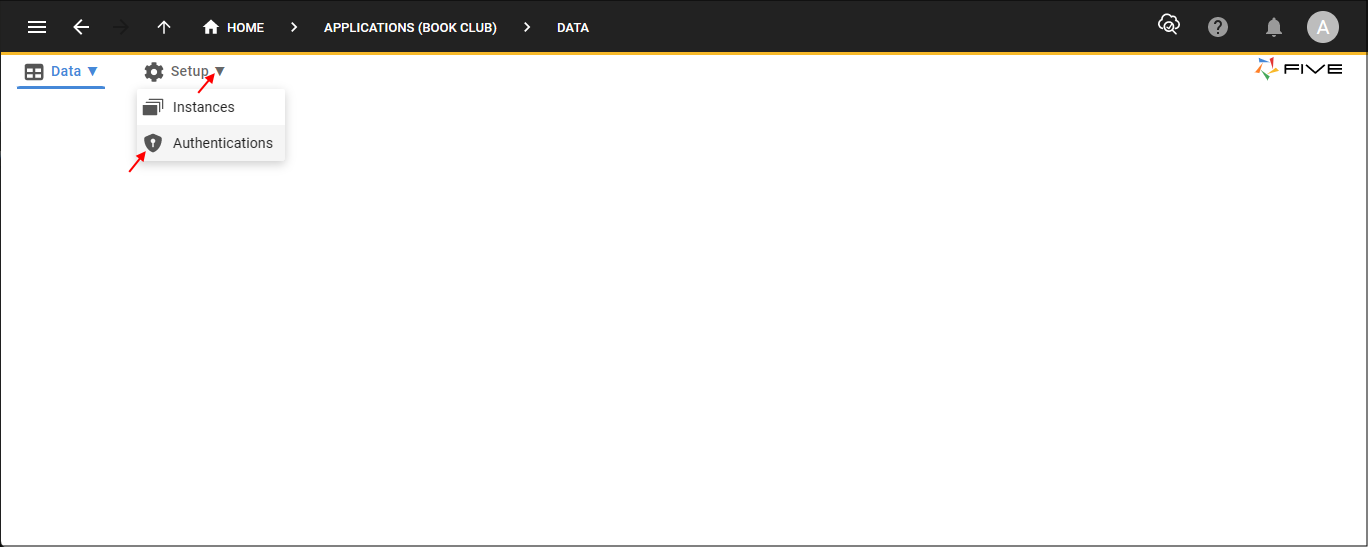
Figure 2 - Authentications menu item
4. Click the Add Item button
5. Type a name in the Name field.
6. Optional: Click the lookup icon in the Icon field, navigate your files and open an image file.
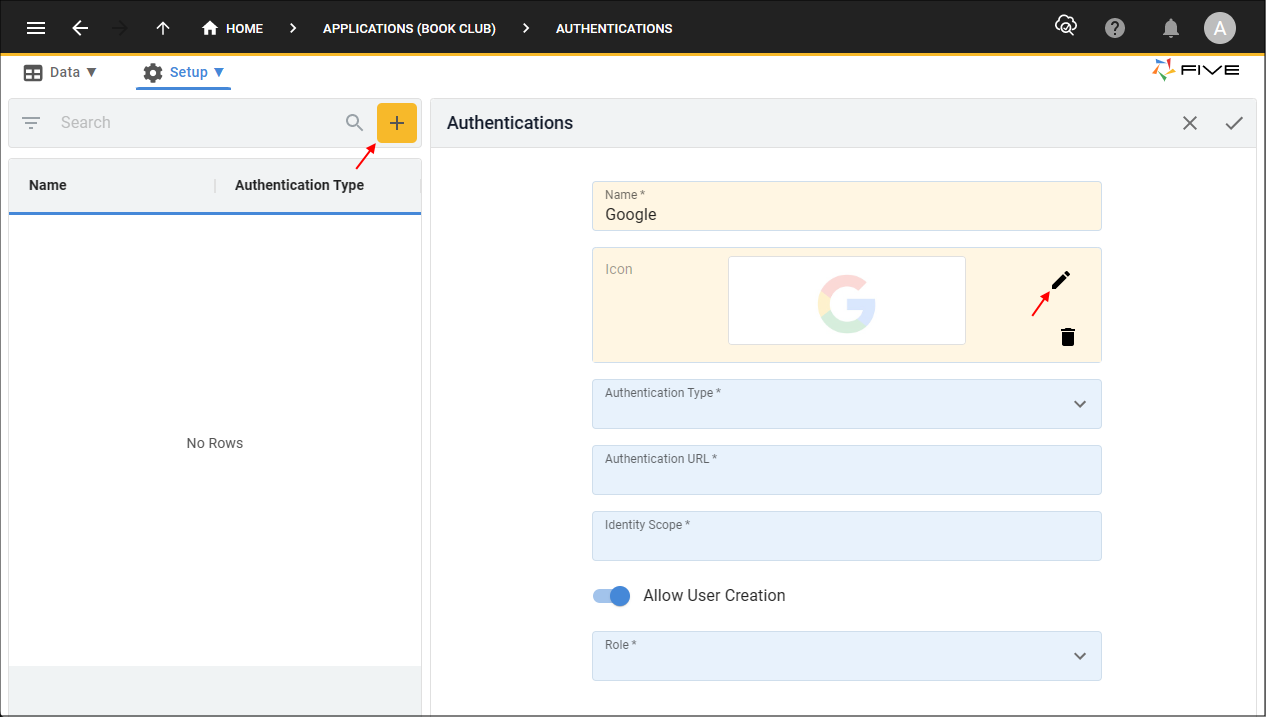
Figure 3 - Add an Authentications record
7. Click the lookup icon in the Authentication Type field and select OAUTH.
8. Type your Authentication URL endpoint in the Authentication URL field.
9. Type your Token URL endpoint in the Token URL field.
10. Type your Identity URL endpoint in the Identity URL field.
11. Type in the scope with the level of access to retrieve the ID and email information of the user in the Identity Scope field.
12. Type the field name for the ID that will be returned about the user in the Identity Scope ID field.
13. Type the field name for the email that will be returned about the user in the Identity Scope Email field.
14. Type in the client ID that you created with your provider for your application in the Client ID field.
15. Type in the client secret that you created with your provider for your application in the Client Secret field.
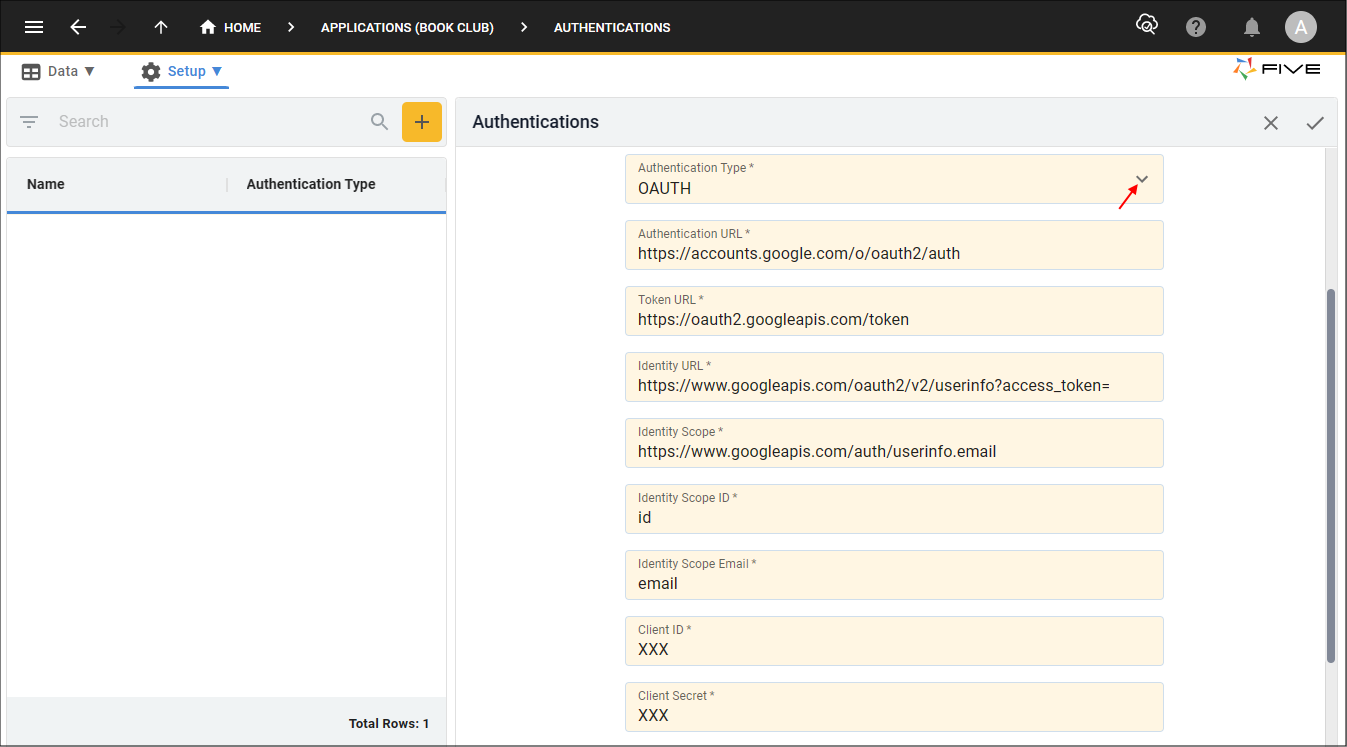
Figure 4 - Authentications record definitions
16. Optional: Click the Allow User Creation switch.
caution
If you make the Allow User Creation switch false, your provider will not be able to verify your user without your user being saved in your application. By default, Five has the Allow User Creation switch on, this will allow Google etc to verify your user without the user having to be saved in your application first.
17. Click the lookup icon in the Role field and select the role you want the users to be created with.
Tips
- You will need to have the Application View switch turned on on the Roles form for the role to be available in the Role field!
- The Role field is only available when the Allow User Creation switch is on. If the switch is off the user will need to be created manually in your application.
18. Click the Save button in the form app bar.
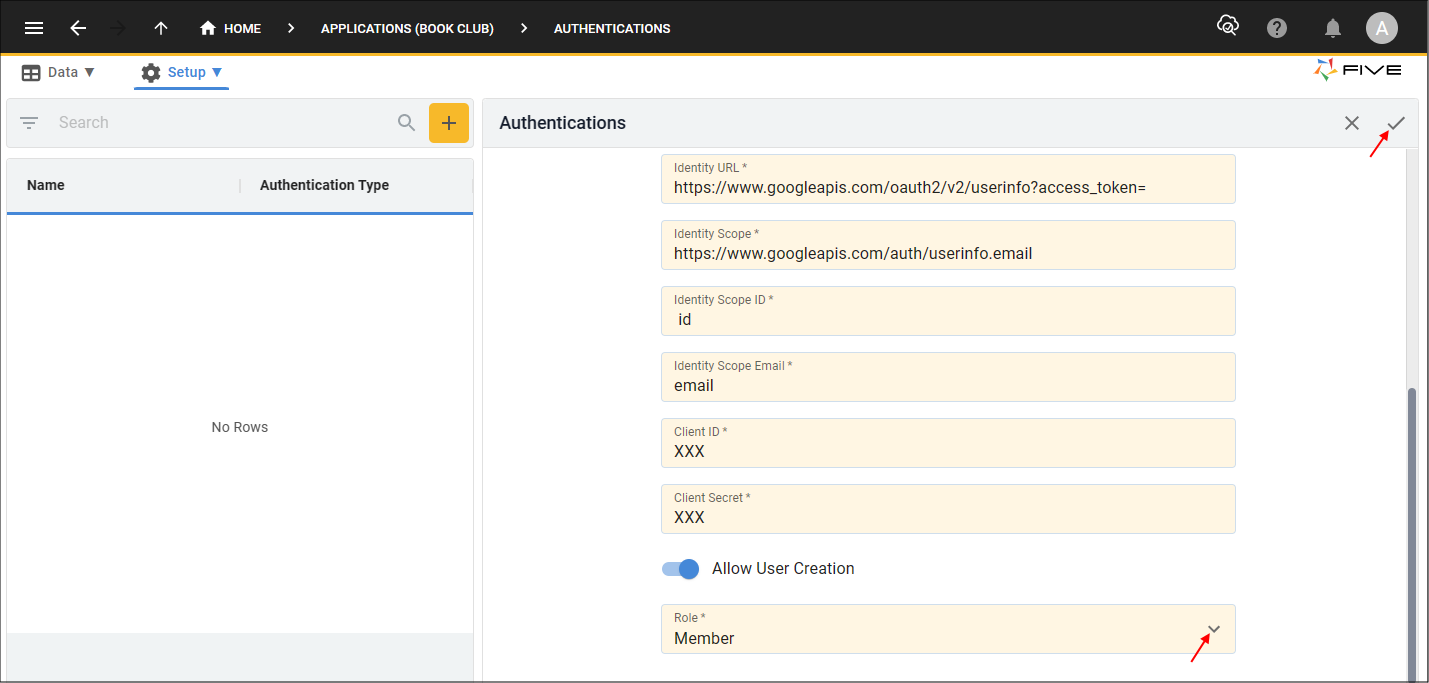
Figure 5 - Save the Authentications record
Logging into Your Application
When you deploy your application your users can be verified by your provider with their email account. The following documentation will explain how SSO works in your application.Note, it is being performed in the Development environment.
1. Click the Deploy to Development button.
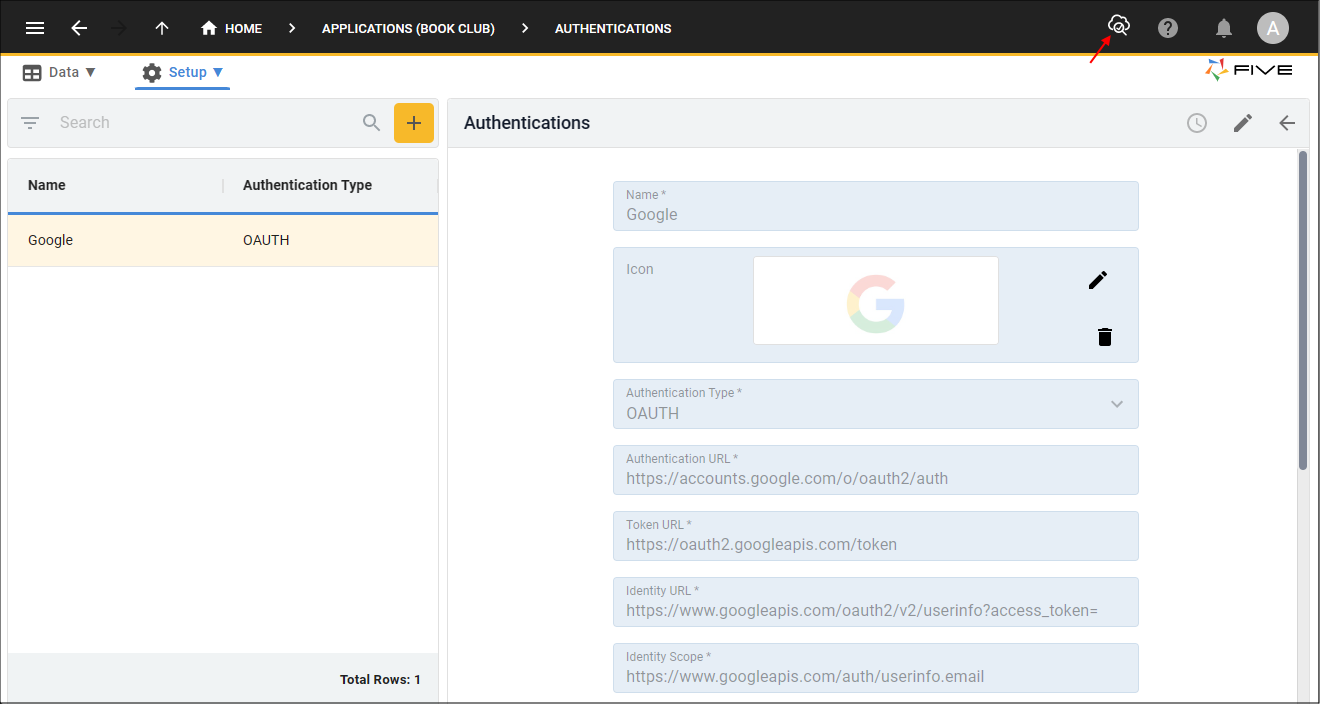
Figure 6 - Deploy to Development Button
2. Click your SSO provider button.
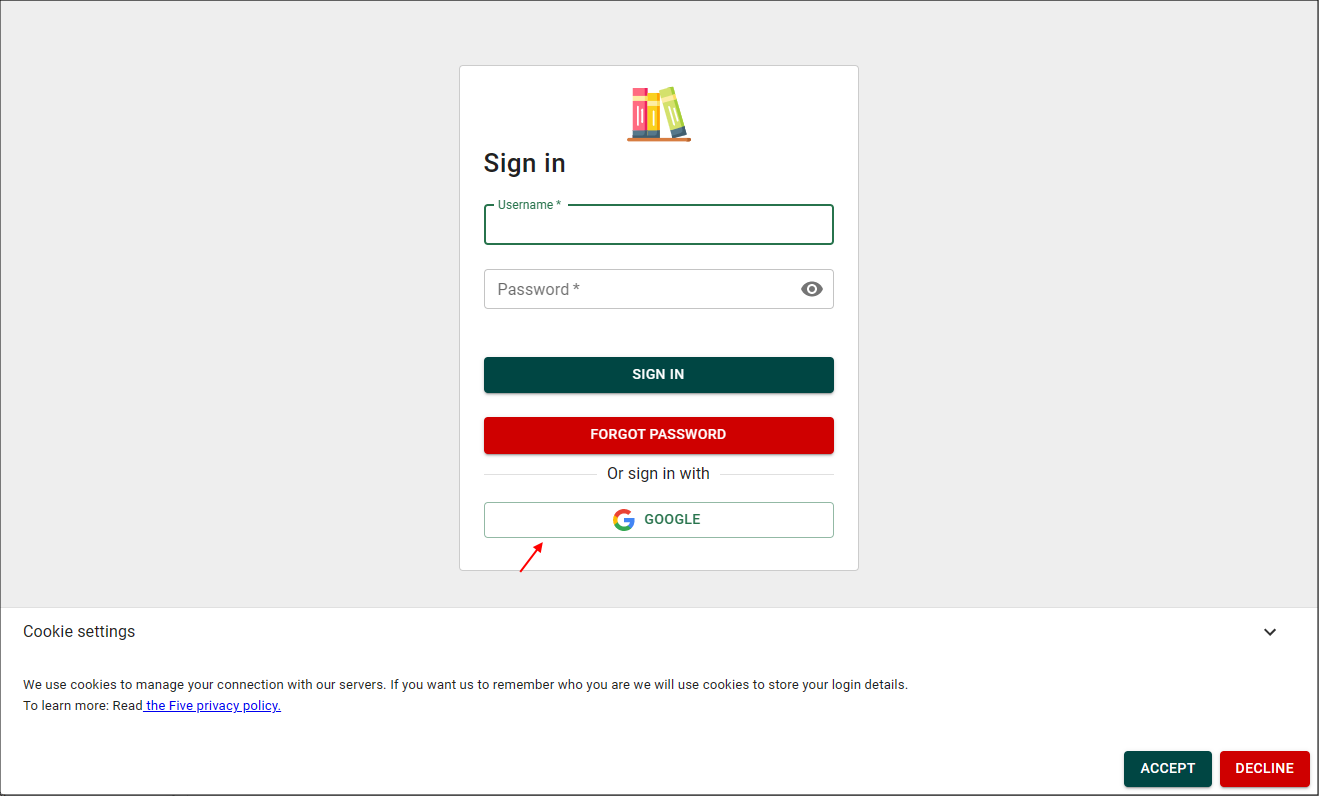
Figure 7 - Google sign in
3. Choose an email account.
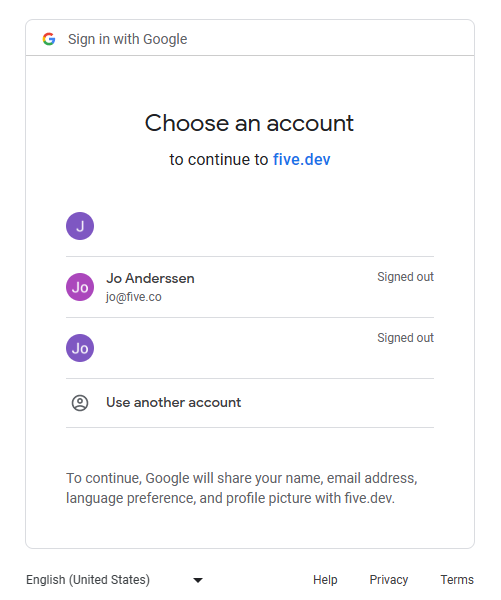
Figure 8 - Choose an Email account
4. Enter your email account password and click the Next button.
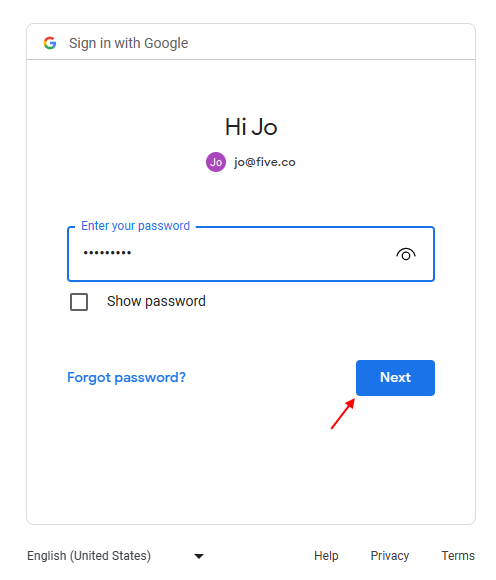
Figure 9 - Enter your password
info
The user will now be logged into your application and the user's record will automatically be created.