Basic
Last updated 12/02/2026
Overview
On the Basic plan, your development environment also acts as your production environment, this means there is no separate testing or production deployment step.
Clicking the Deploy to Development button for your production application will immediately make your application live on the web, and your end-users can log in once they know your application's URL.
From this point on, any time you click the Run button either in Five's toolbar or via the Cluster Management page on your instance record, your changes are deployed straight to your live application. There's no upgrade step and no approval process, updates are applied instantly.
Because of this, it is important to be aware that users who are currently logged in won't automatically see these changes. To load the lateset version of the application, users will need to log out and log back in.
The first deployment may take up to five minutes to be available as the new DNS (Domain Name System) entry for the URL needs to propagate. In the event of a timeout, wait for one to two minutes and click the Run button as the location may not be found yet because the DNS has not propagated.
How Deployment Works
1. Deploy to Development- When changes are made to your application, you must click the Deploy to Development button
- This updates the development environment with your latest changes
- From here on in, you can click the Run button to apply changes
- You can review and validate the application here before going live
- Remove your development from deployment
- Get your application production ready
- Re-deploy your application to the development environment
How to Deploy to Development
The default instance can be deployed from any view in Five via Five's toolbar.
1. Click the Deploy to Development button.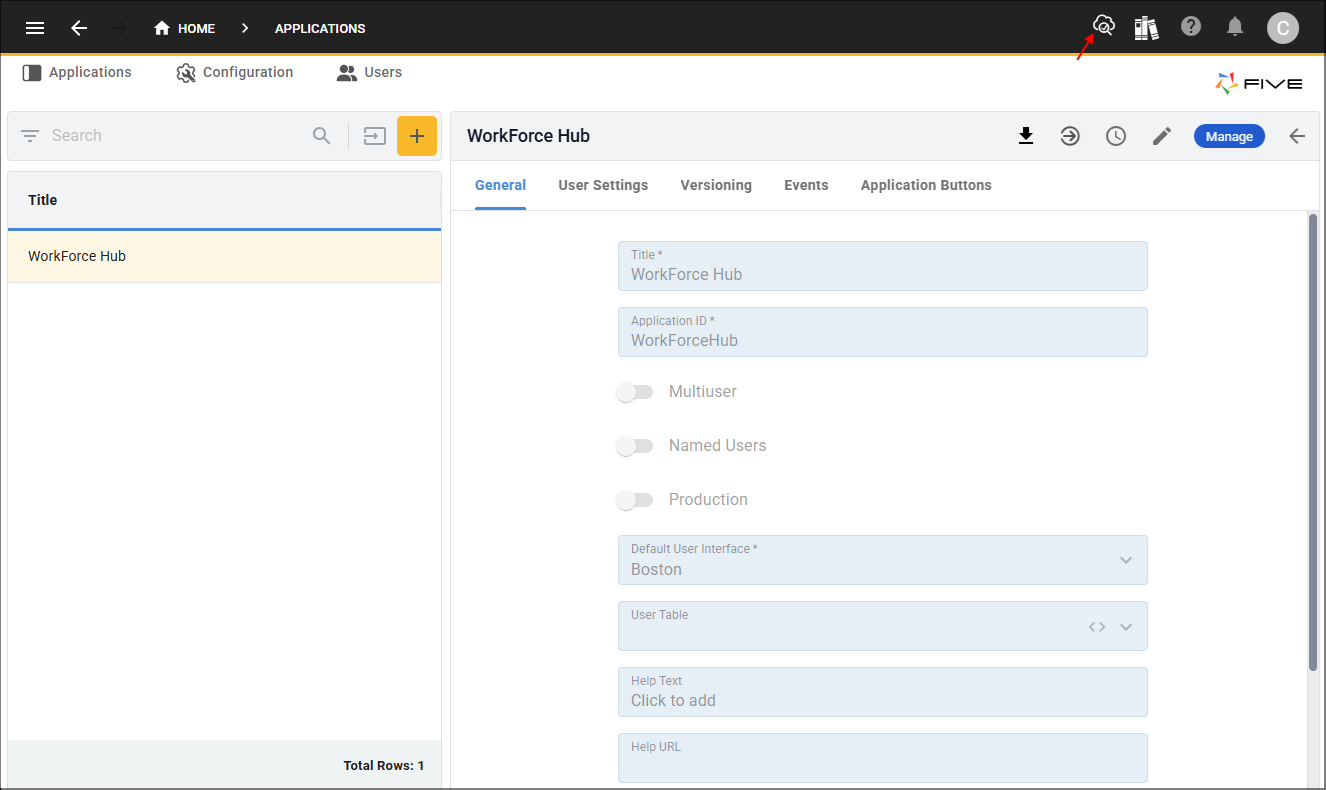
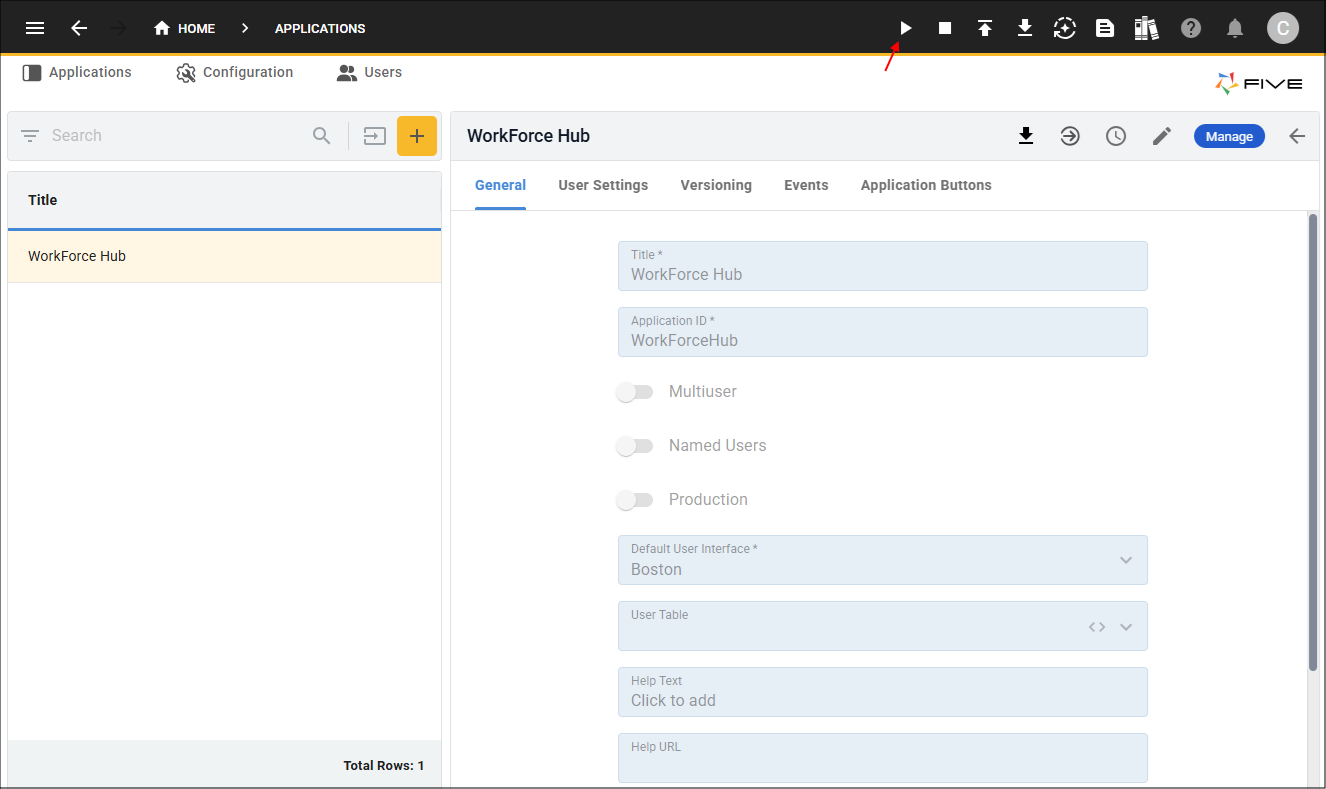
2. Click the Run button from here on in to see your changes.
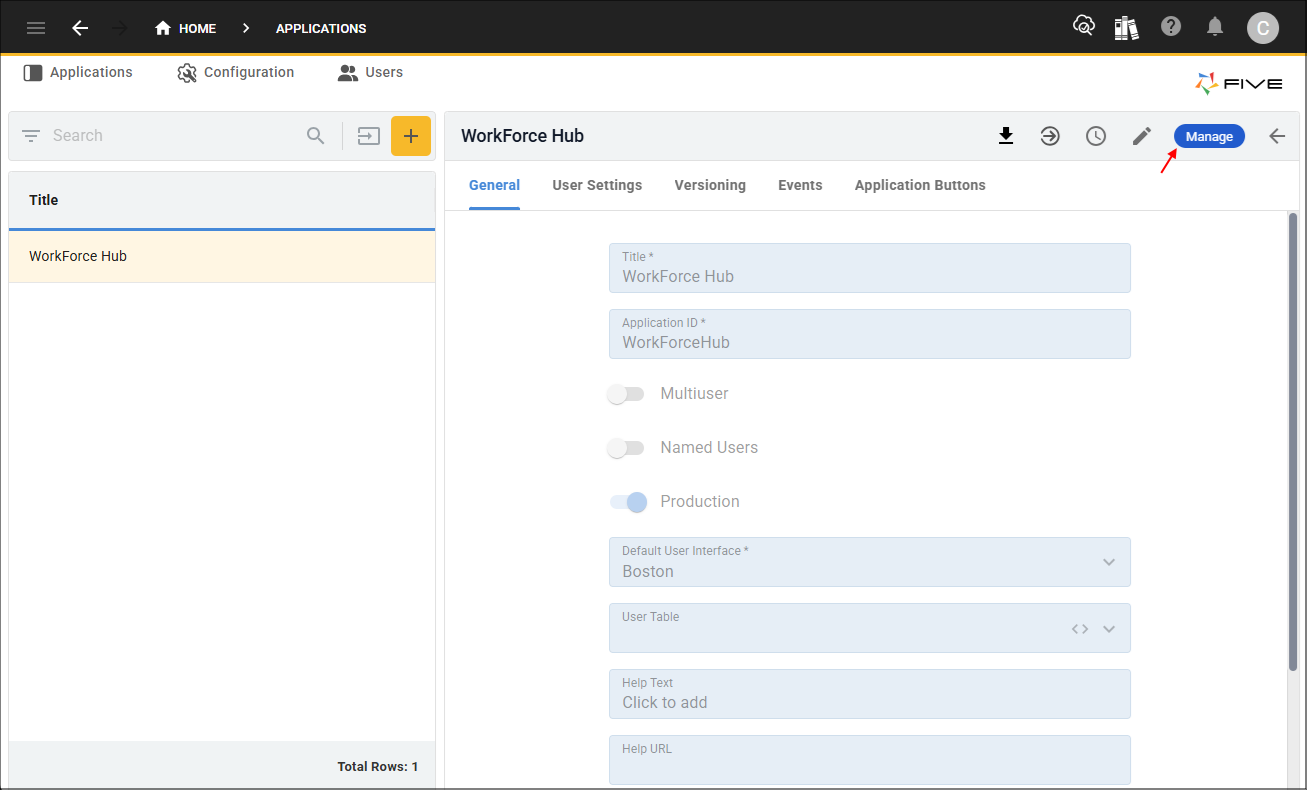
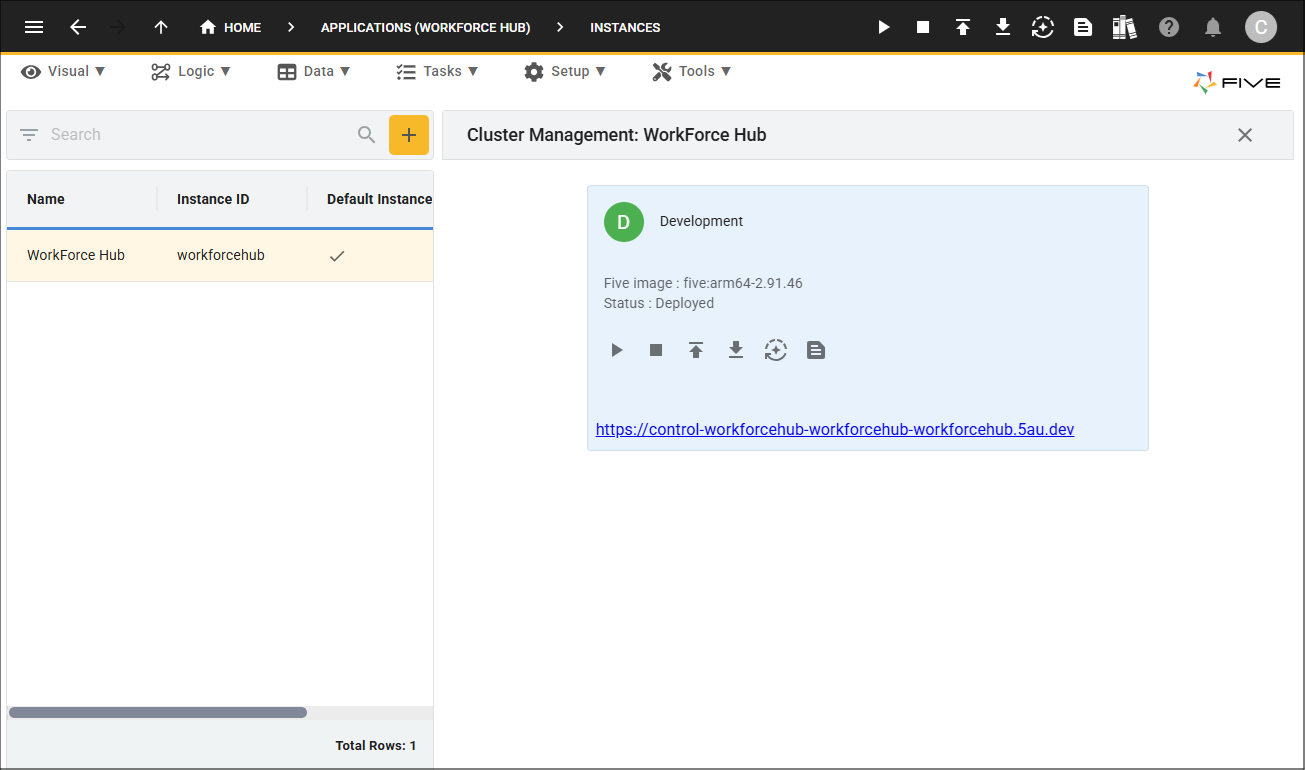
The Cluster Management can be used to deploy your default instance and all other instances of your application.
3. Select your application record in the list and click the Manage button.
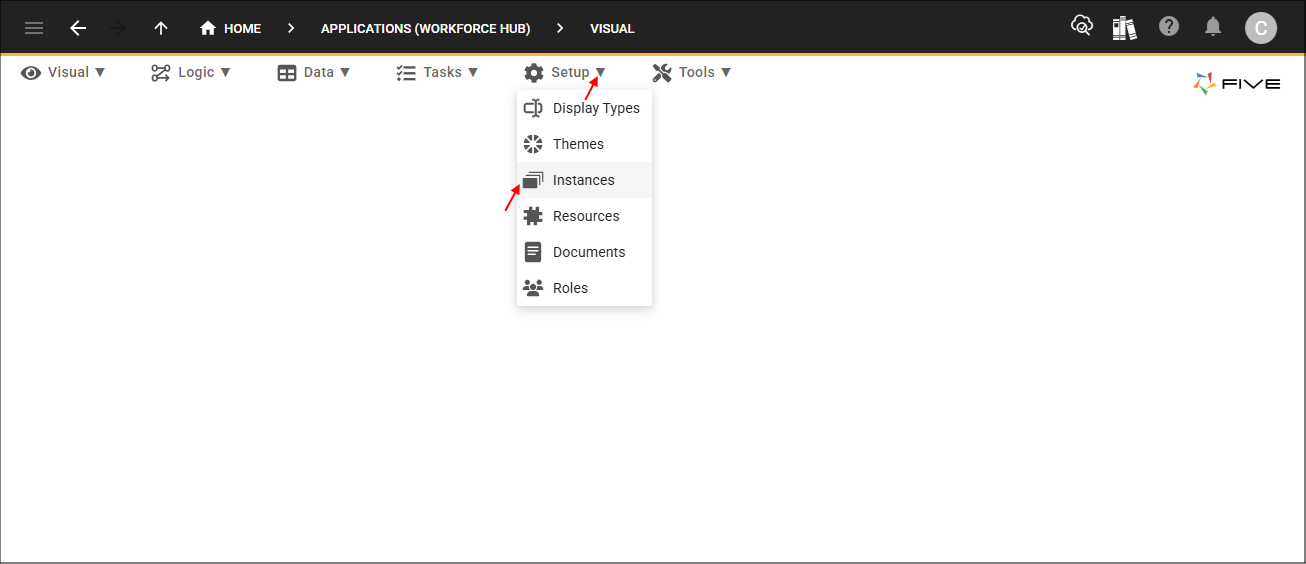
4. Click Setup in the menu followed by Instances in the sub-menu.
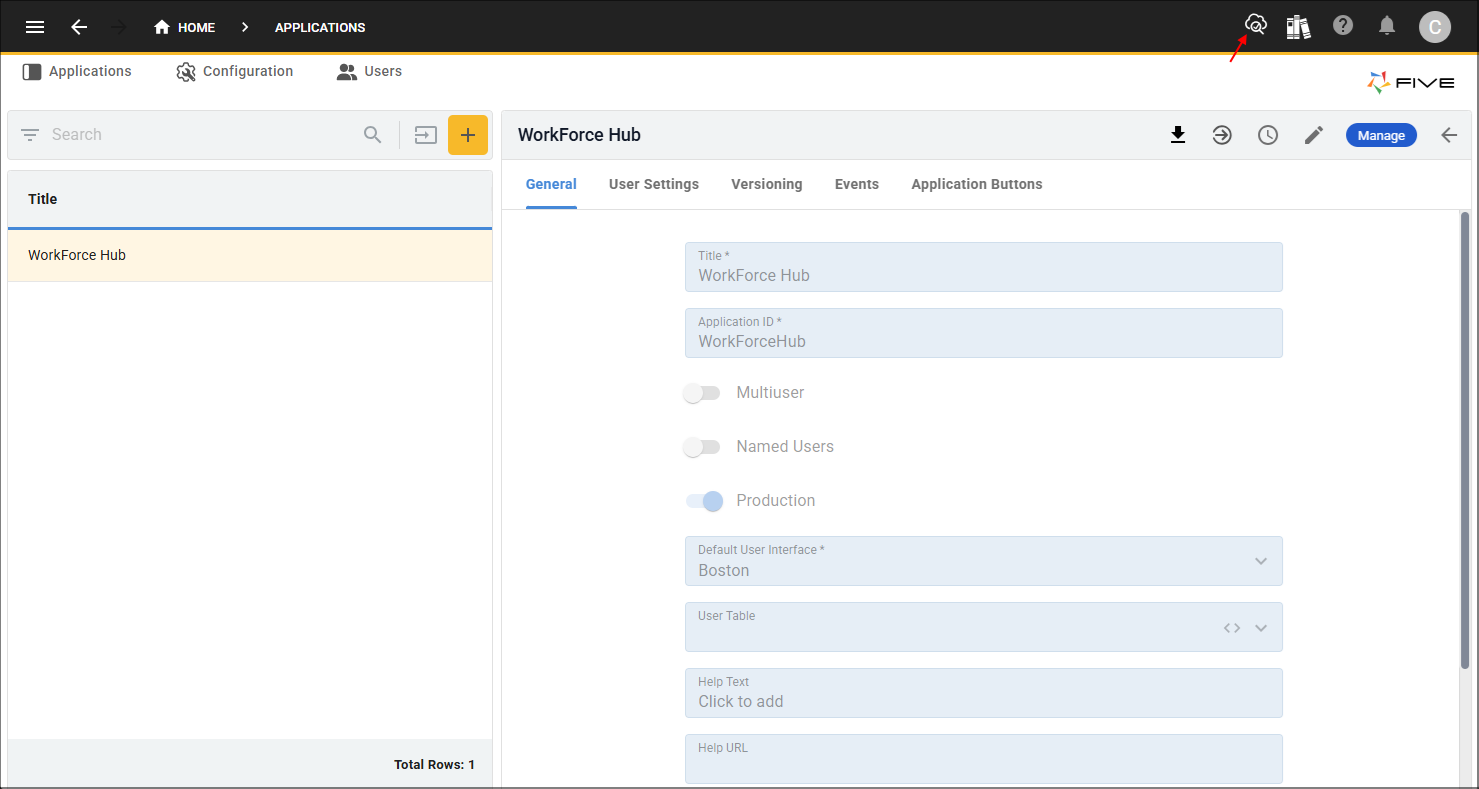
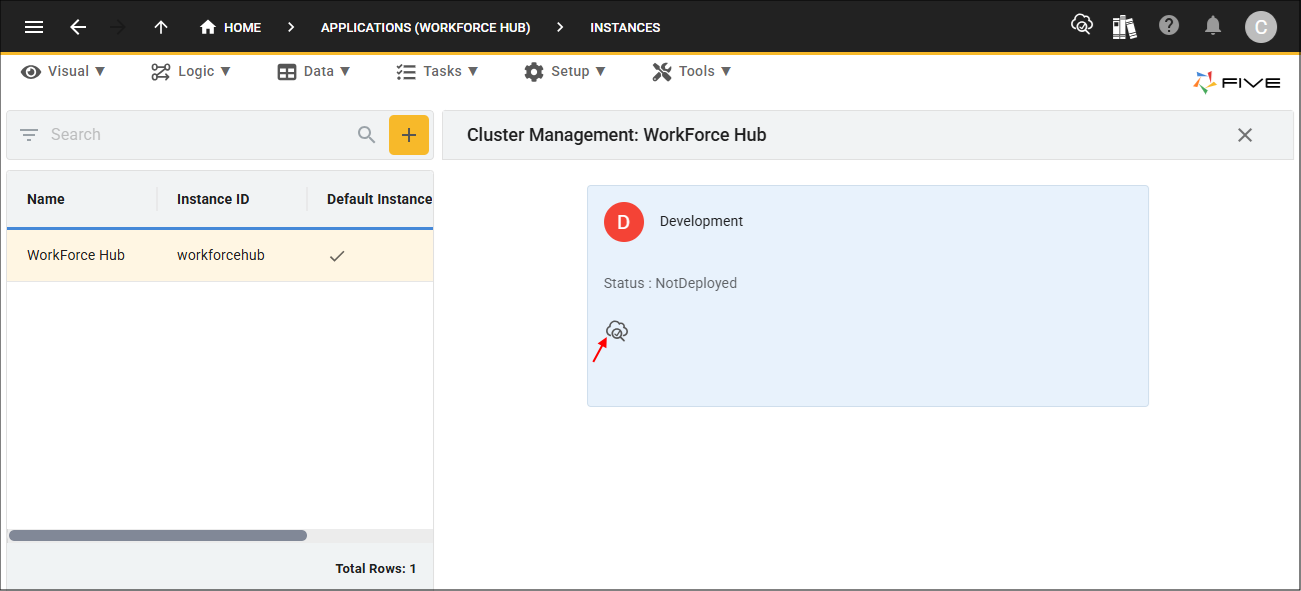
5. Select your instance record in the list and click the Cluster Management button.
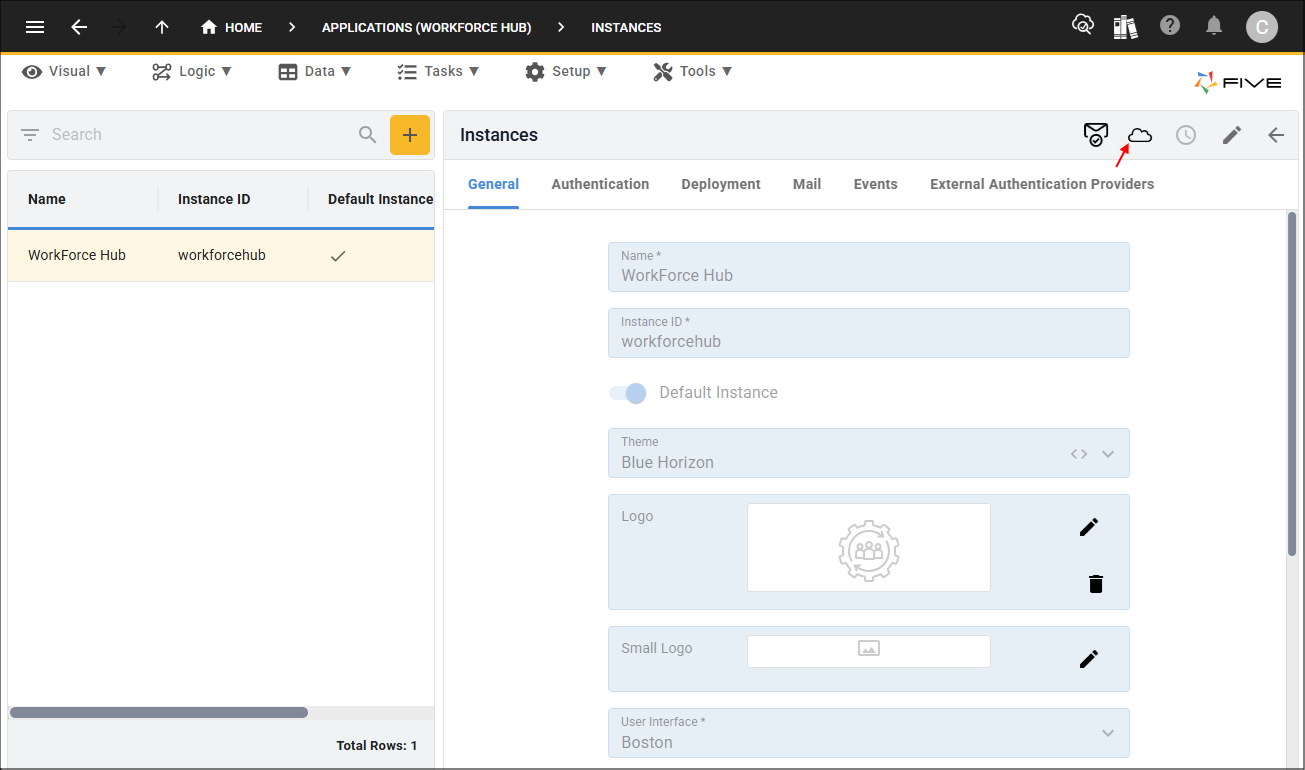
6. Click the deploy to development button.
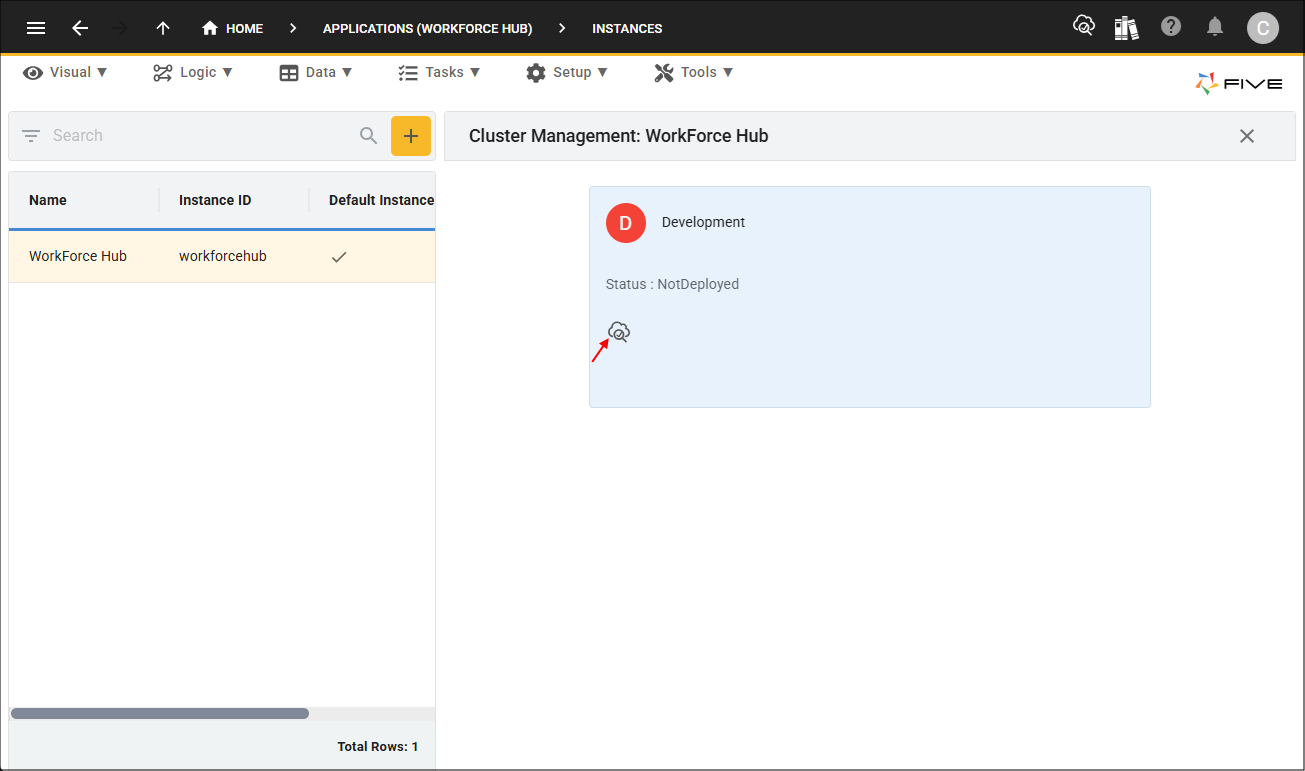
How to Deploy to Production
On the Basic plan, promoting an application to production requires resetting the existing development deployment.
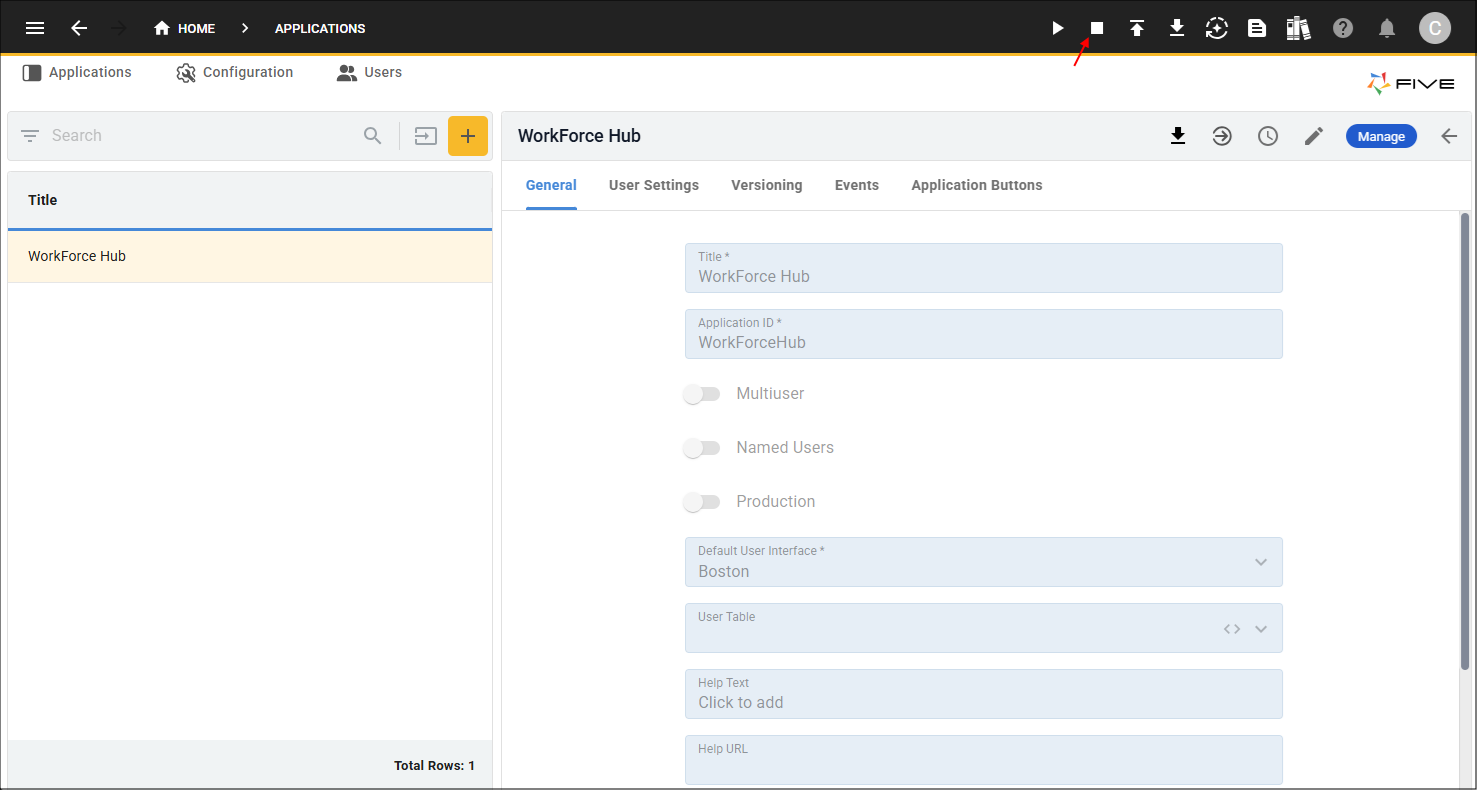
1. Click the Remove from Development button.This can be performed in Five's toolbar or in the Cluster Management. The application must not have an active development deployment before it can move to production.
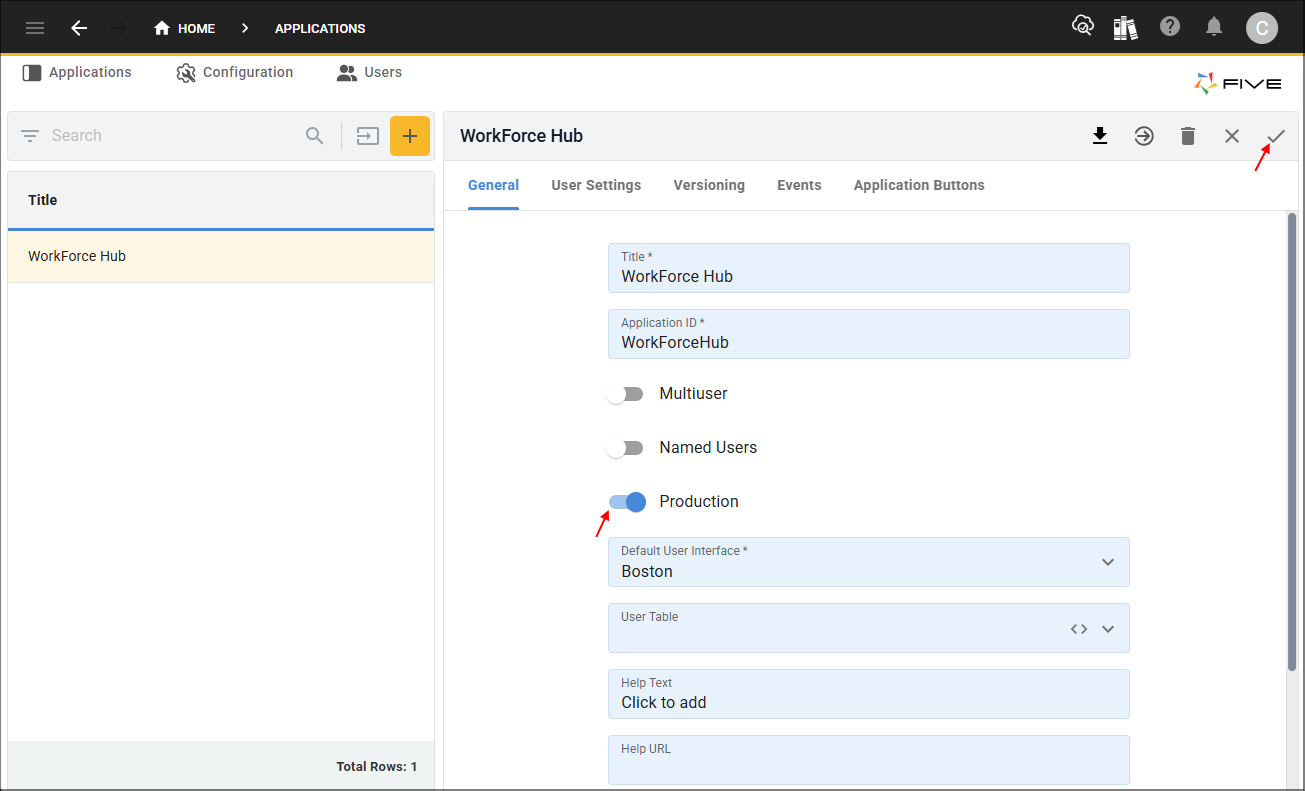
2. Mark the application as production ready.
On your application record, enable the Production switch to indicate the application is ready for live use. With this activated your production version will never be brought down from inactivity, it will continue to run in the cloud for your users.
3. Click the Deploy to Development button.
This can be performed in Five's toolbar or in the Cluster Management. With the production flag enabled, deploy the application again. The new deployment will apply the production-ready version for live use.
The URL on the Cluster Management page, is the URL you supply to your end-users so they can log into your application.
Upgrade the Application
1. Click the Run button.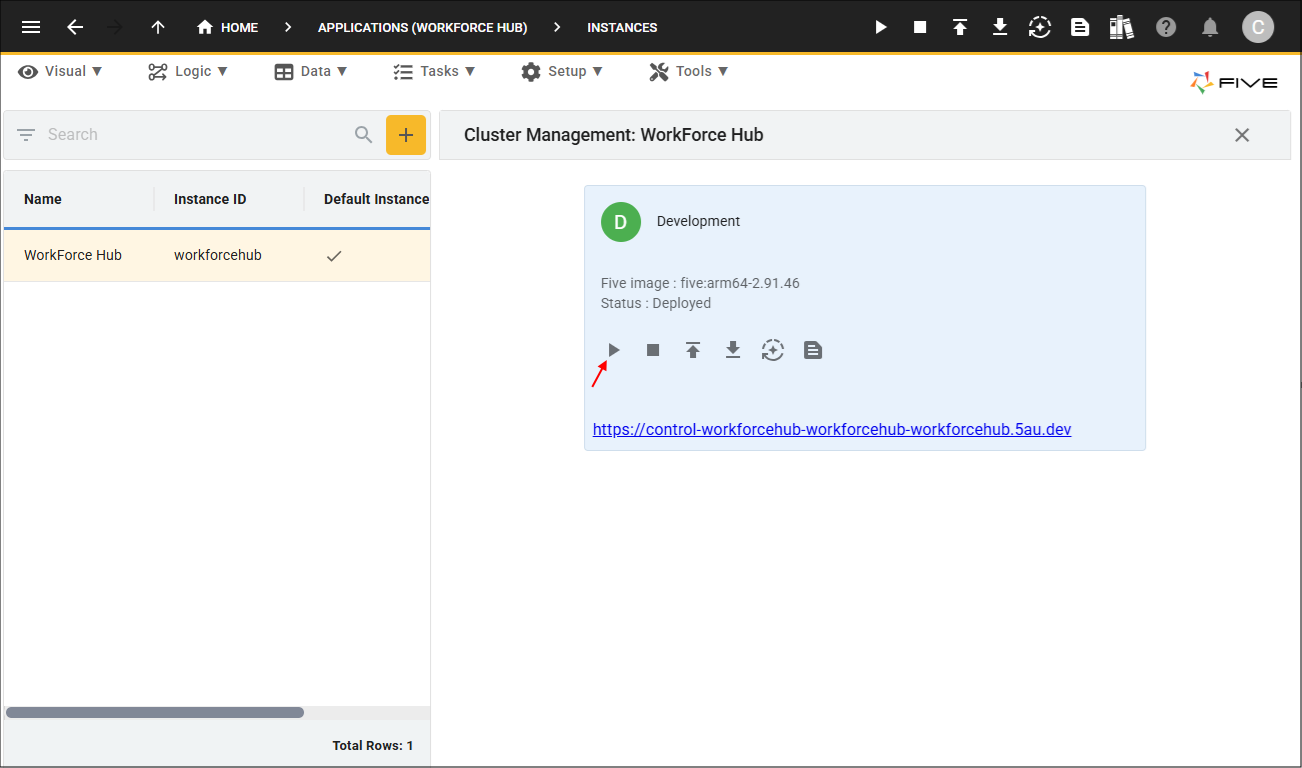
Upgrade the Application Image
When a Five account is updated, the application image (version) used by deployed applications can change too. For the Basic plan, updating the application image requires the application to be removed from the development environment and deployed again. Deploying again ensures the application is rebuilt using the latest image.
1. Click the Remove from Development button.
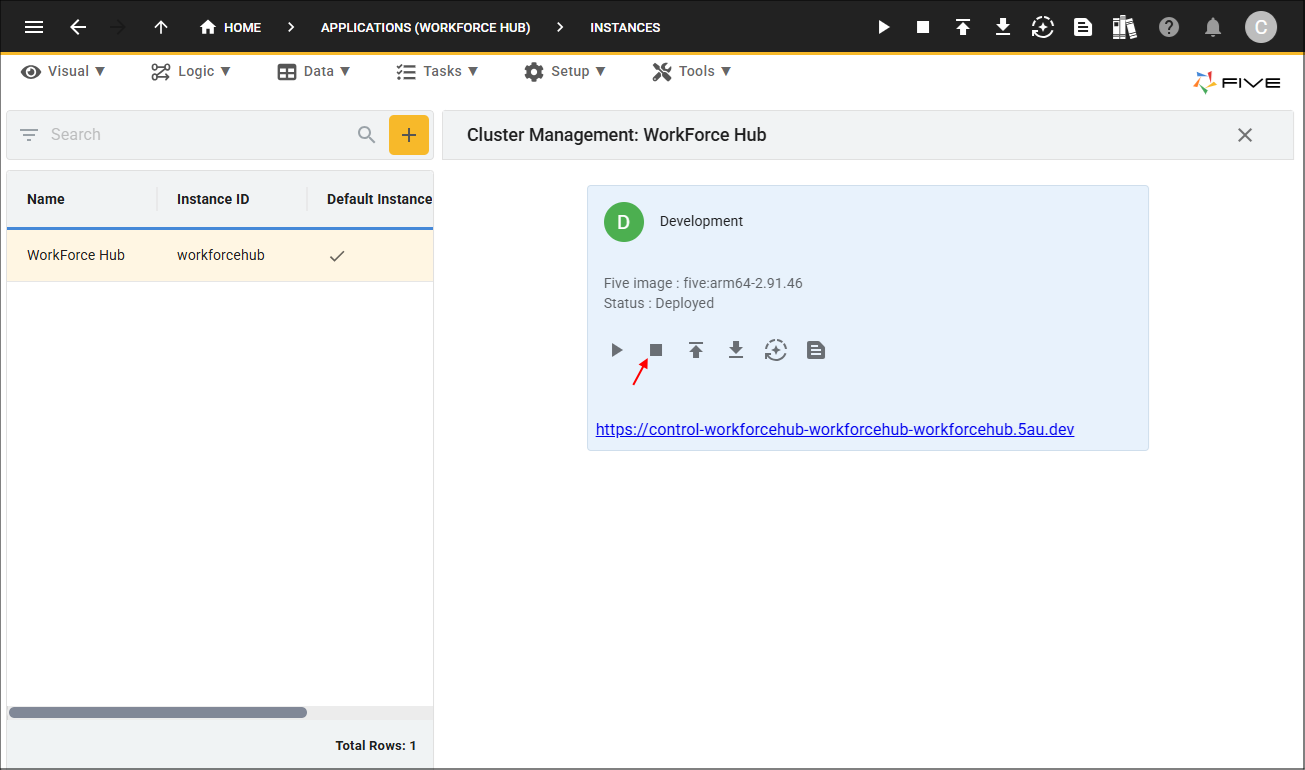
2. Click the Deploy to Development button.
Summary
In summary, for the Basic plan:
- Deploying your production application makes your application live
- Your production application continually runs
- Clicking the Run button applies changes to your application
- End-users must log out and back in to see updates
- If the instance you are running is set to default, you can deploy/run changes from Five's toolbar or via the Cluster Management
- Updating the application image requires removing deployment and deploying the application again