User Interface Orientation
Last updated 20/08/2025
Navigating Five's User Interface
You can use Five to rapidly develop and deliver modern business software. This documentation provides a high-level overview of Five's user interface to quickly get you familiar with how to get around in Five.
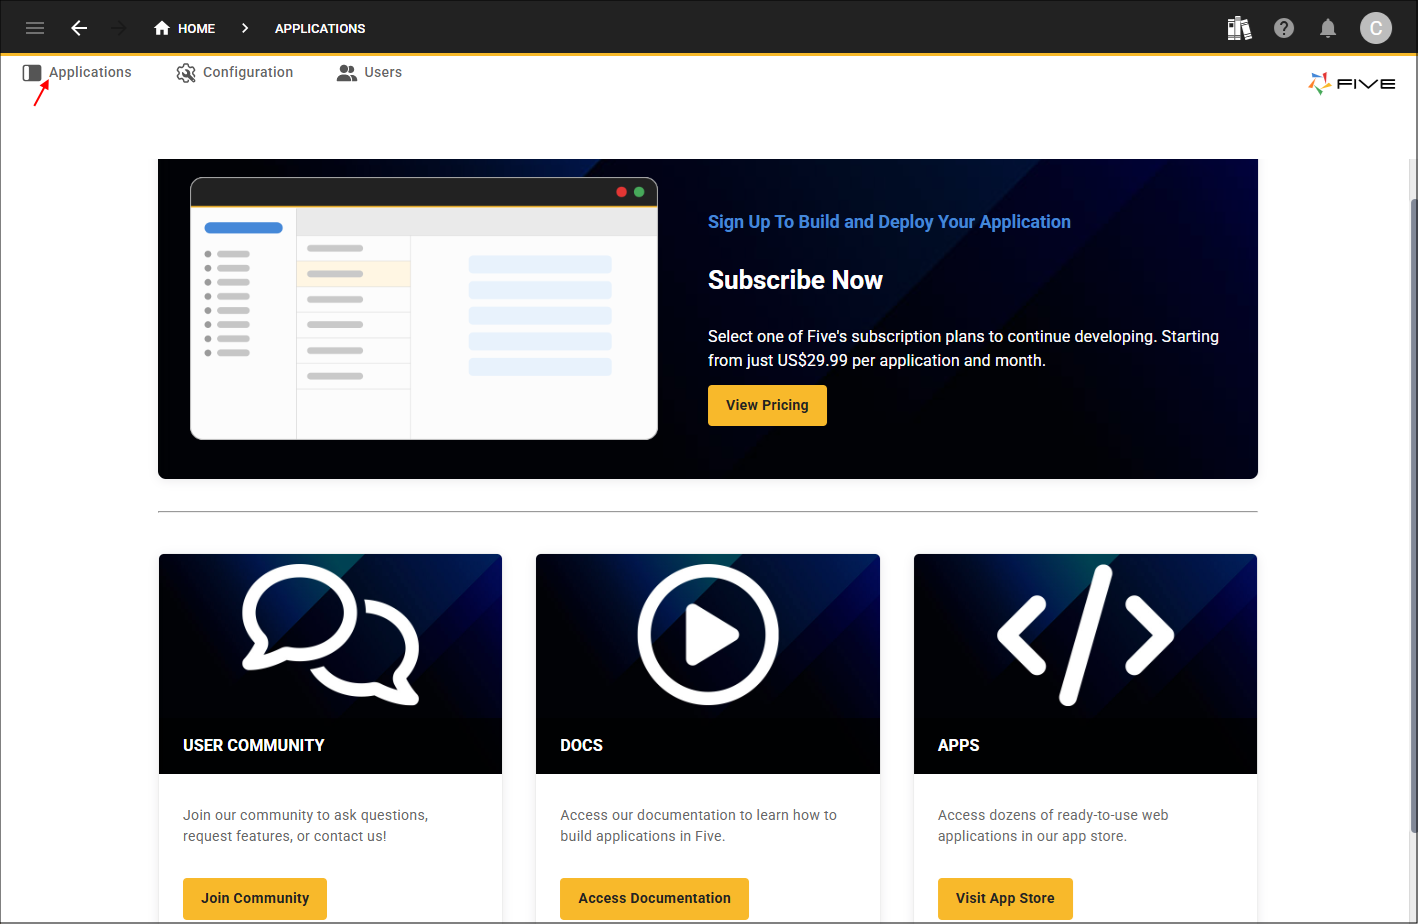
When you login to your Five account, you will land on our landing page. This provides you with several links on where you can get extra infomation on how to use Five.
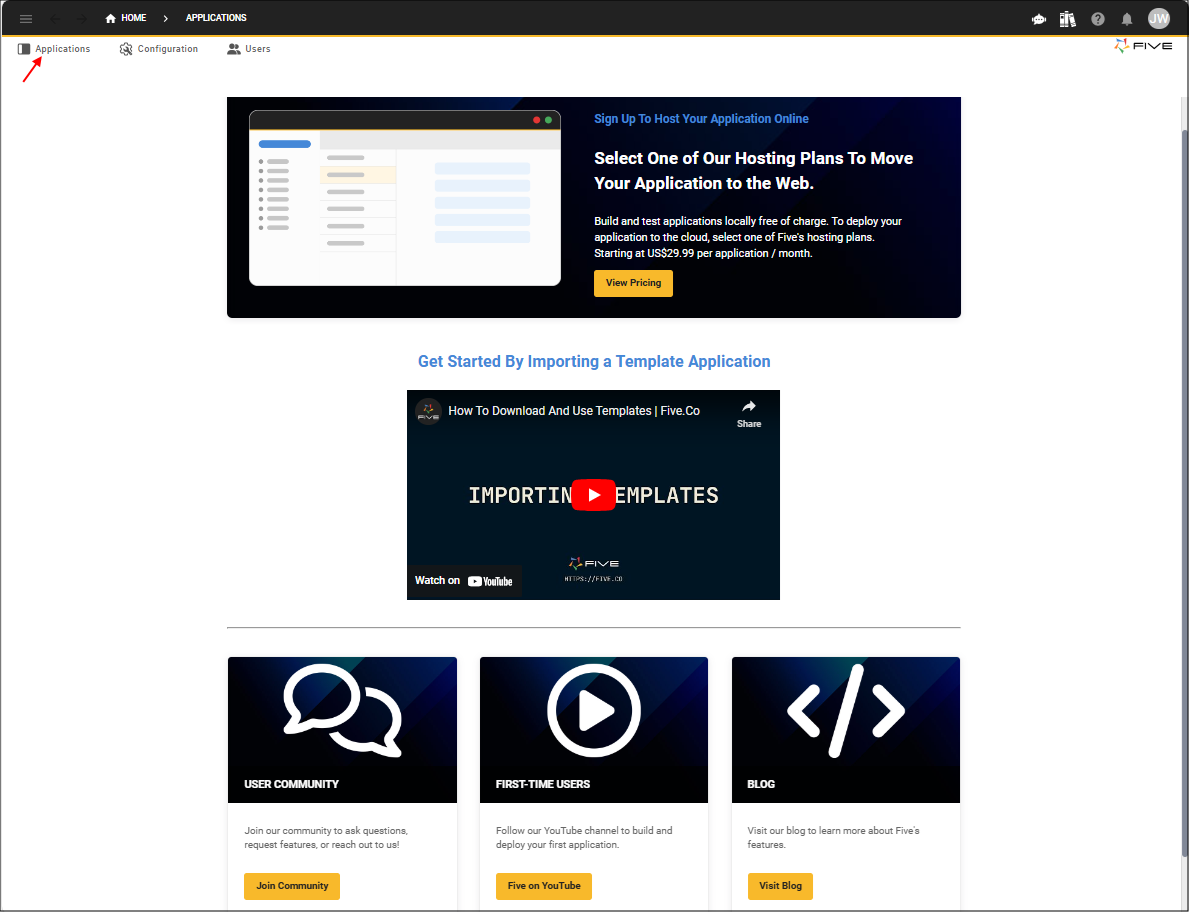
At the top of the page, you will see our menu, to remove the landing page, click the Applications menu.
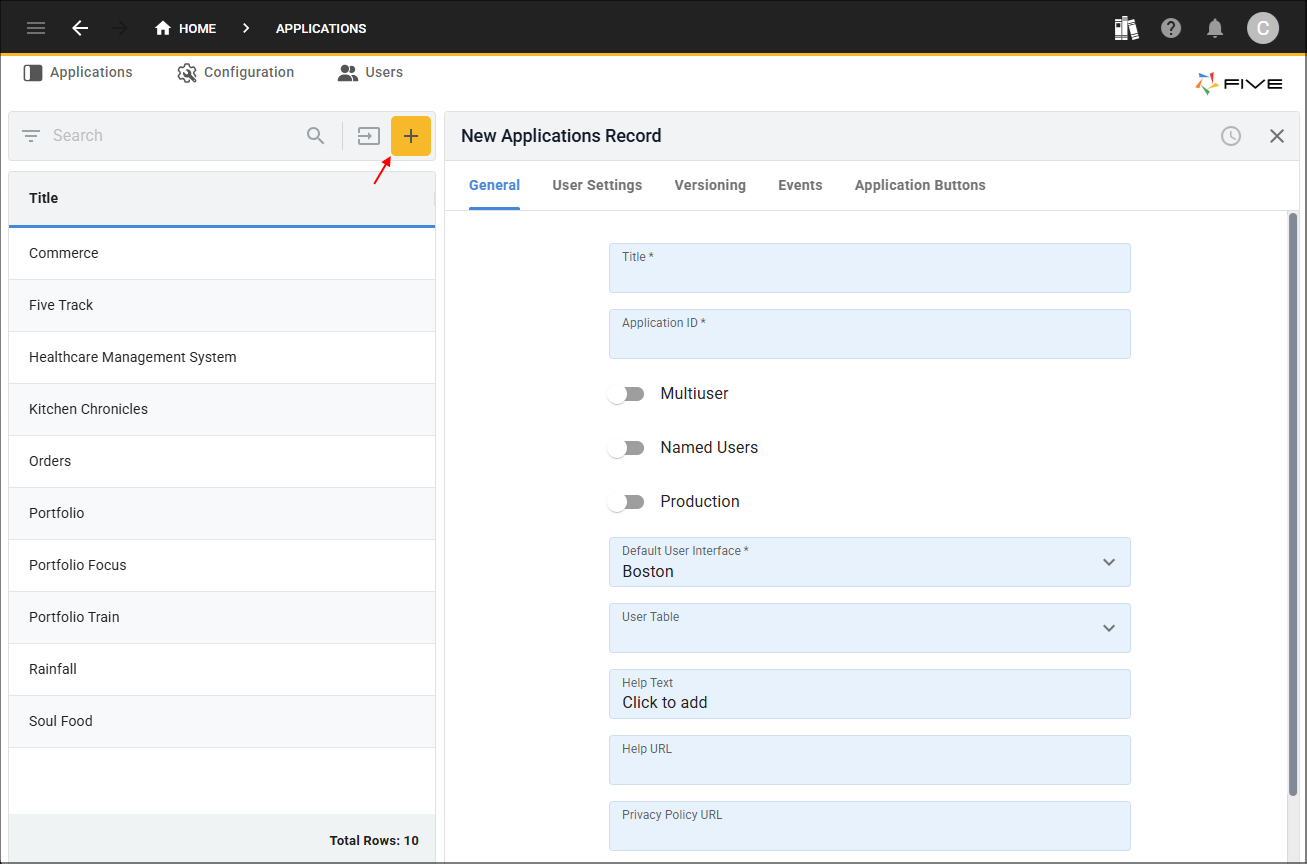
You will now be in the Applications view with a list of records, you may not have any records in the list yet. At the top of the list there is a yellow Add Item button to add a new application. Effectively, on your screen, you will have a list of records on the left, a form on the right, and the menu across the top.
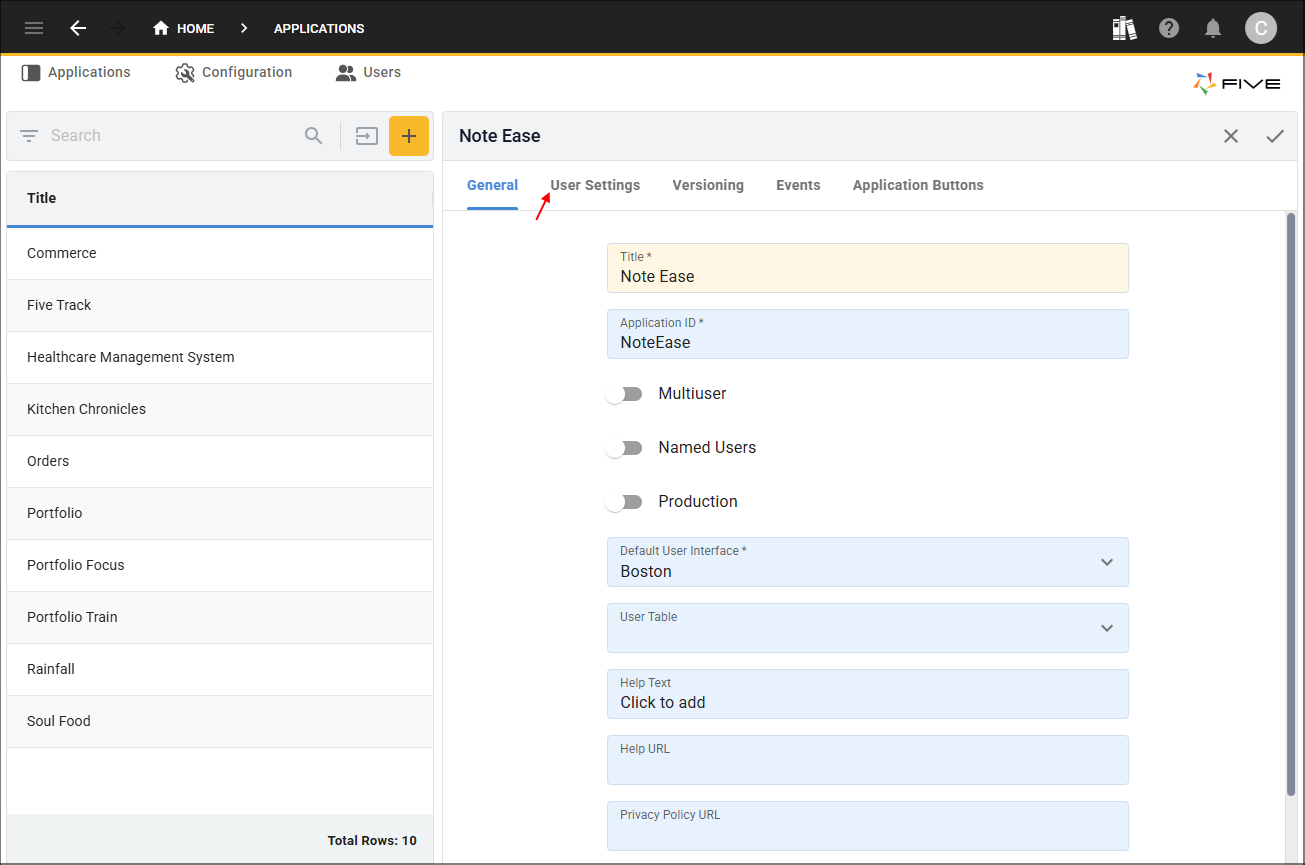
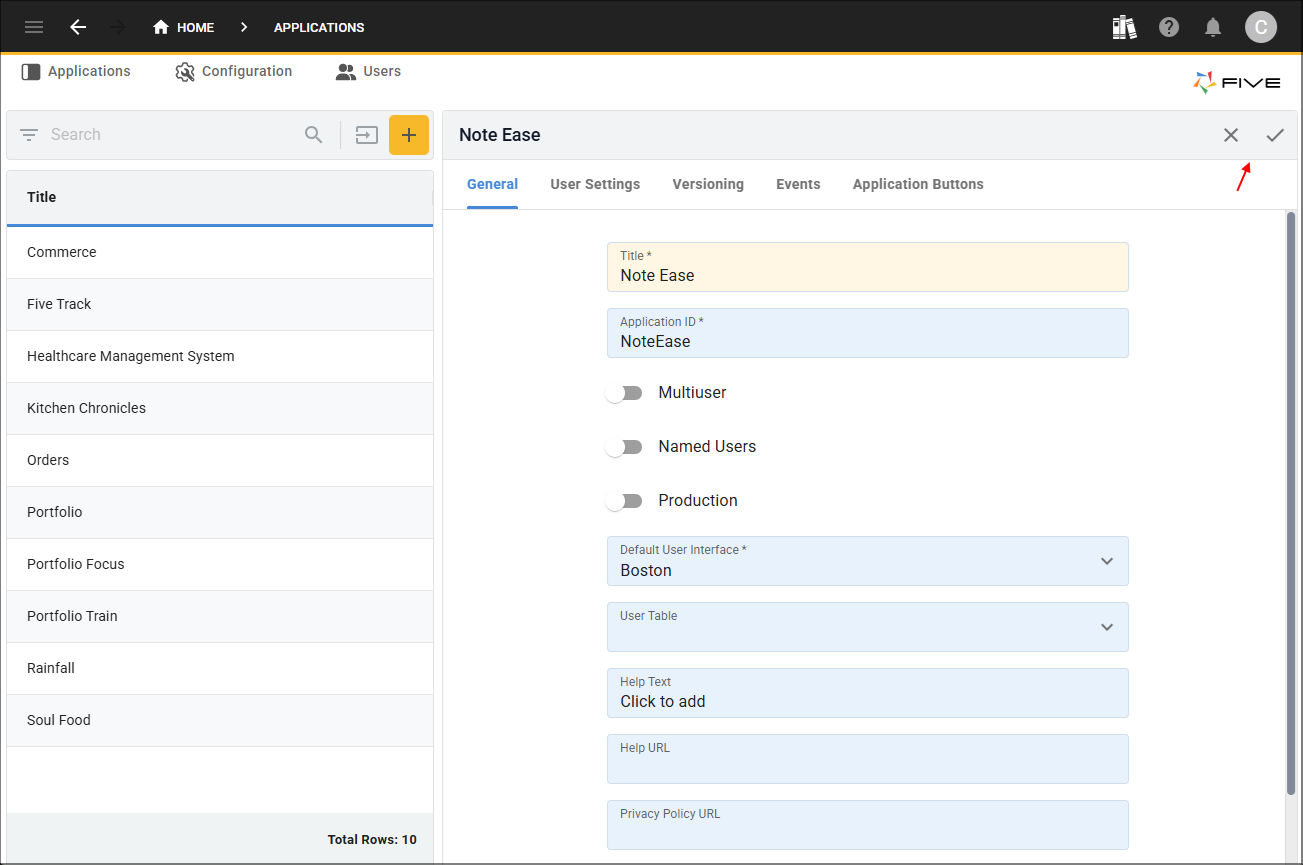
You can begin to add your first application by giving it a title. Whenever you edit a field on a form, it will be displayed in yellow.

To navigate through the pages on a form, use the tabs located at the top of the form.
Every form in Five has an app bar at the top, this is where you will find the common buttons to maintain your record such as cancel, save, edit, and delete. Different buttons will appear depending on the task you are performing.
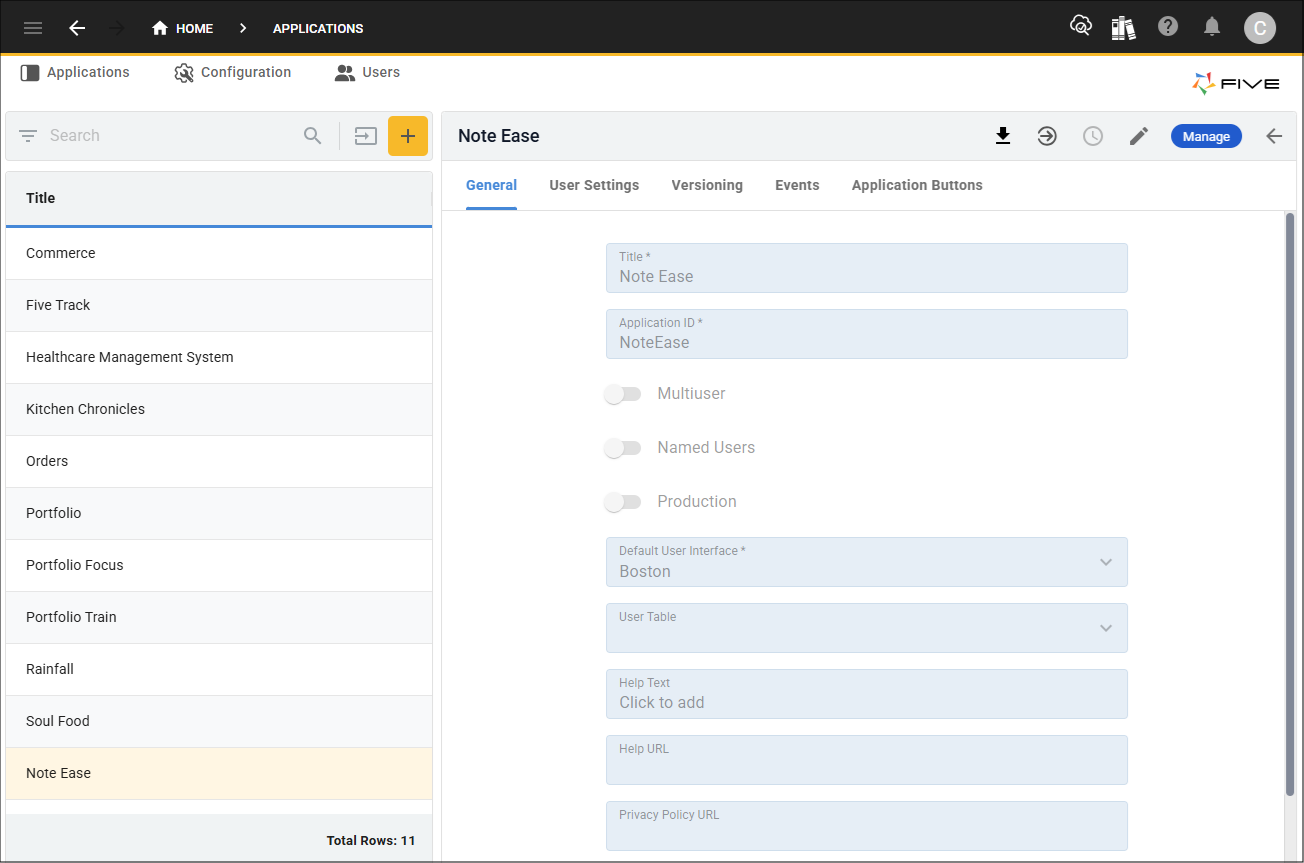
When you click the Save button, the record will be available in the list.
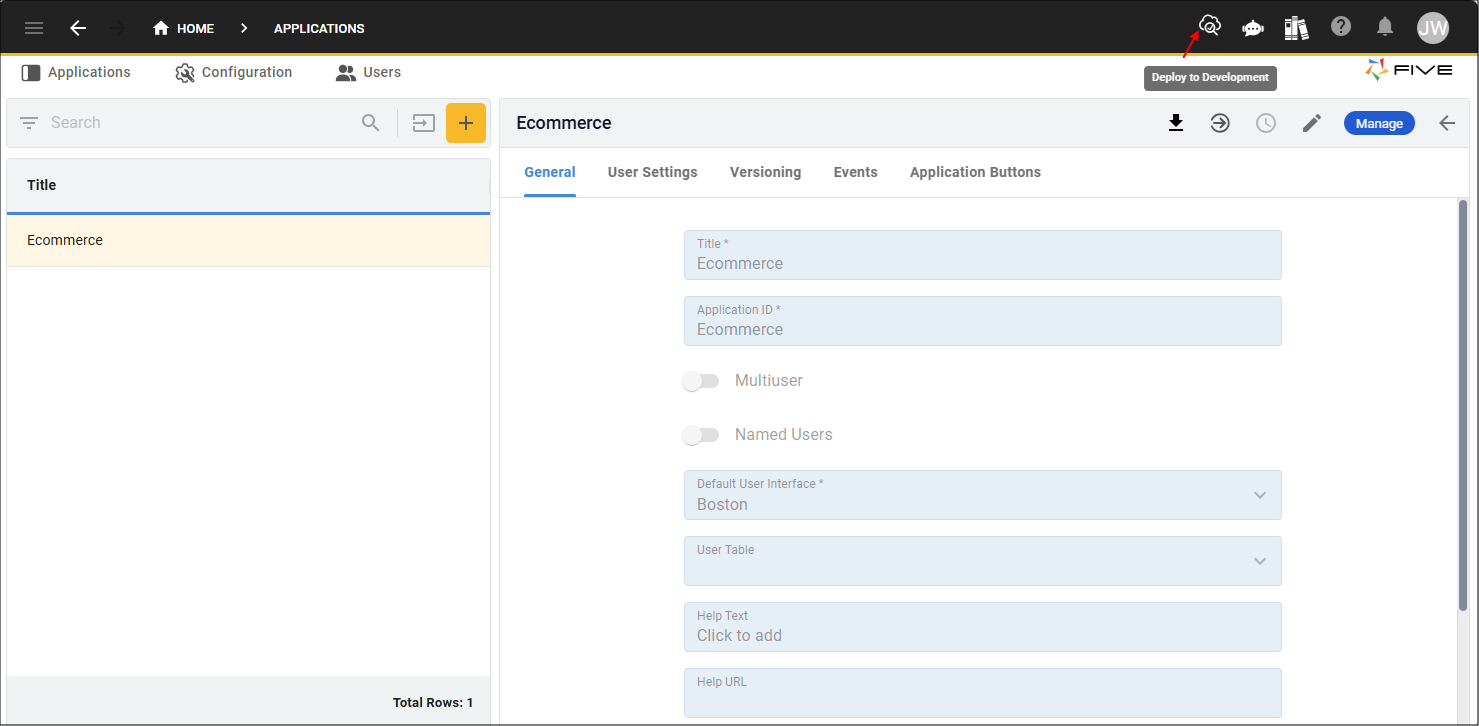
Five's toolbar is located at the top of your screen, on the left side you have buttons and breadcrumbs to help you navigate through Five. On the right, you will see several buttons, hovering your mouse on the buttons will display their tooltips for you to know what they do. The button you will be using the most is the Deploy to Development button as this is used to deploy your application to the development environment and see your changes.
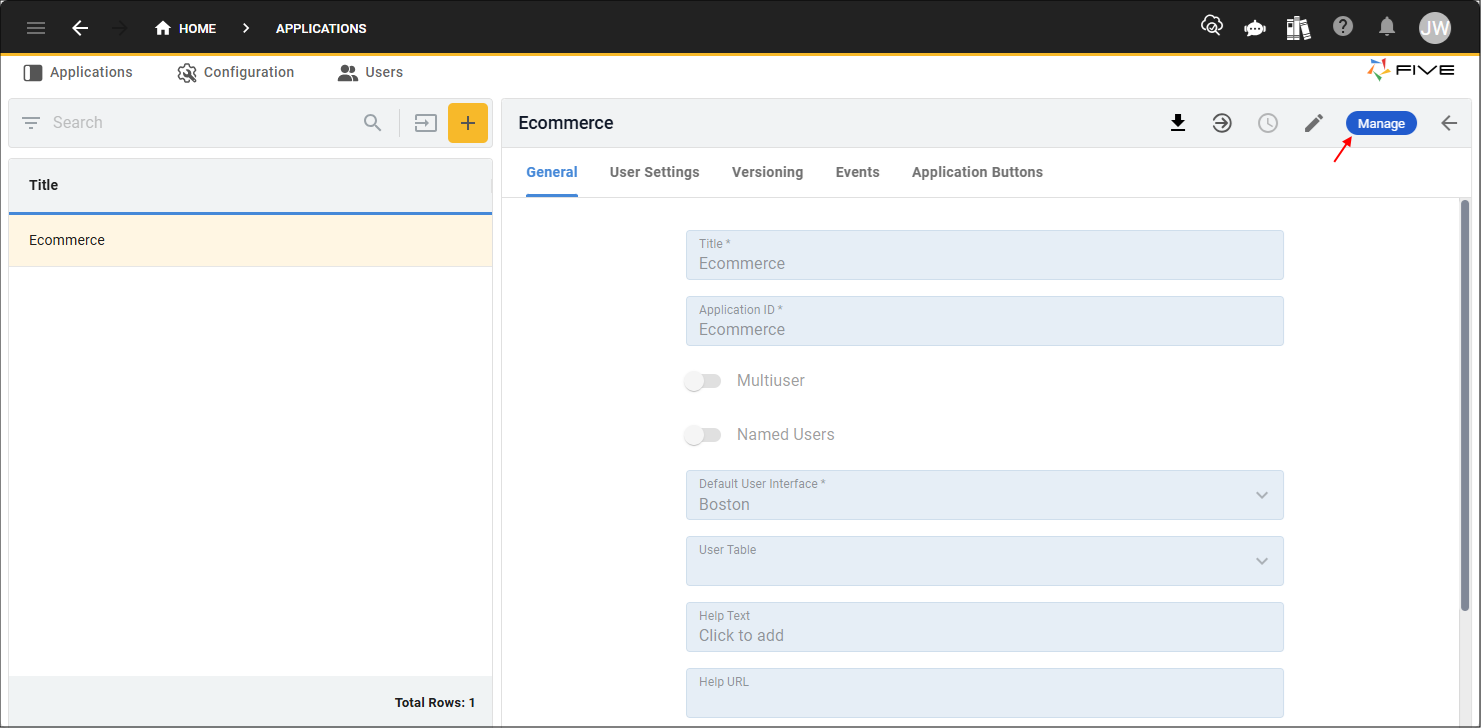
A saved application record will have the Manage button in the form app bar, this button will take you to Five's child menu that holds everything to build out your application.
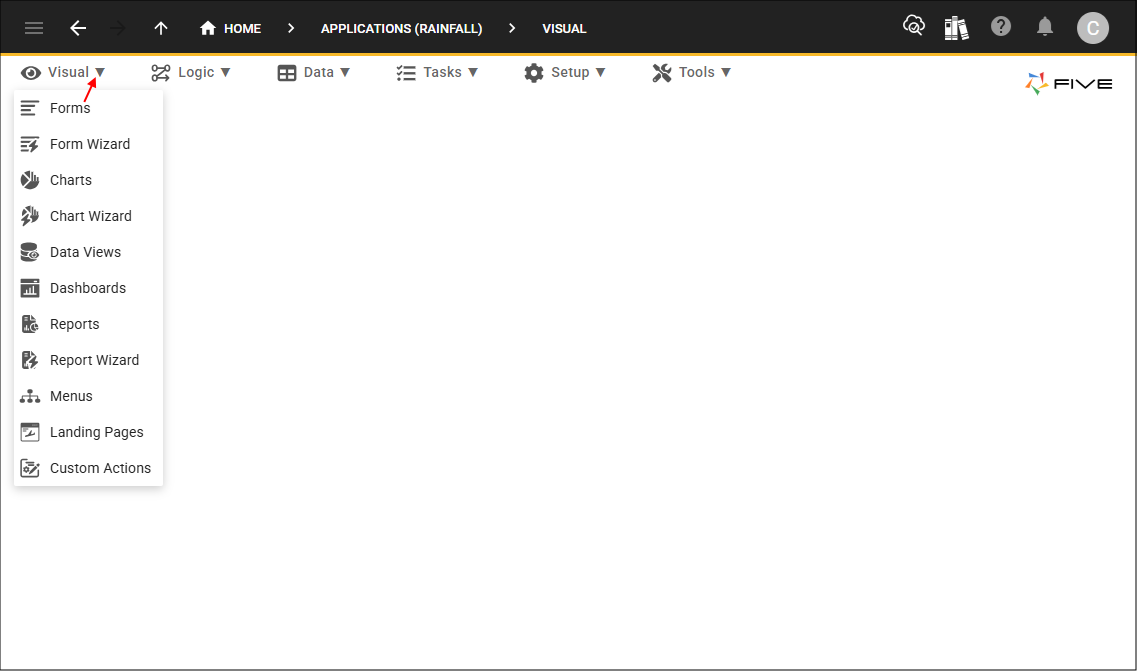
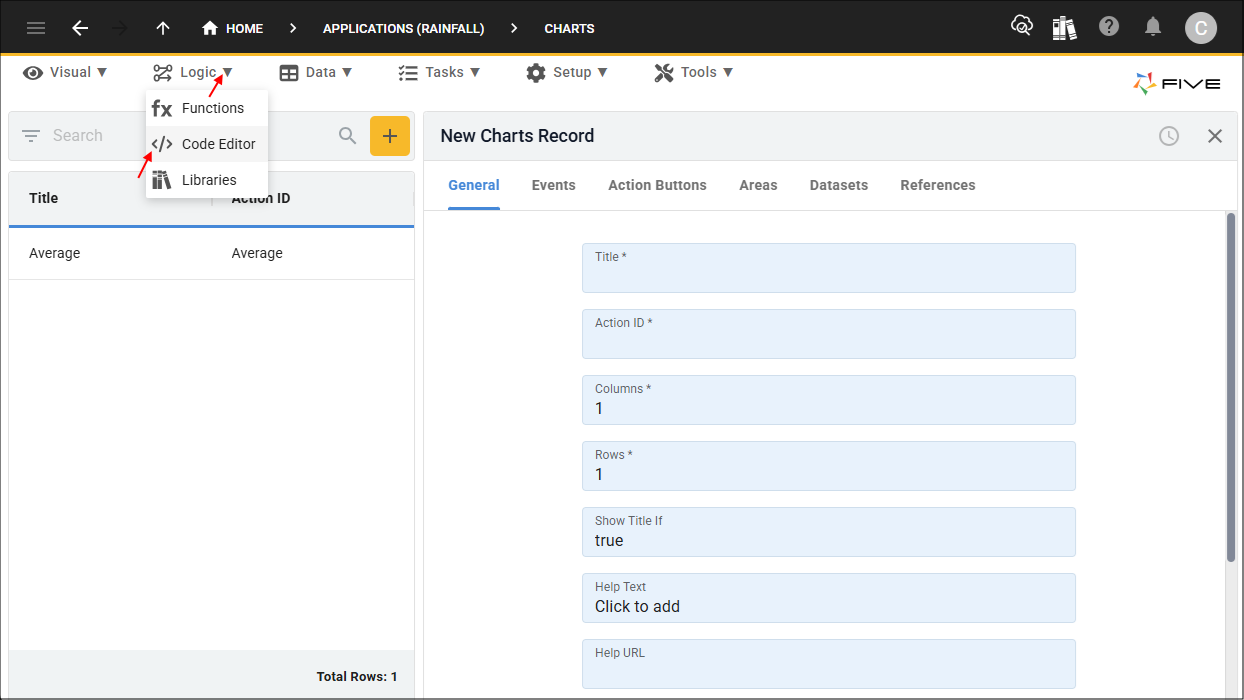
The menus are categorized and when you select one, it will open a sub-menu.
- The Visual menu holds everything that you will visually see in your application, such as forms, dashboards, reports, etc.
- The Logic menu is where you can add your application's functionality and create your own libraries.
- The Data menu is to handle all your application's data. This can be saved data in Five or data coming from a connection to an external API.
- The Task menu is where you can create and automate tasks, such as mail merges.
- The Setup menu holds everything to setup your application, such as instances and roles.
- The Tools menu is for you as a developer in Five to search and maintain your code.
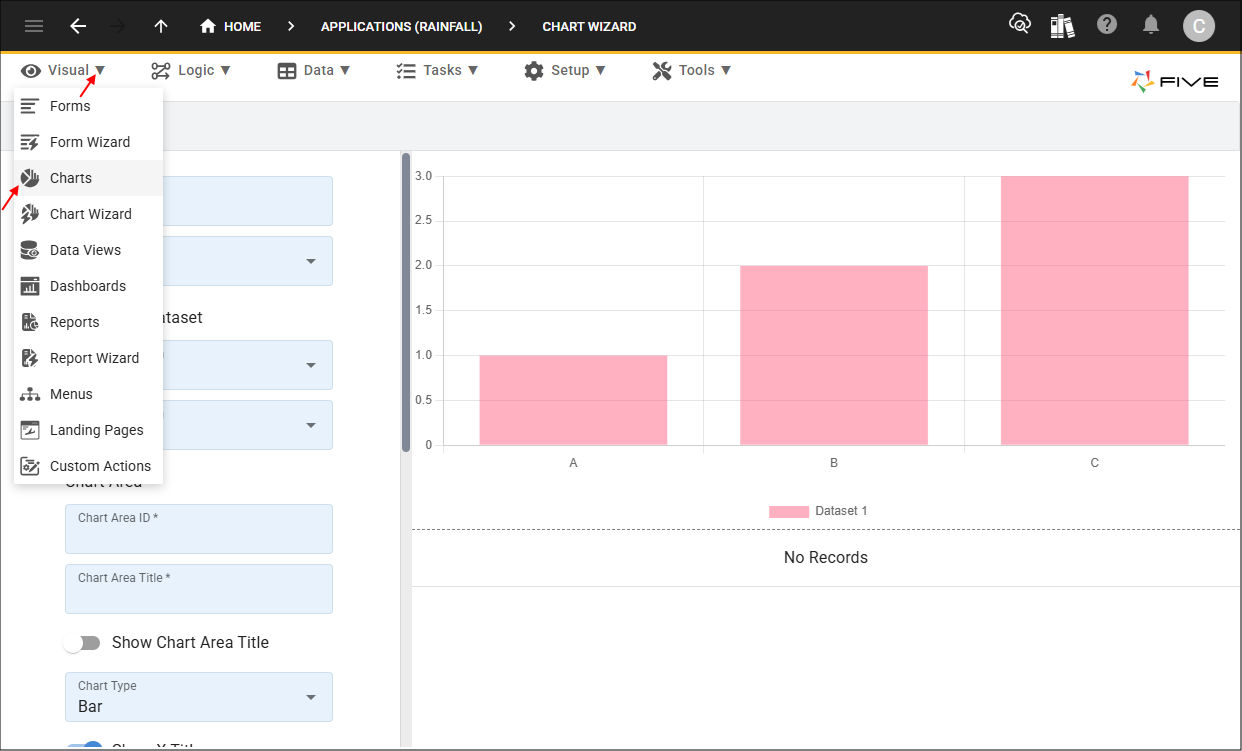
Five has several wizards which give you a quick and easy method to add elements to your application. Some of these wizards are dynamic such as our Chart Wizard, while building your chart, you will have a live preview.

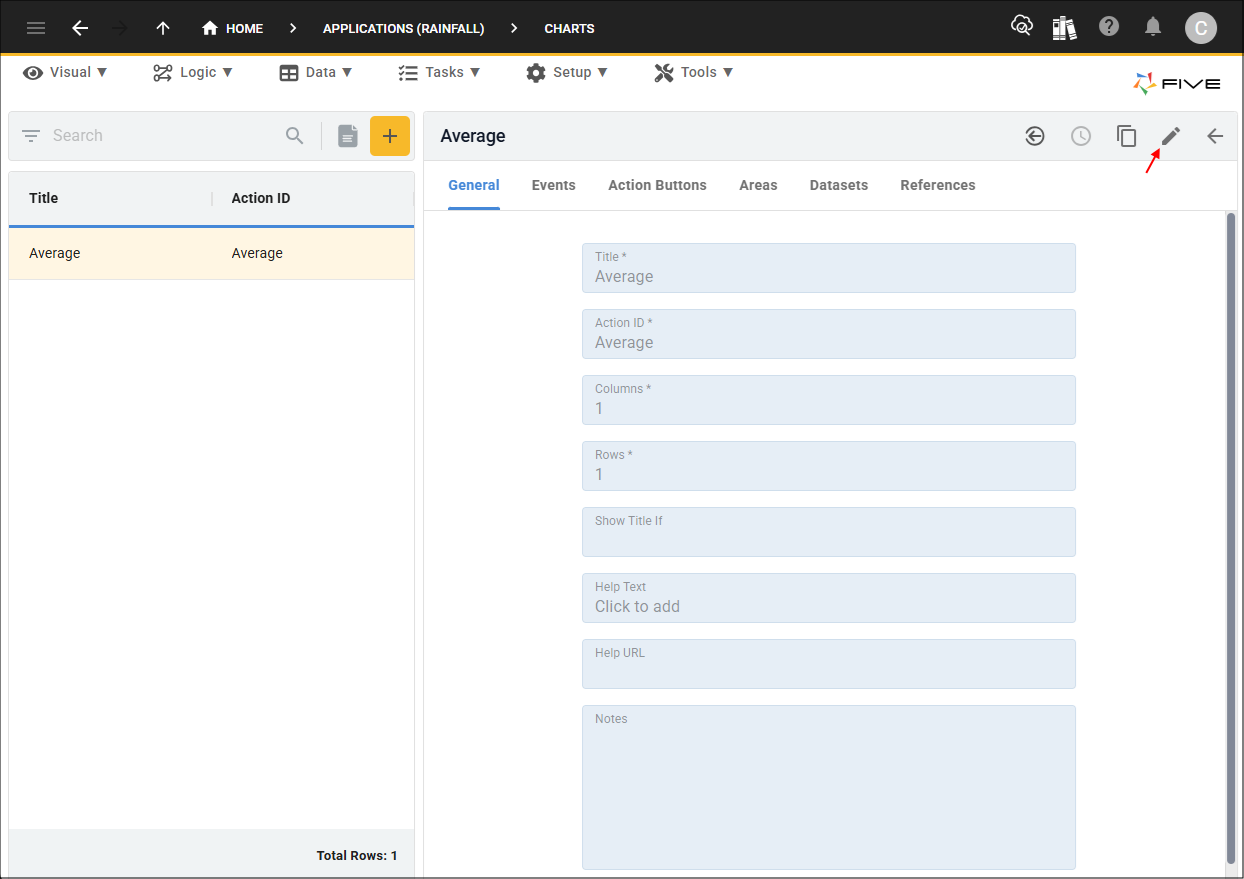
Once a record has been saved via a wizard, you can go to its respective view to have access to the record. For example, the chart just created above will be available in the Charts view, and this is where you can maintain your record.
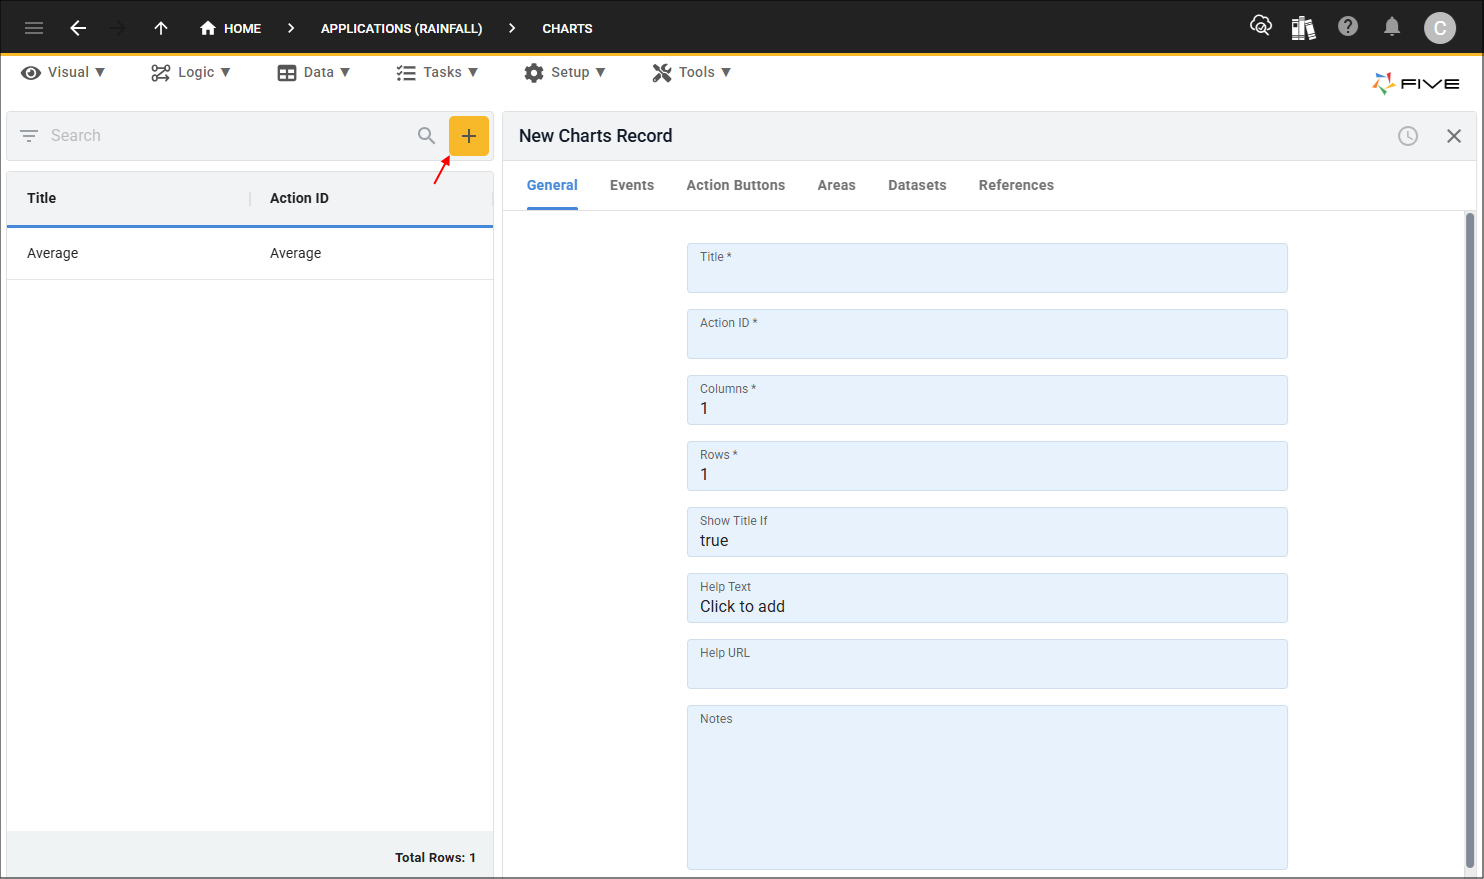
You will also notice here the yellow Add Item button to add a new record, just like in the Applications view. A lot of views in Five have the same layout to enhance your user experience. Even though we have several wizards throughout Five, you always have the option to add a new record manually as well using the forms.
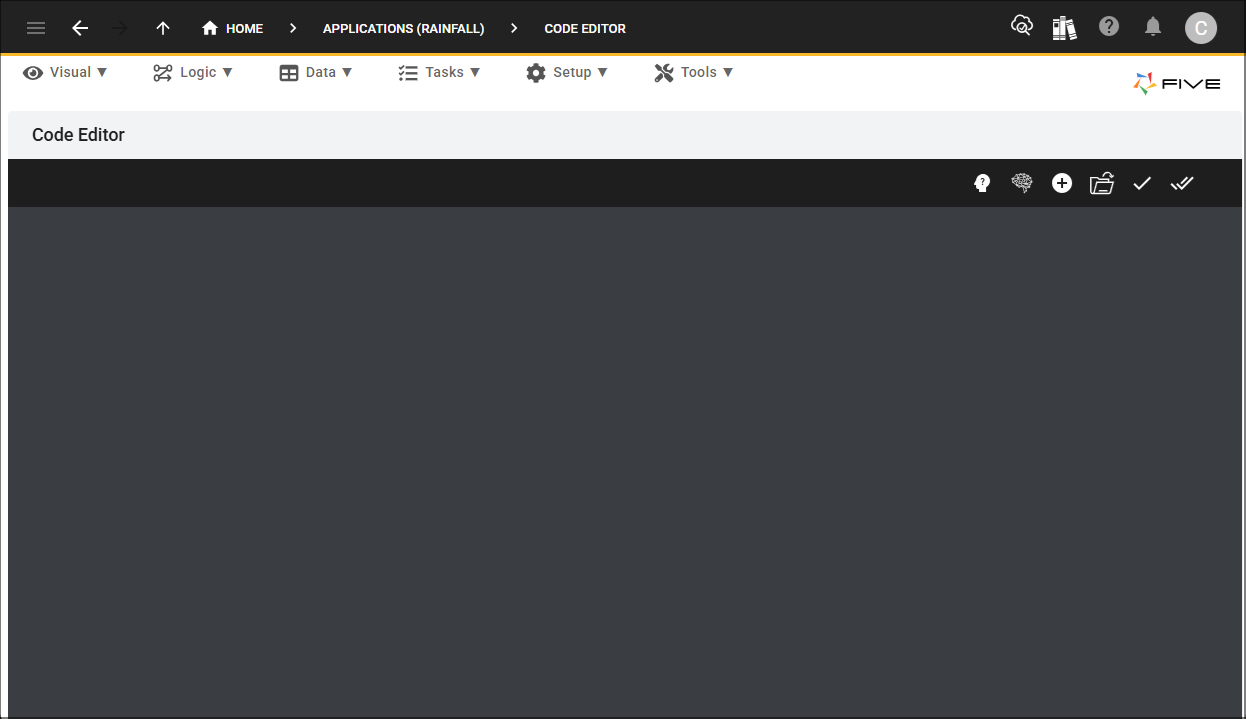
Five has several built-in editors that you can use to extend your application. Some of these editors can be opened directly from the menu, such as our Code Editor.
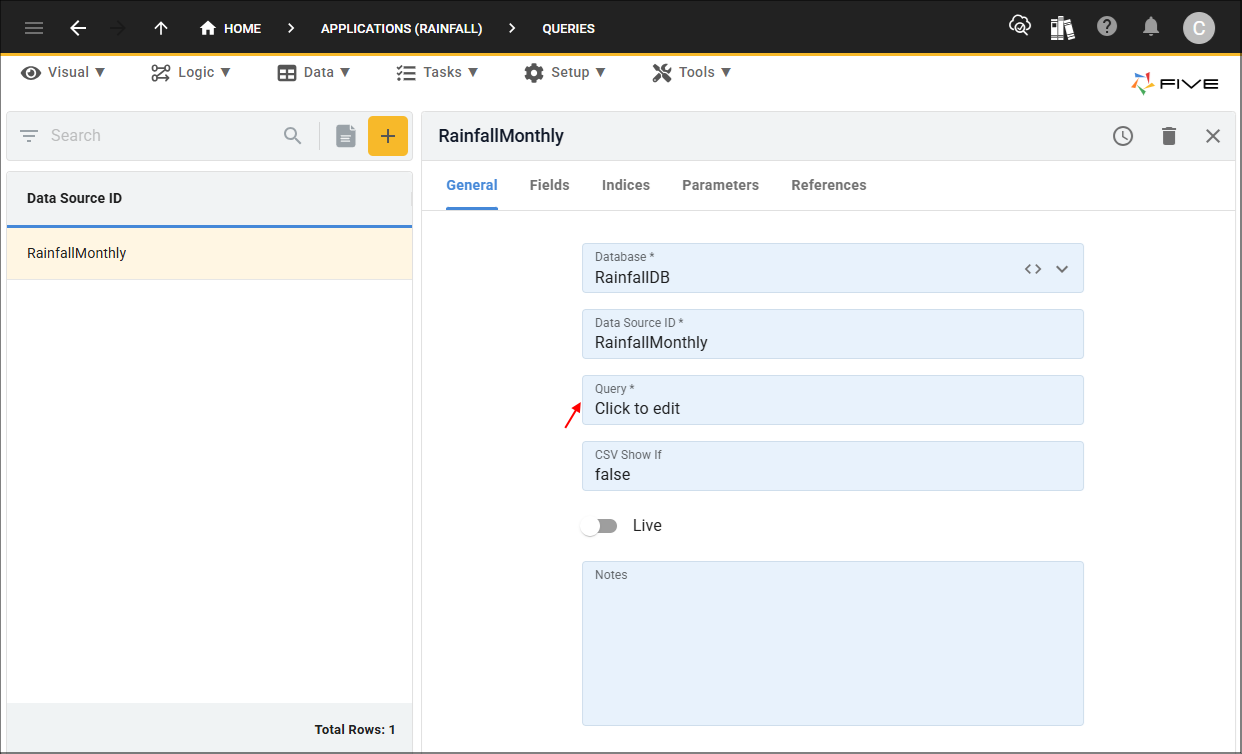
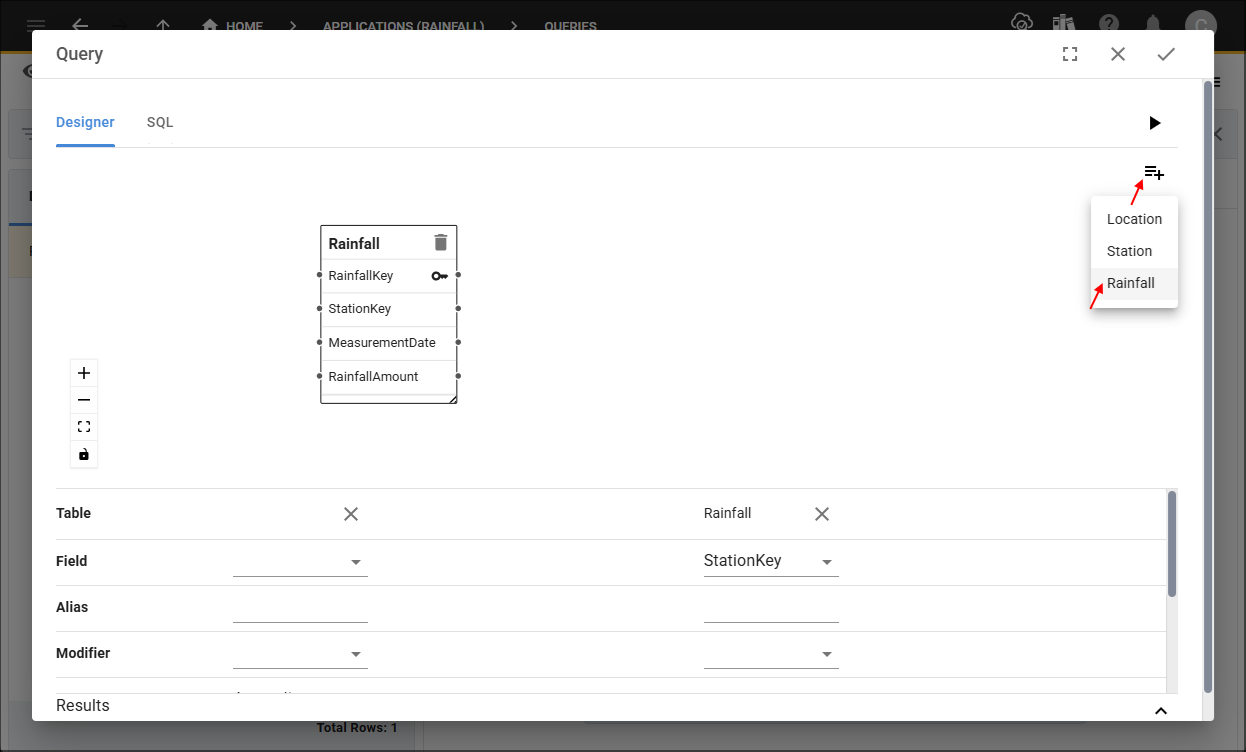
Some editors are available in fields from their respective forms, such as our SQL editor which is on the Queries form in the Query field.
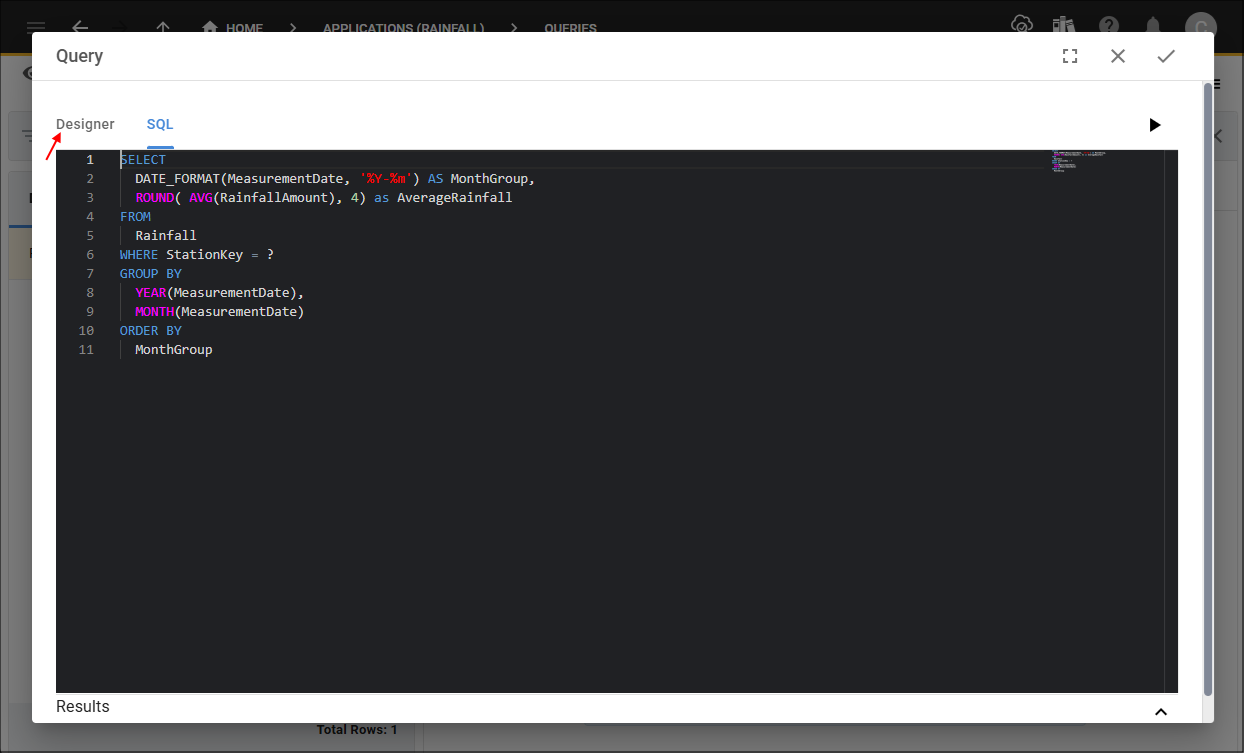
Most of our editors have an advanced-side like here and also a point and click side if you are not familiar with coding. You can go between them both by using the tabs at the top of the editor.
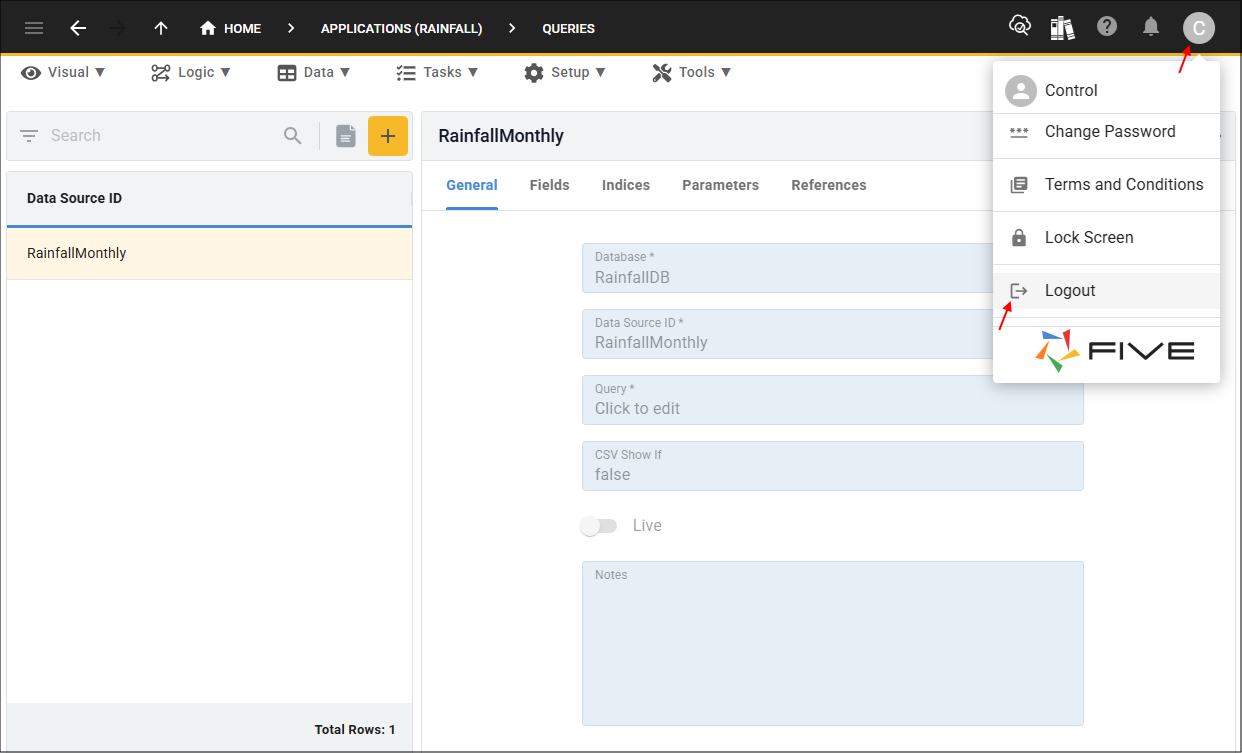
To logout of Five, click the Profile button followed by Logout.
You should now have a basic knowledge of how to navigate your way around Five and you may like to watch our Introductory Videos or try our Quick Start Guide.