Create Your First Report
Last updated 12/10/2023
To begin to create your first Report we need to navigate to Reports view.Navigate to Reports
1. Select Visual in the menu.2. Select Reports in the sub-menu.
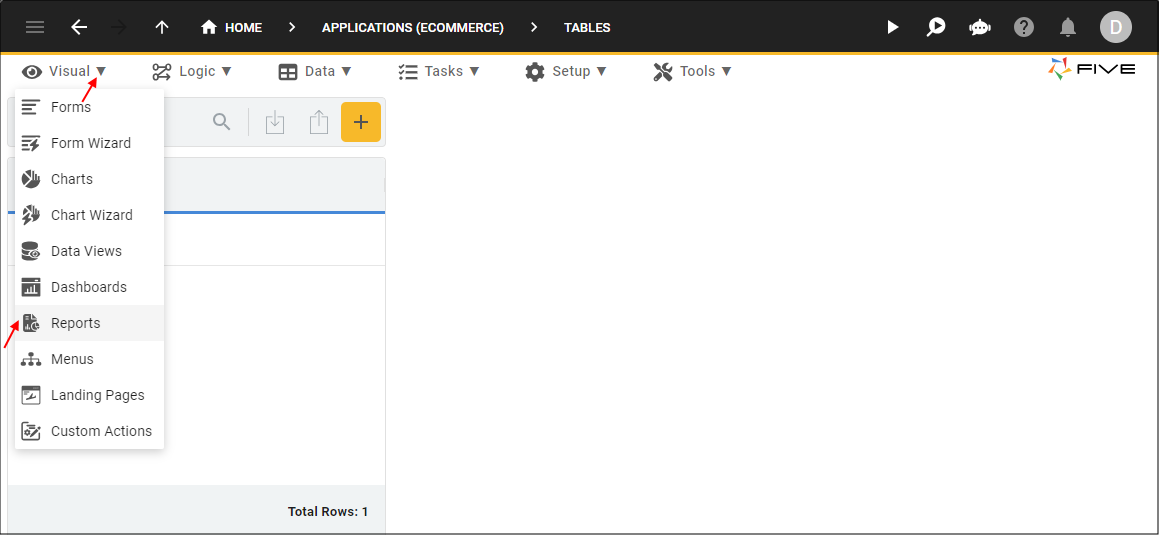
Figure 1 - Reports menu item
Add a Report
1. Click the Add Item button.2. Type a title in the Title field.

Figure 2 - Add a report
info
You need to connect with your external data source to have the fields available in the template when you are creating your report.
3. Click the Data Sources tab.

Figure 3 - Data Sources tab
4. Click the add Data Sources button.

Figure 4 - Add Data Sources button
5. Click the lookup icon in the Data Source field and select your data source.
info
If the Customer table is the only data source in your application, Five will default it in the Data Source field.
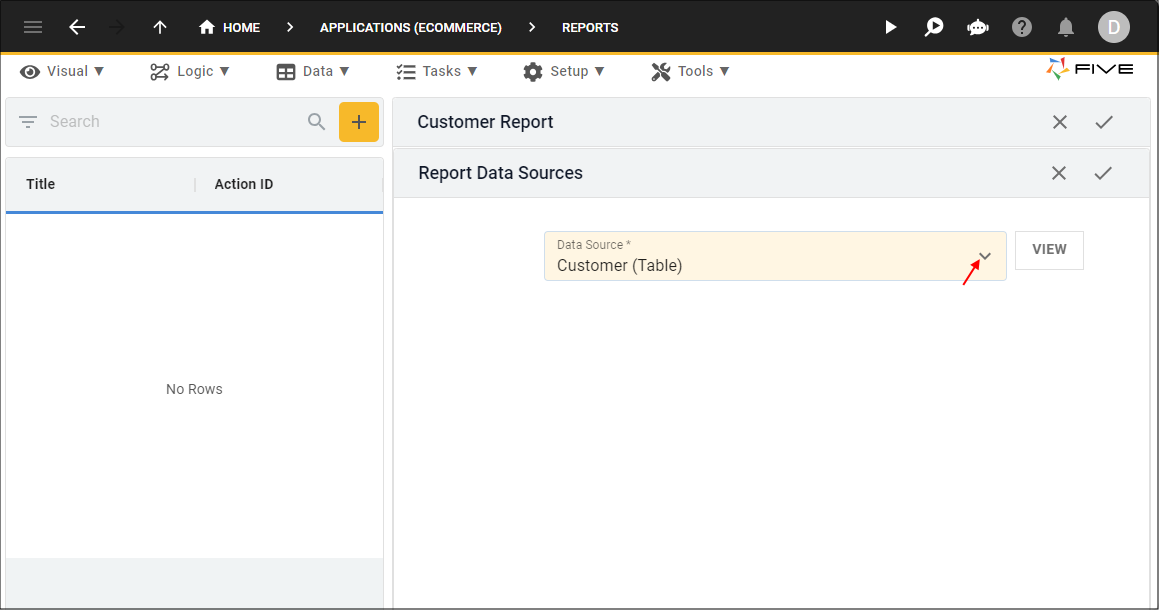
Figure 5 - Add the data source
6. Click the Save button in the form app bar.
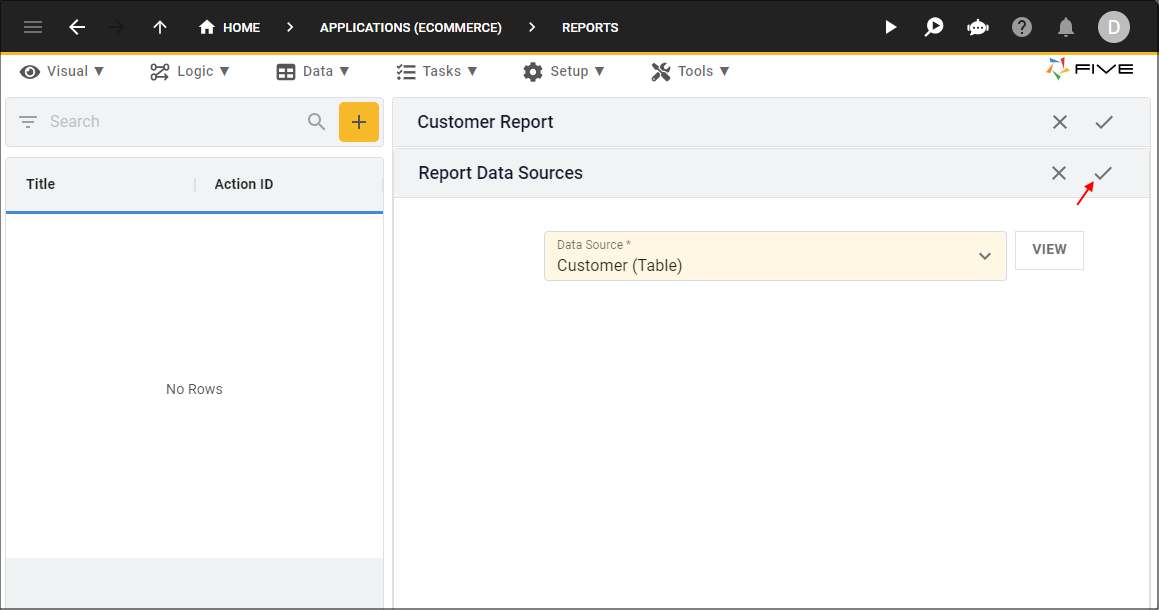
Figure 6 - Save the data source
7. Click the General tab.
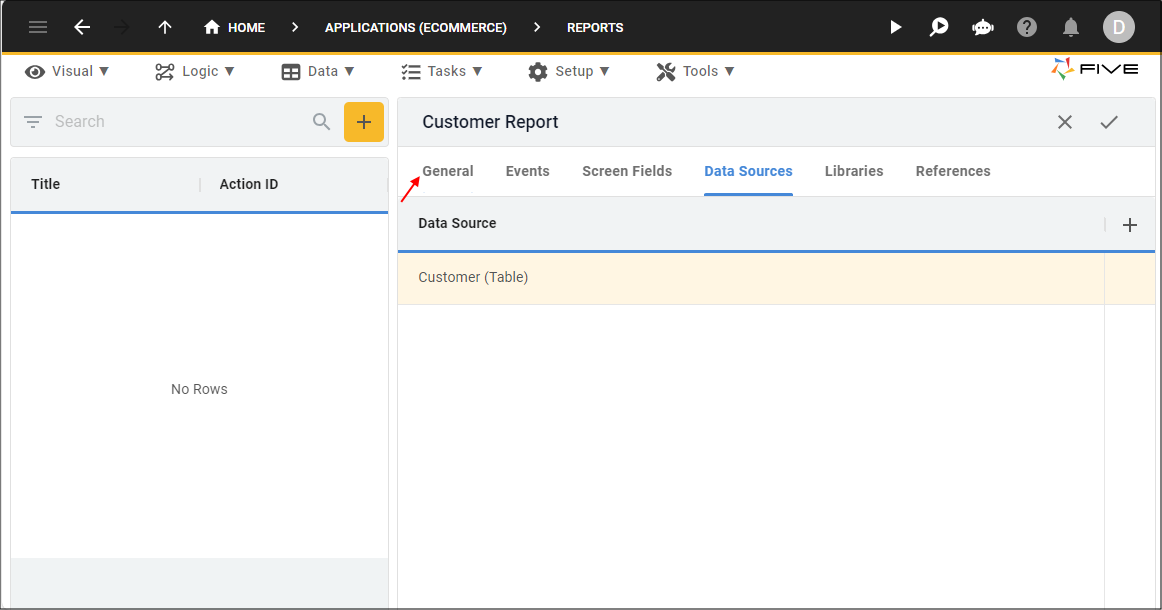
Figure 7 - General tab
8. Click in the Template field to open the editor.

Figure 8 - Template field
Add a Table
1. Click the Insert Table button.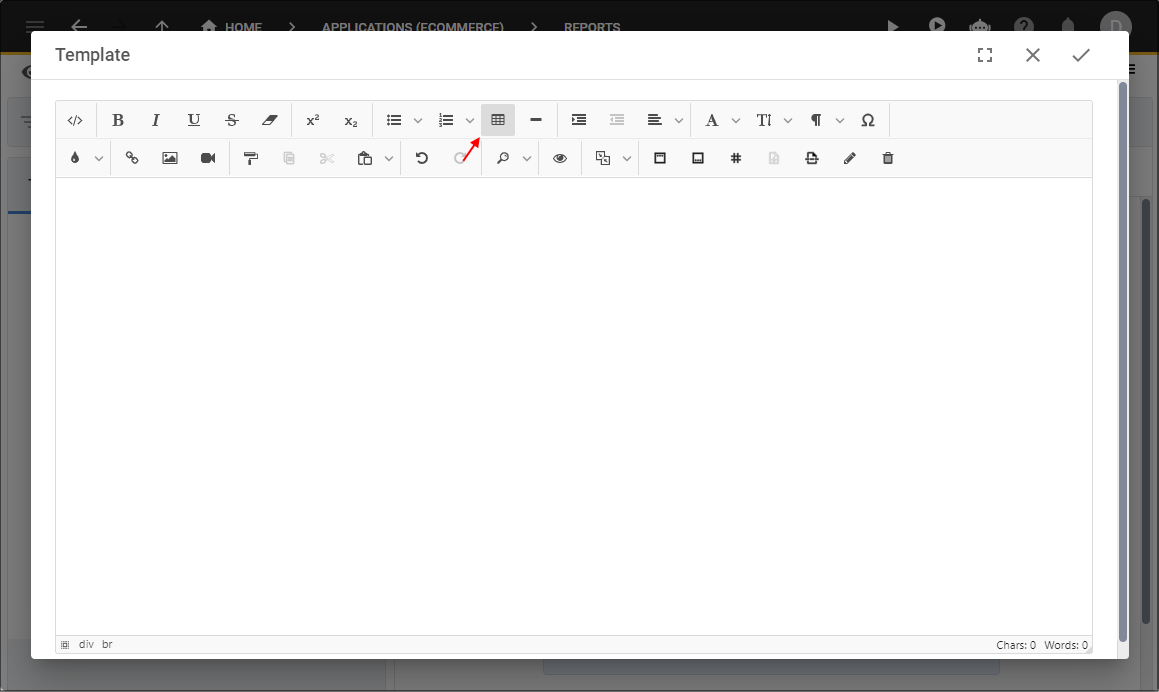
Figure 9 - Insert Table button
2. Highlight and click your mouse for the number of columns and fields required.
tip
Five adds extra columns and rows if needed when selecting your fields!
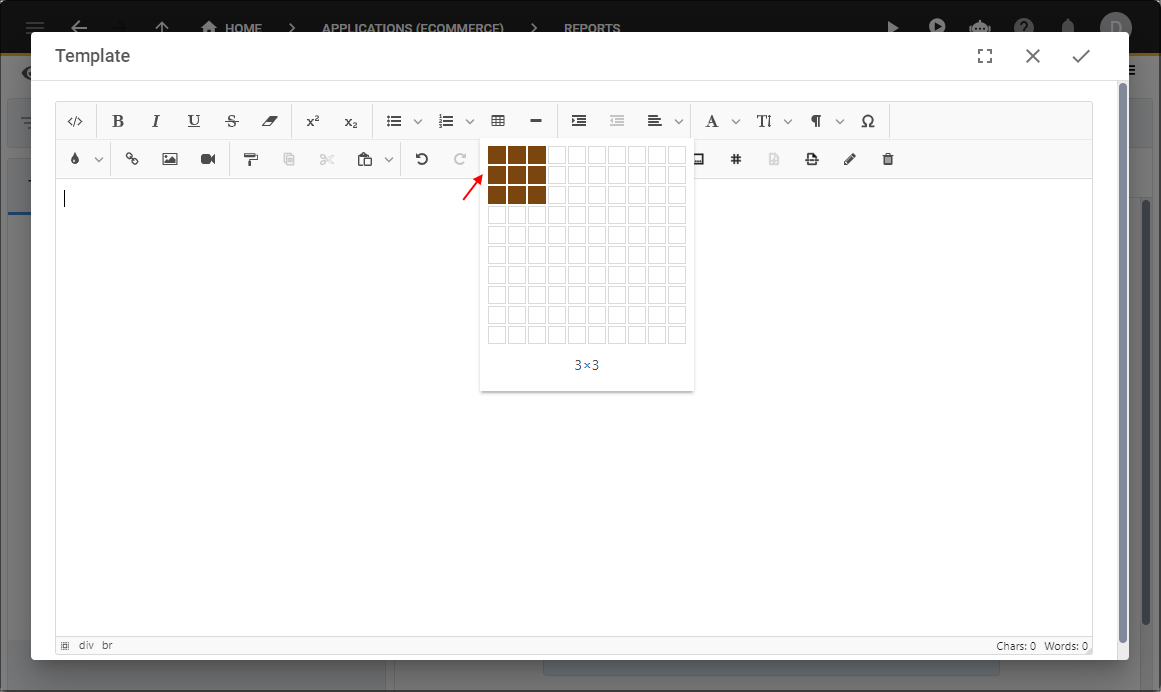
Figure 10 - Highlight table area
Add the Captions for the Table
1. Click the Insert Fields button.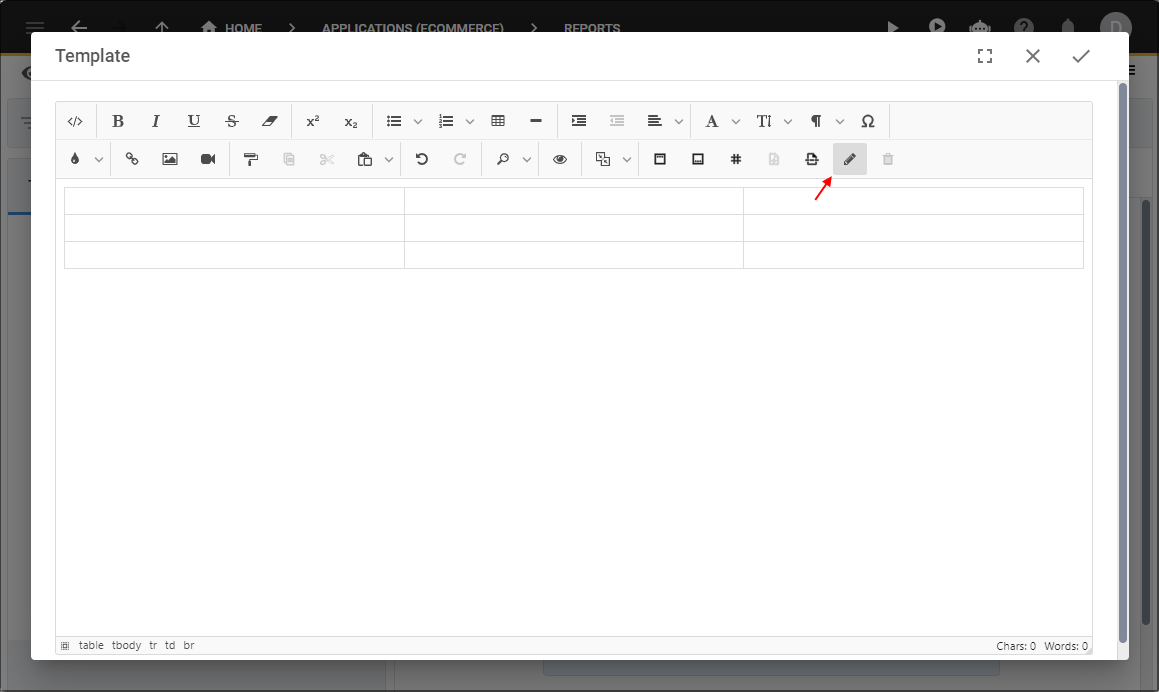
Figure 11 - Insert Fields button
2. Click the lookup icon in the Data Source field and select your data source.
3. Click the lookup icon in the Reserved Field and select Captions.
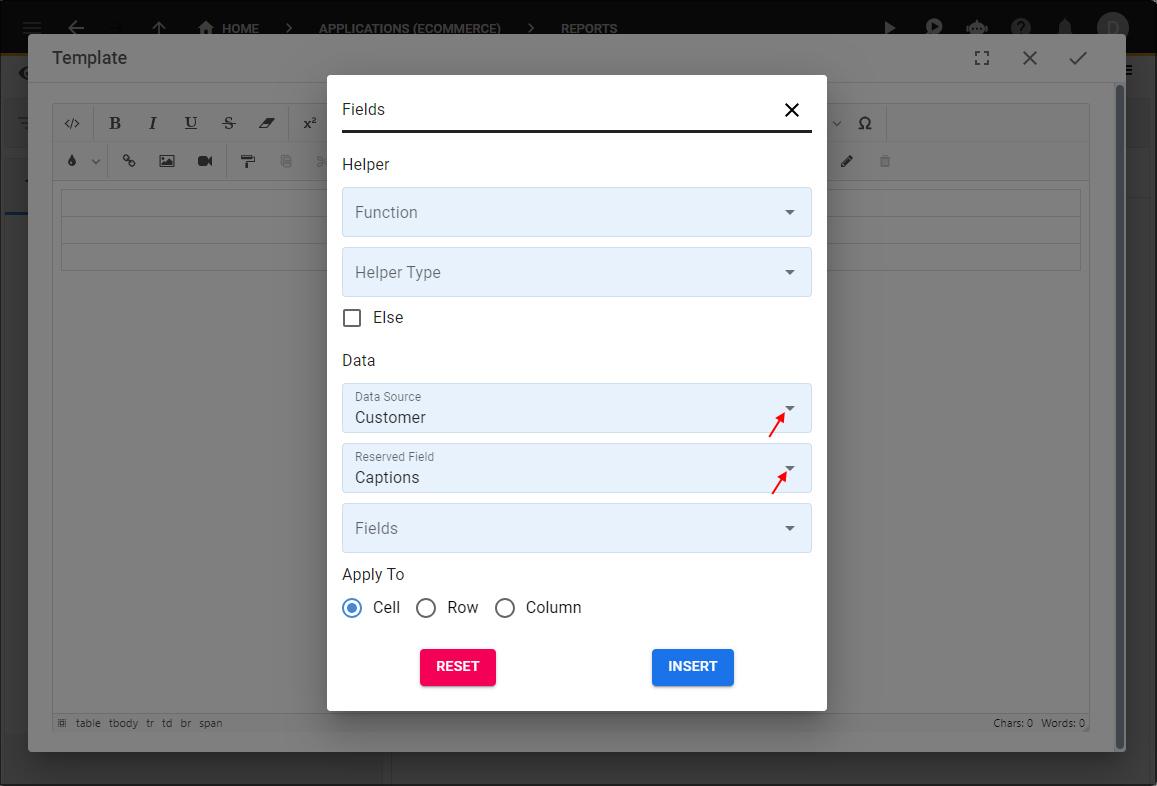
Figure 12 - Select the data source and reserved field
4. Click the lookup icon in the Fields field and select your fields.
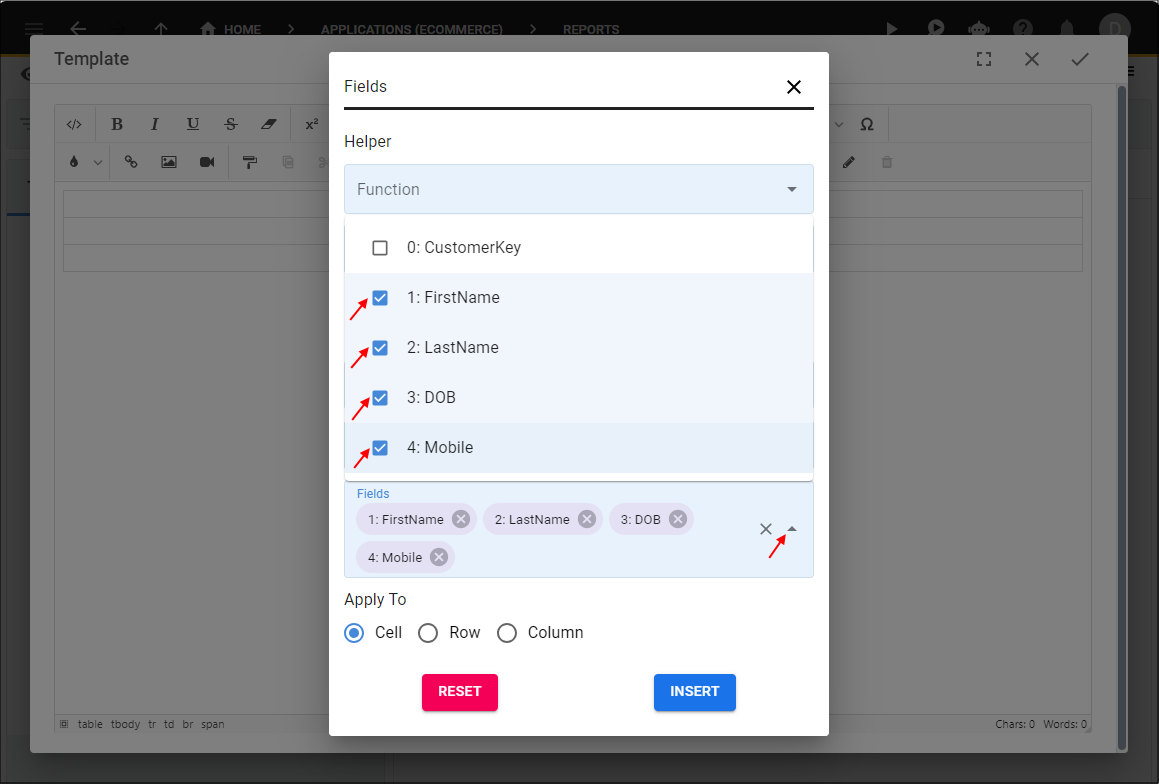
Figure 13 - Select the fields
5. Click the Row option.

Figure 14 - Row option
6. Click the Insert button.
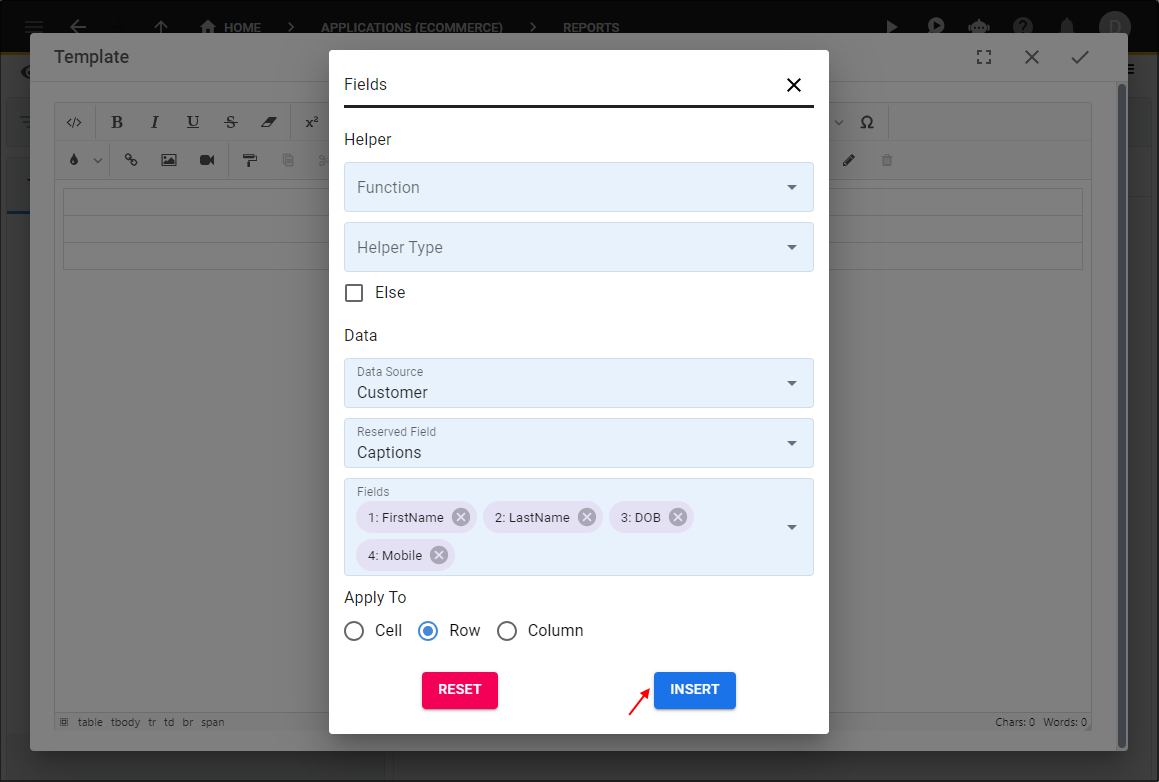
Figure 15 - Insert button
info
These are now the captions for your table. You can edit these in the template if required.
Add the Records for the Table
1. Click in the first available cell.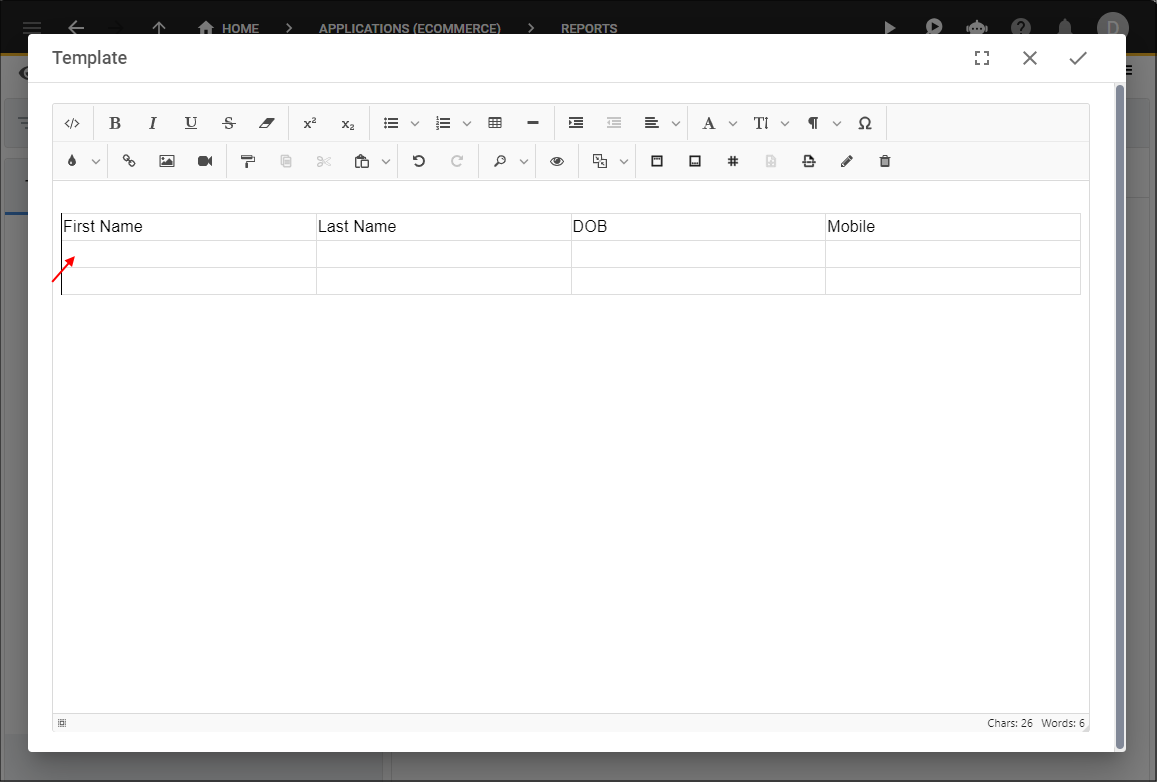
Figure 16 - Cell
2. Click the Insert Fields button.
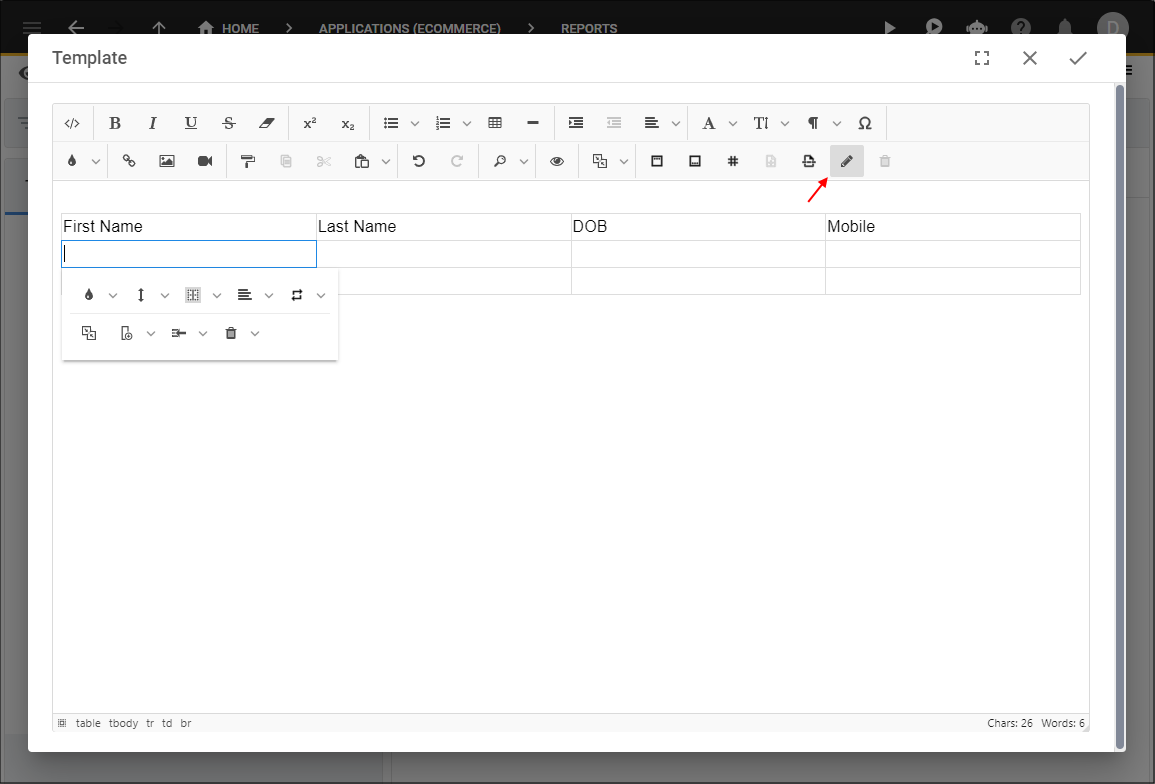
Figure 17 - Insert Fields button
3. Click the lookup icon in the Function field and select
Built-In: each
.info
The
Built-In: each
helper function is used to separate the records in your data source.4. Click the lookup icon in the Data Source field and select your data source.
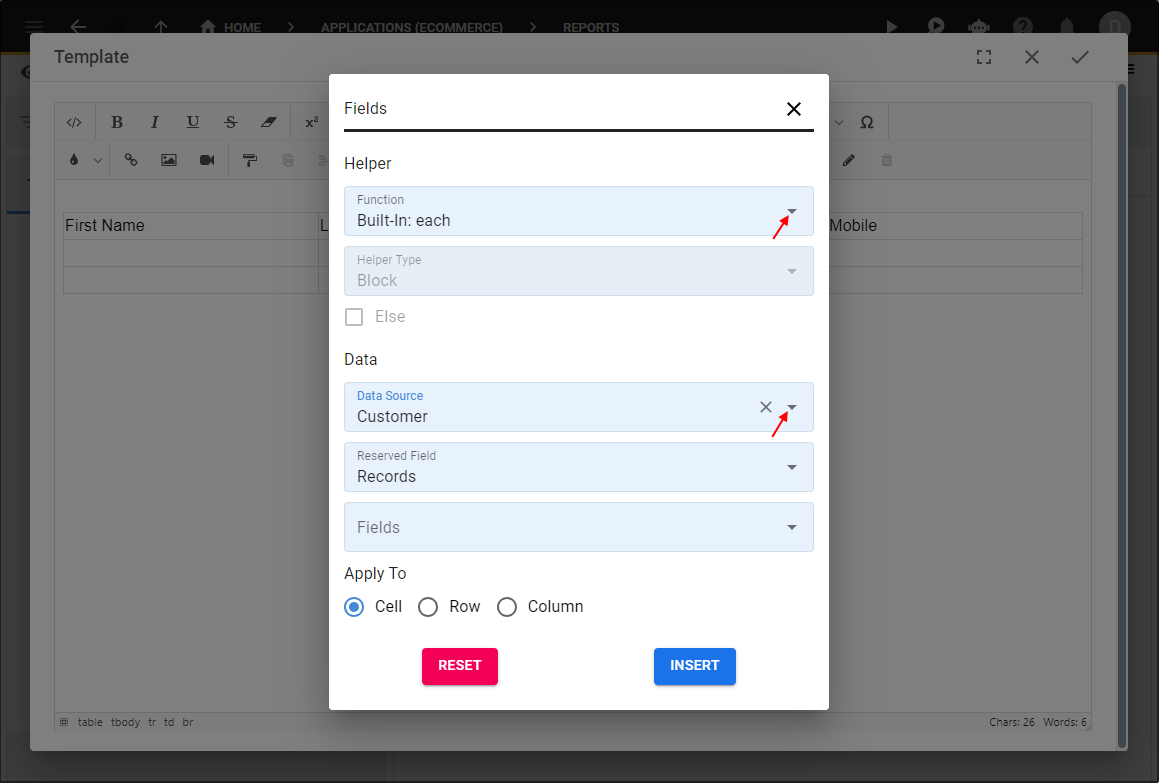
Figure 18 - Select function and data source
5.Click the lookup in the Fields field and select your fields.
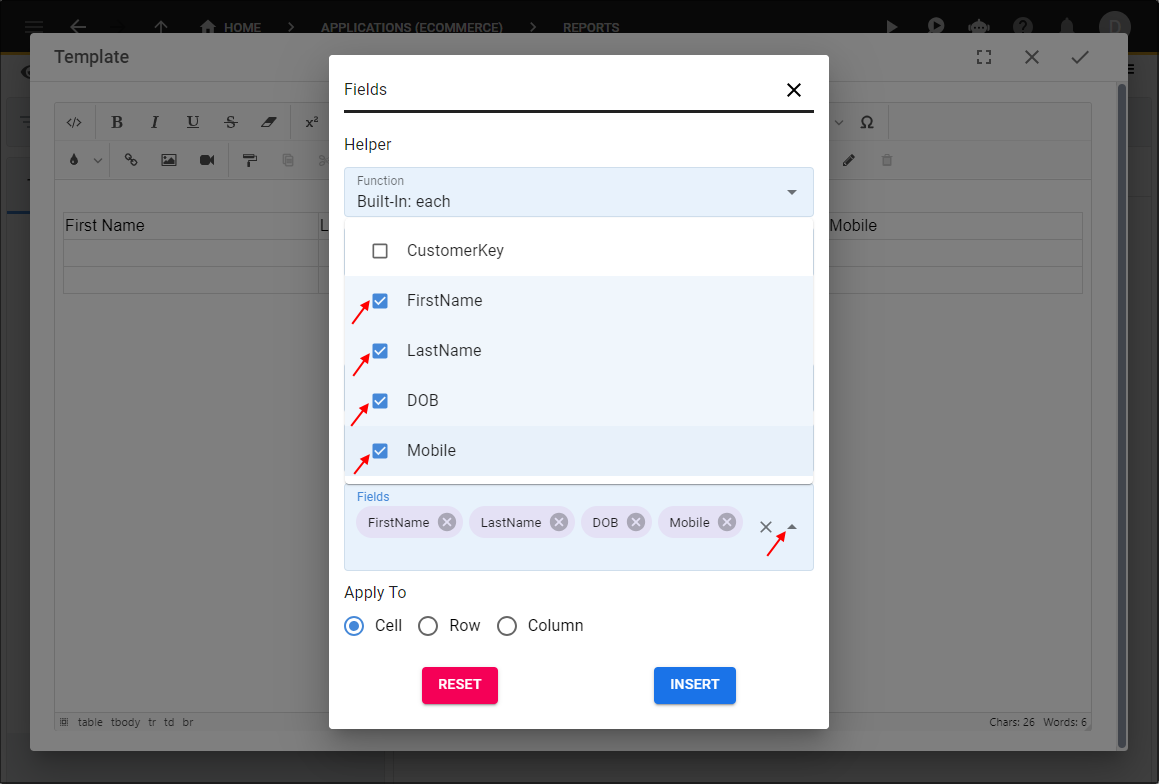
Figure 19 - Select the fields
6. Click the Row option.
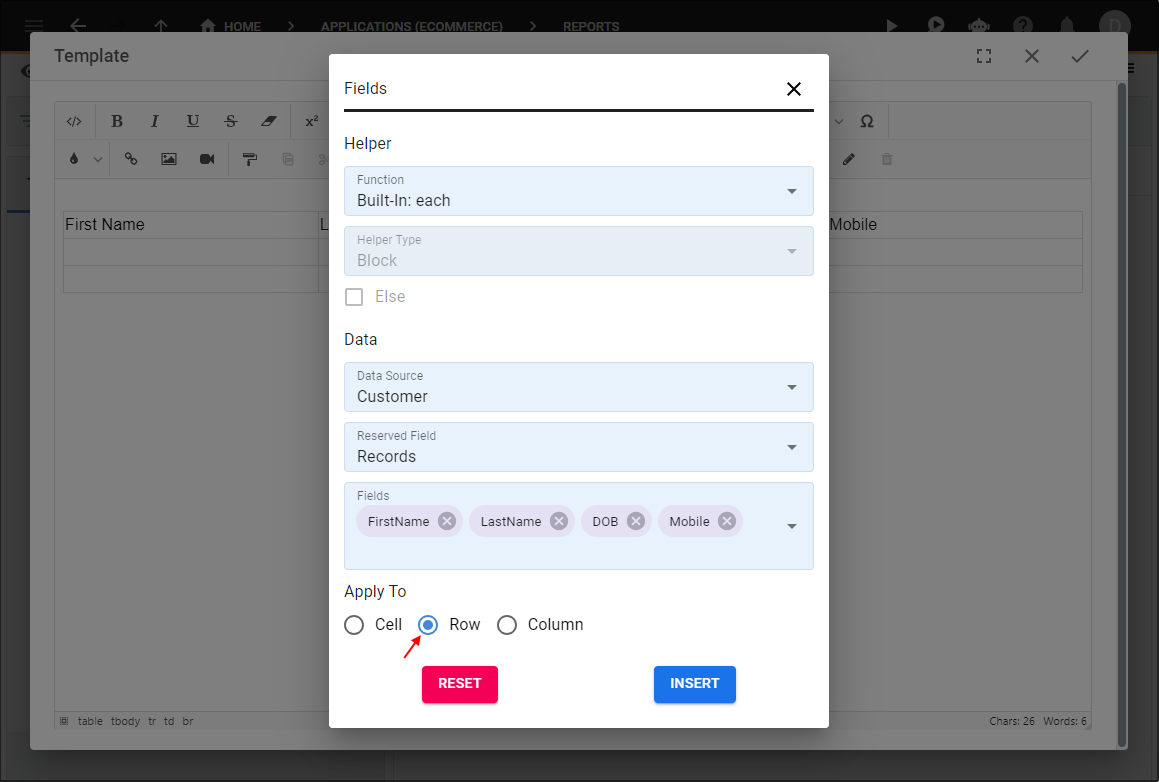
Figure 20 - Row option
7. Click the Insert button.
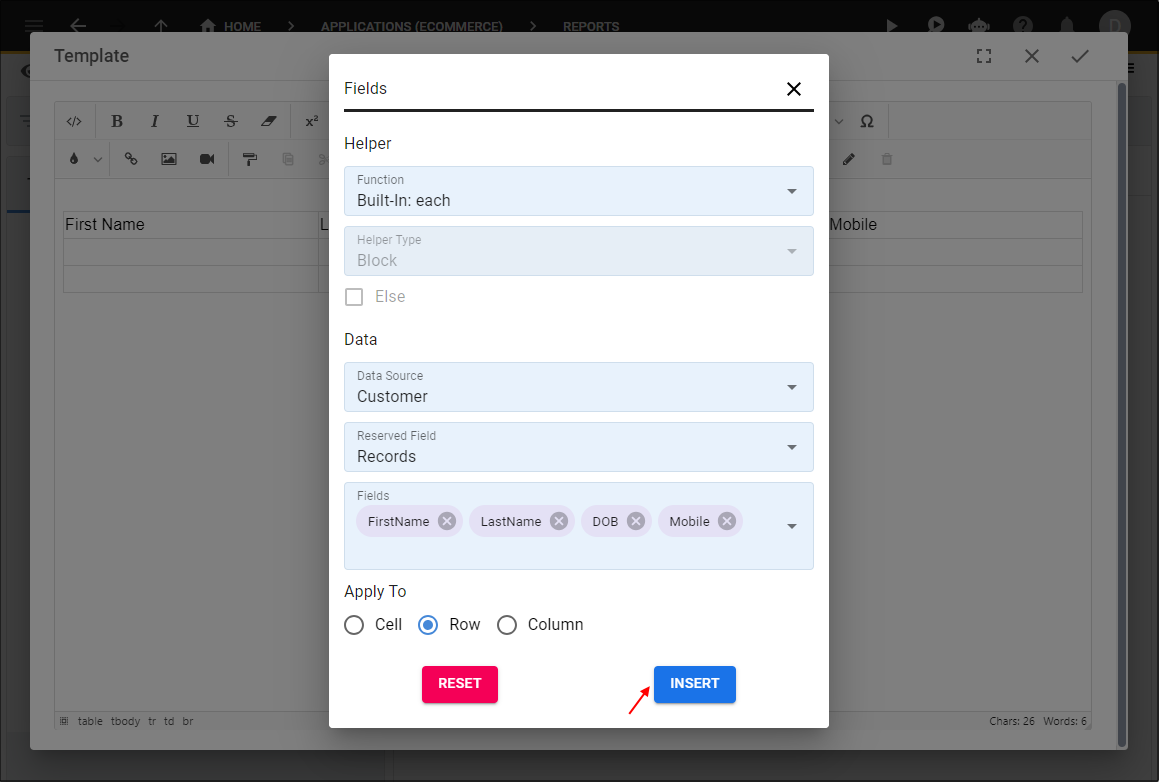
Figure 21 - Insert button
8. Click the Save button in the editor.
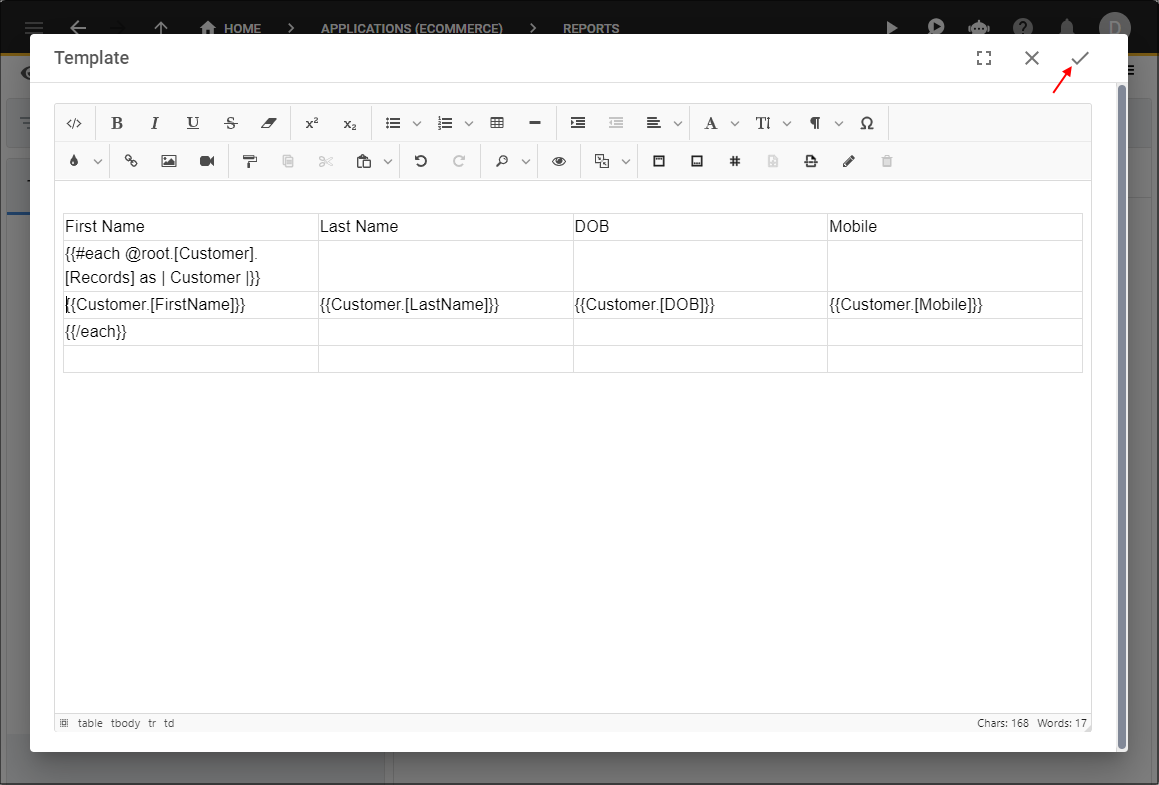
Figure 22 - Save the template
9. Click the Save button in the form app bar.
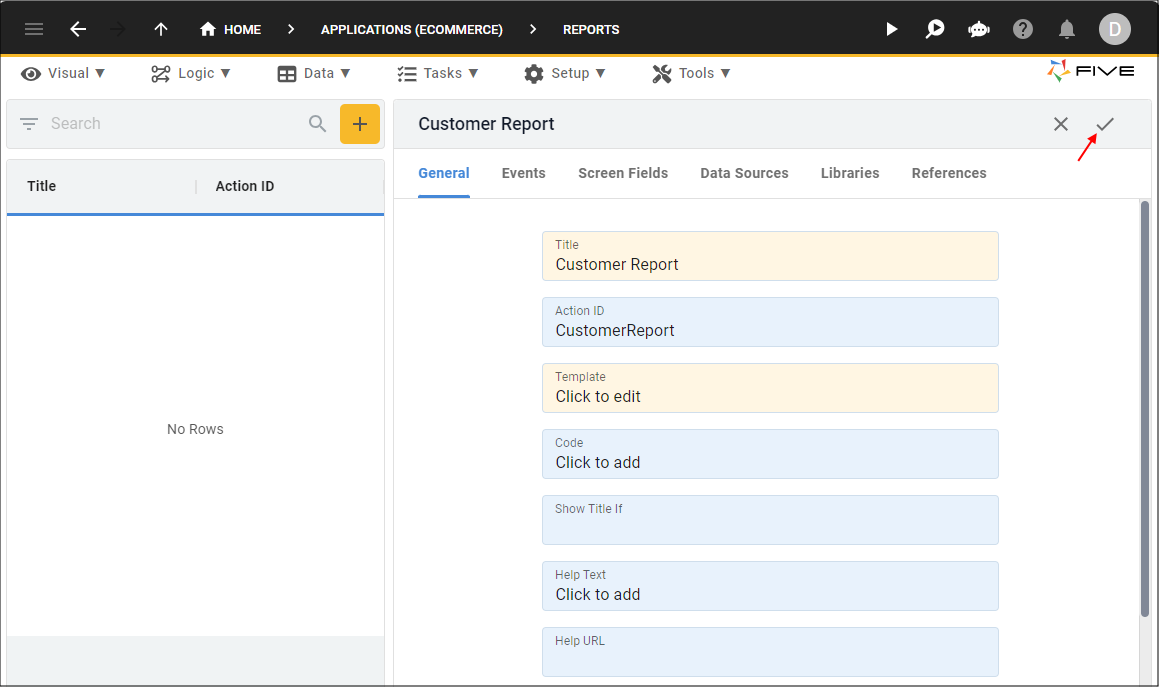
Figure 23 - Save the report
info
To have access to your report, you will need to create a menu item for it before you run it.
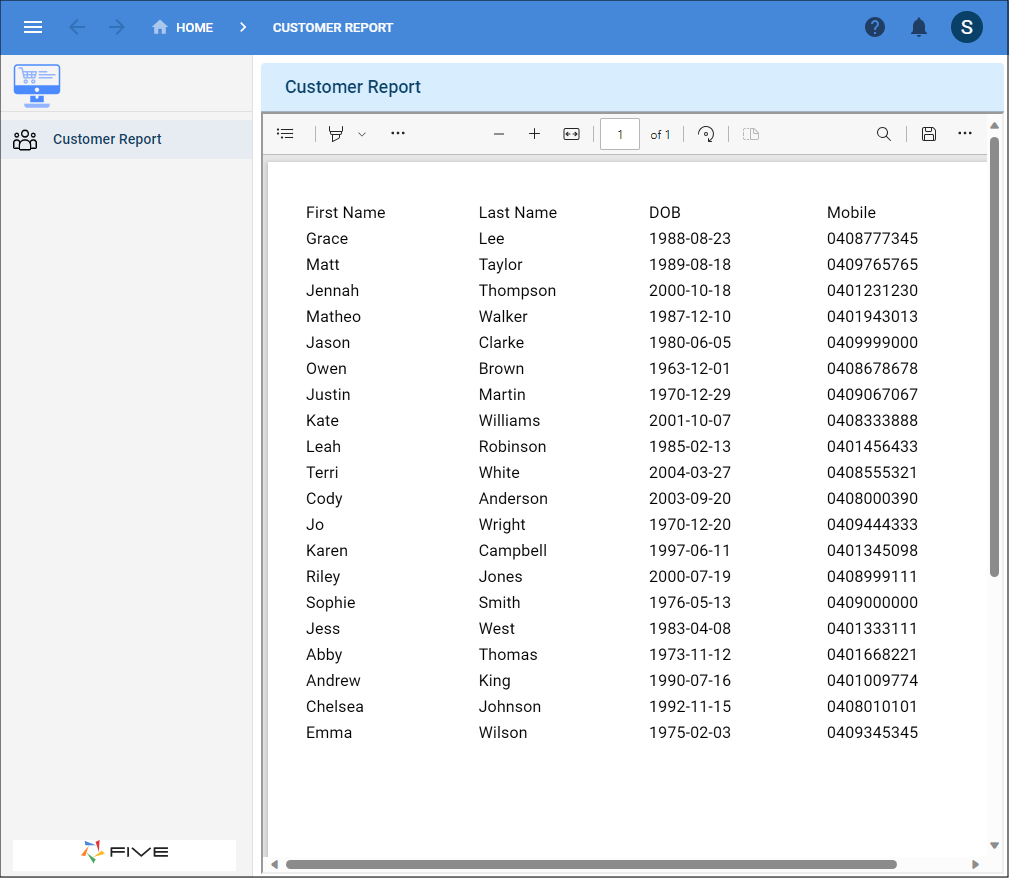
Figure 24 - Customer report