Before you Begin
Last updated 11/10/2023
The New to Five's Reports chapter will give you the basic knowledge to get your first report created. A customer table will be used to learn how to connect with a table in your database. After this you will learn how to:- Add a table with captions and records
- Separate rows
- Add a header
- Separate records
- Insert your company's logo
- Add a footer
- Select page format
- Color the PDF background
- Print your report
Create a Customer Table
First of all, we will create a Customer table. You can create a new application or use an existing training application to do this. The fields for the table are listed below, however, the steps to add the table and fields are also provided.info
Whichever way you decide to add your fields, please download and import the customer.csv file so that you have some data to play with.
Customer
| Name | Data Type | Size |
|---|---|---|
| FirstName | Text | 100 |
| LastName | Text | 100 |
| DOB | Date | N/A |
| Mobile | Text | 20 |
1. Click the Manage button on the application record.
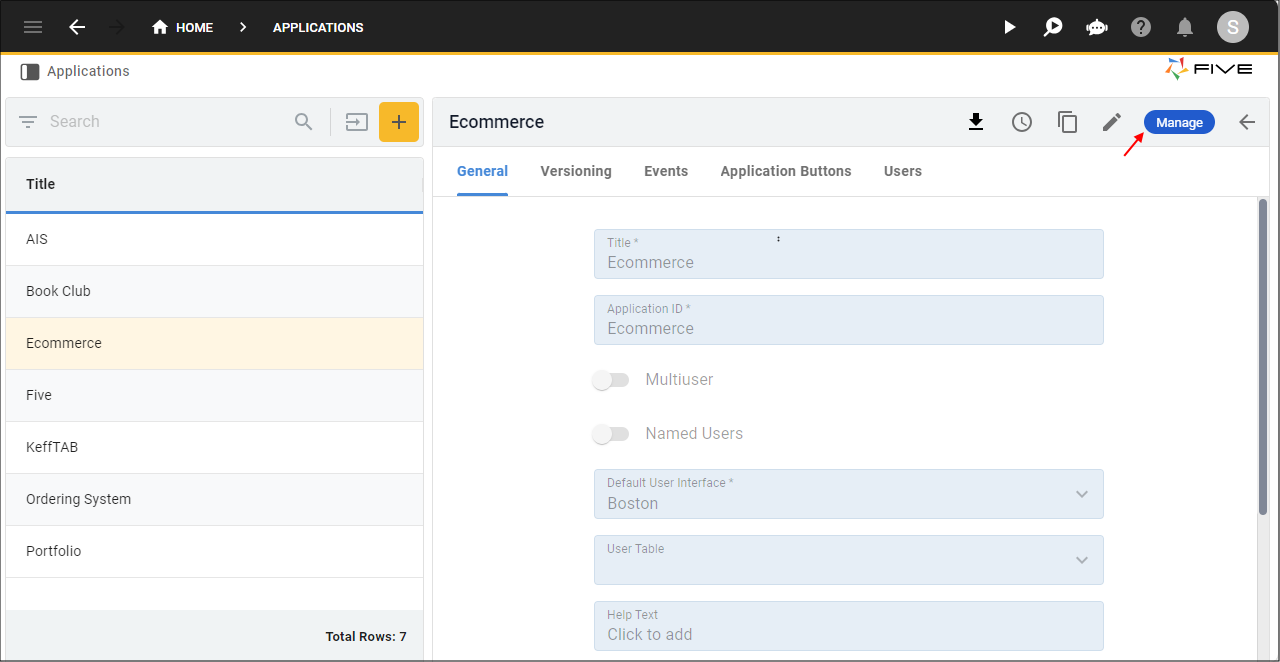
Figure 1 - Manage button
2. Select Data in the menu.
3. Select Table Wizard in the sub-menu.
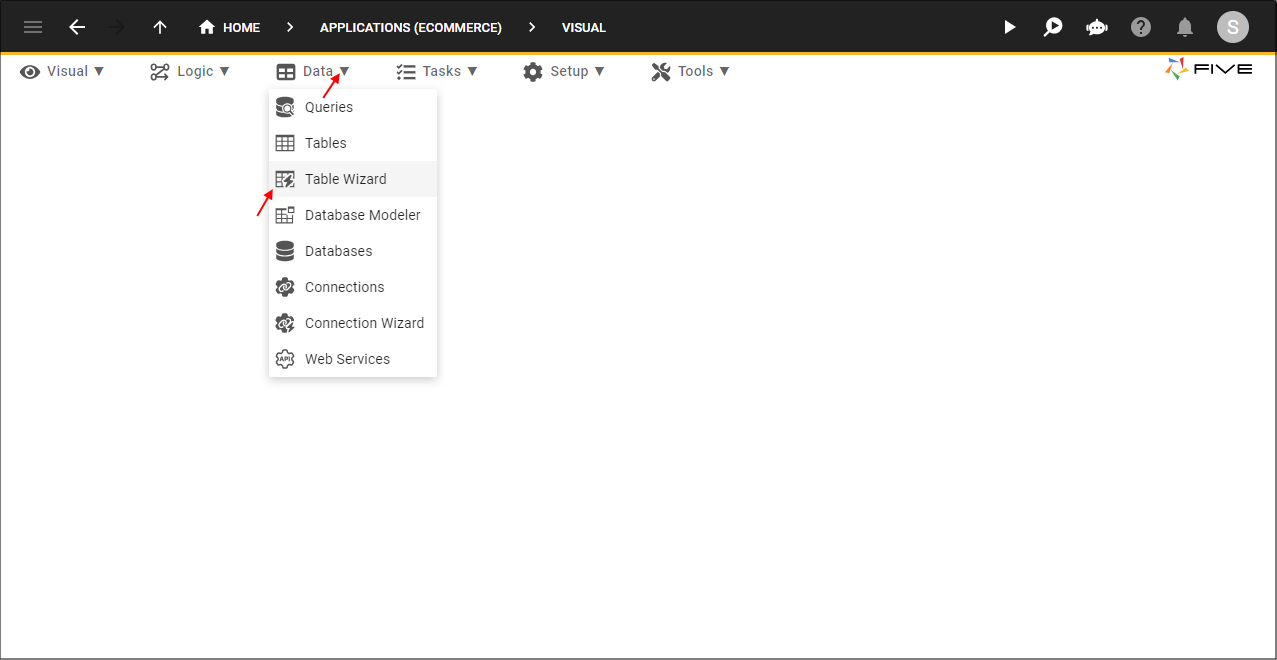
Figure 2 - Table Wizard menu item
4. Type Customer in the Name field.
5. Click the Add Fields button.
6. Type FirstName in the Name field.
7. Type 100 in the Size field.
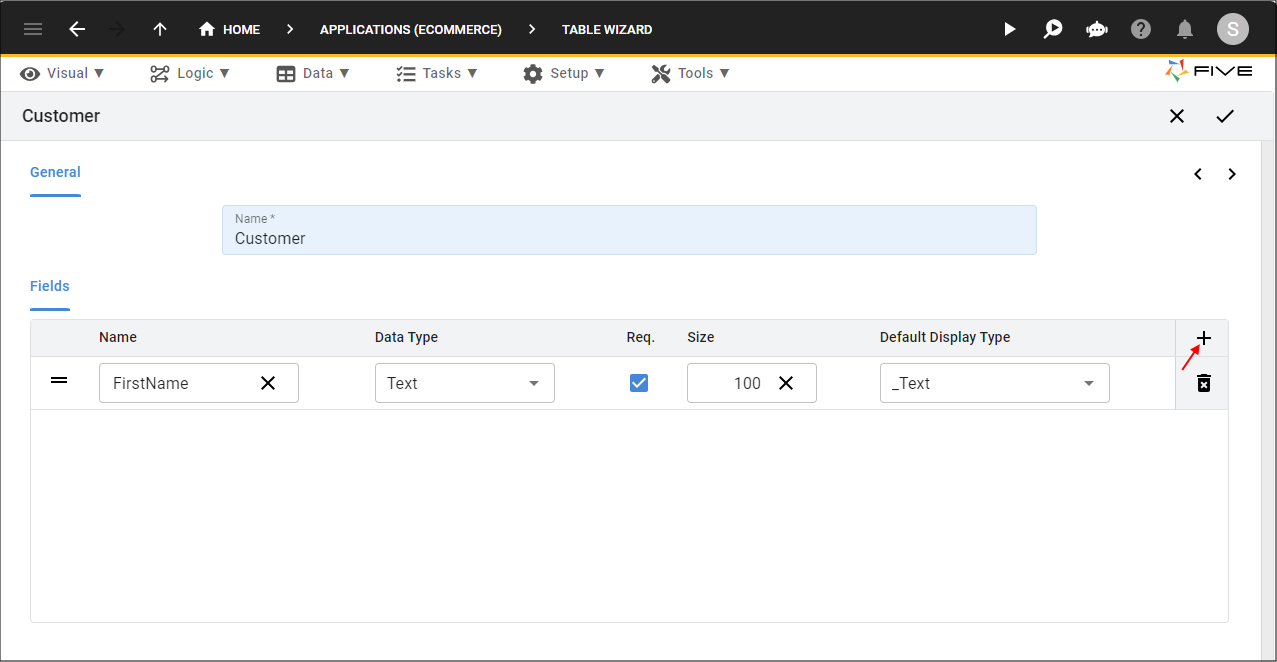
Figure 3 - Add the Customer table and the FirstName field
8. Click the Add Fields button.
9. Type LastName in the Name field.
10. Type 100 in the Size field.
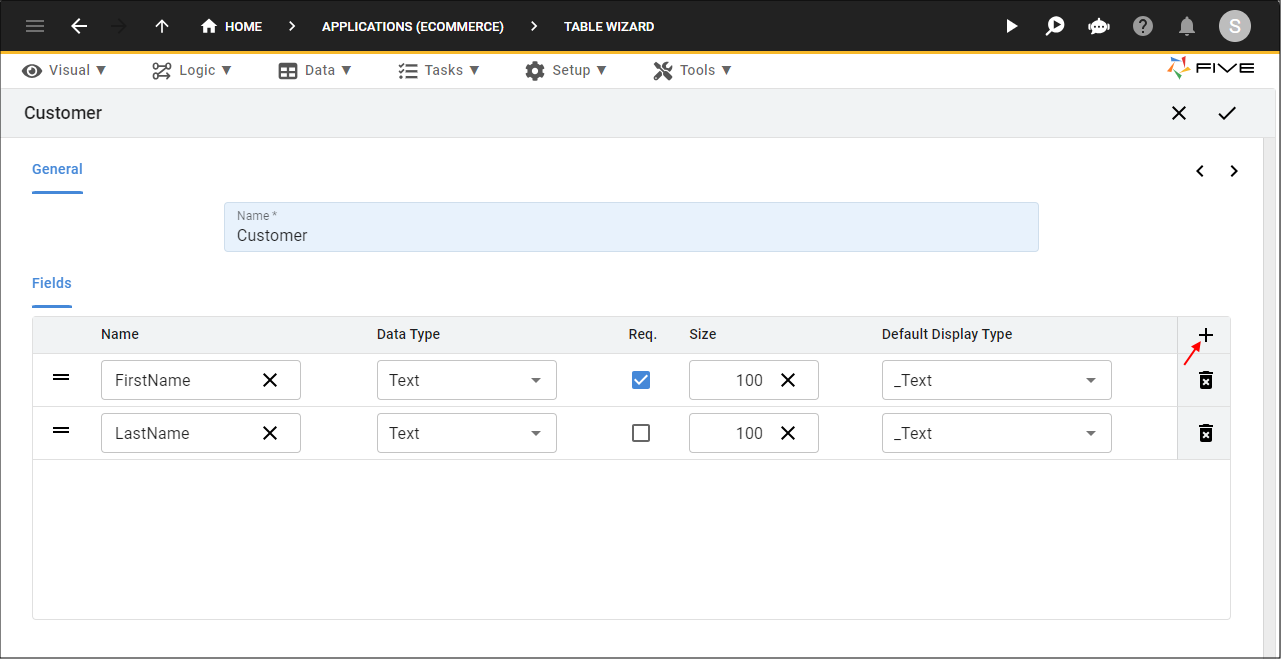
Figure 4 - Add the LastName field
11. Click the Add Fields button.
12. Type DOB in the Name field.
13. Click the lookup icon in the Data Type field and select Date.
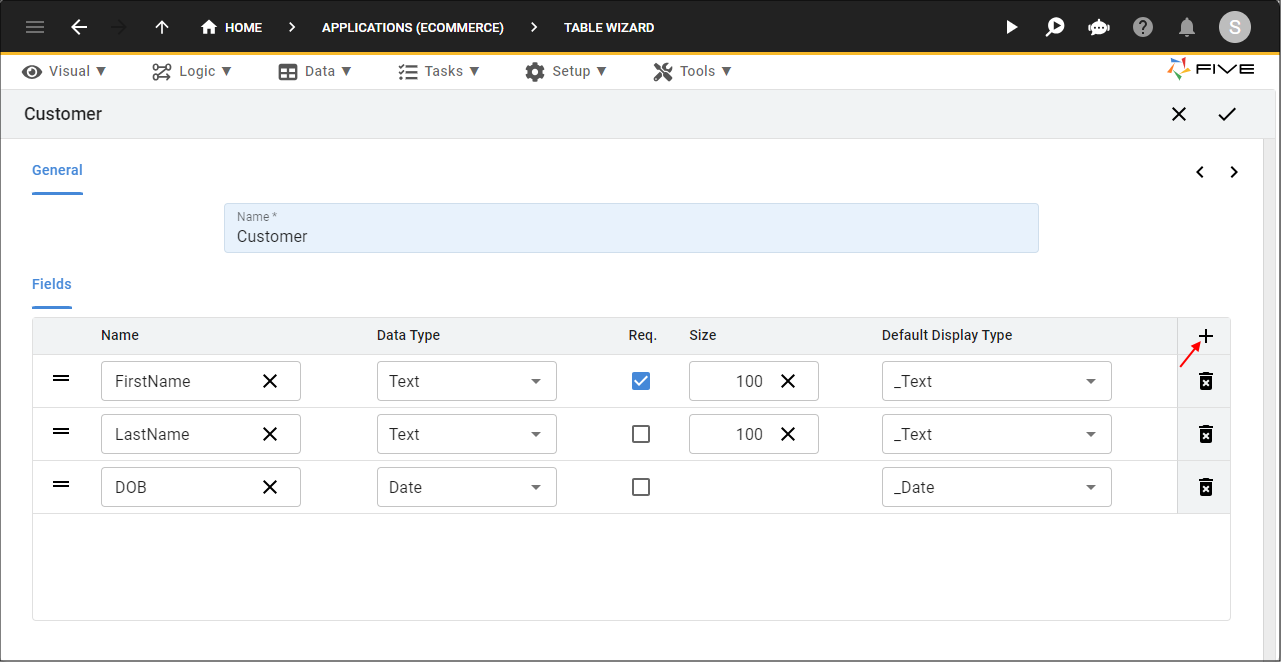
Figure 5 - Add the DOB field
14. Click the Add Fields button.
15. Type Mobile in the Name field.
16. Type 20 in the Size field.

Figure 6 - Add the Mobile field
17. Click the Save button in the Table Wizard app bar.

Figure 7 - Save the Customer table
18. Click the Save button in the Table Upgrade window.
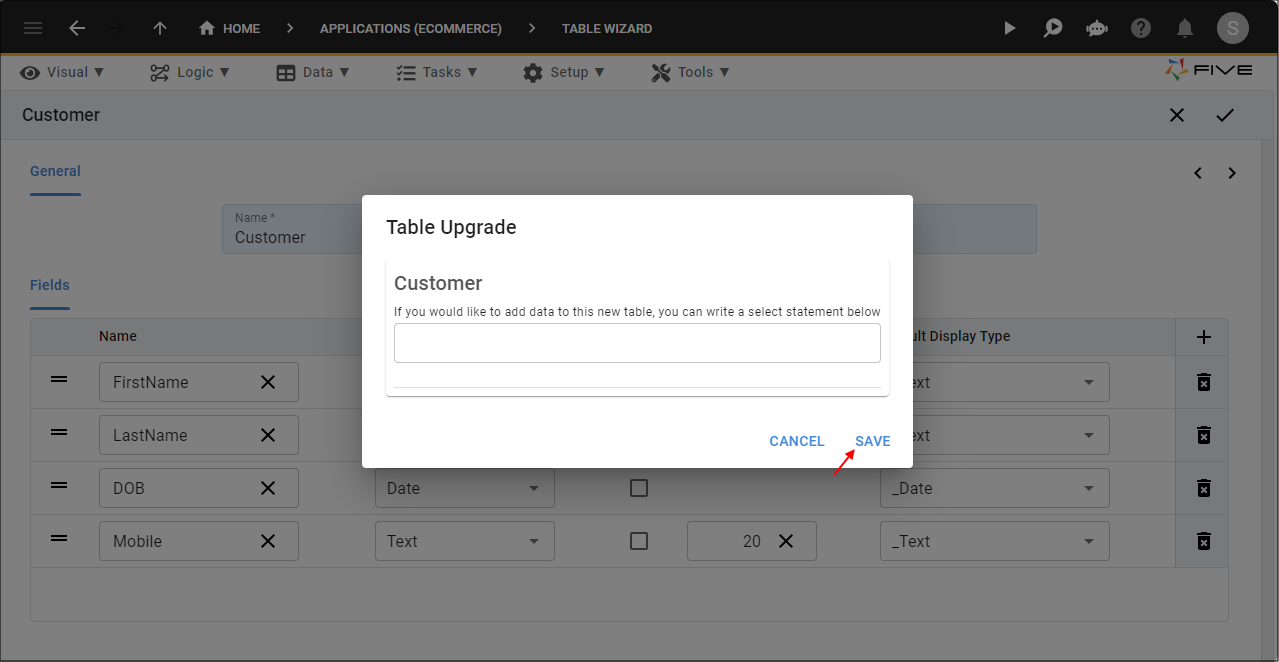
Figure 8 - Save the table upgrade
Import the customer.csv File
info
If you haven't already downloaded the customer.csv file, click here.
1. Select Data in the menu.
2. Select Tables in the sub-menu.
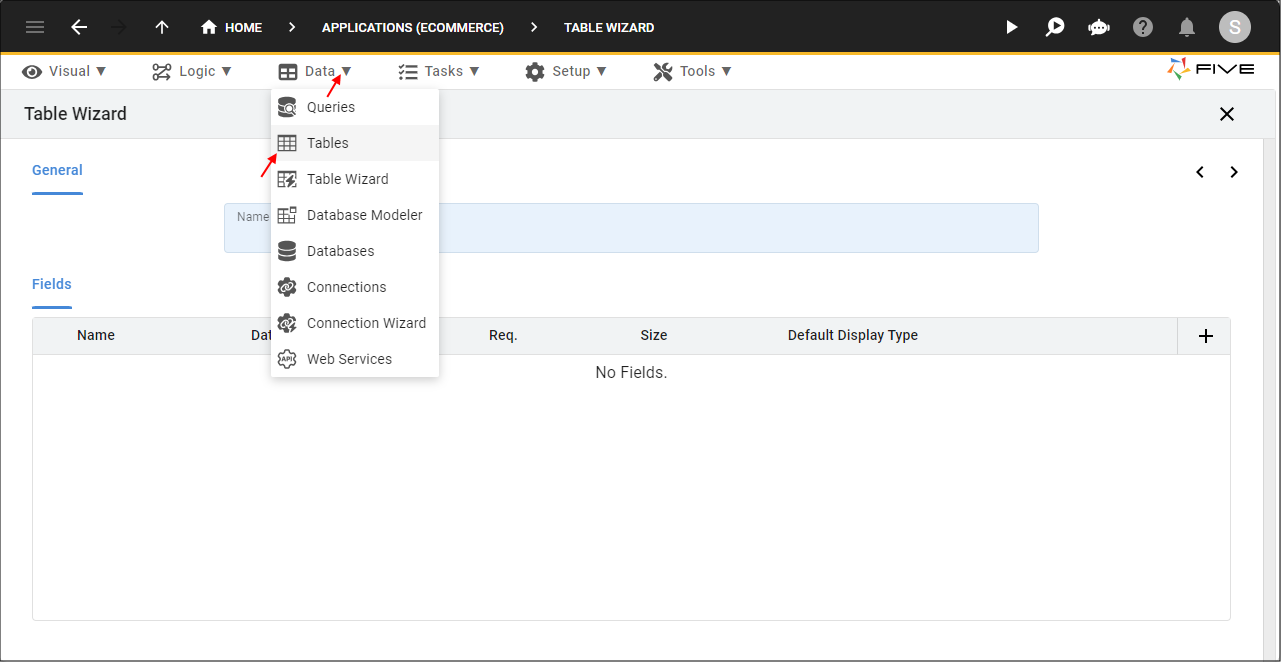
Figure 9 - Tables menu item
3. Click the Import CSV into Table button.
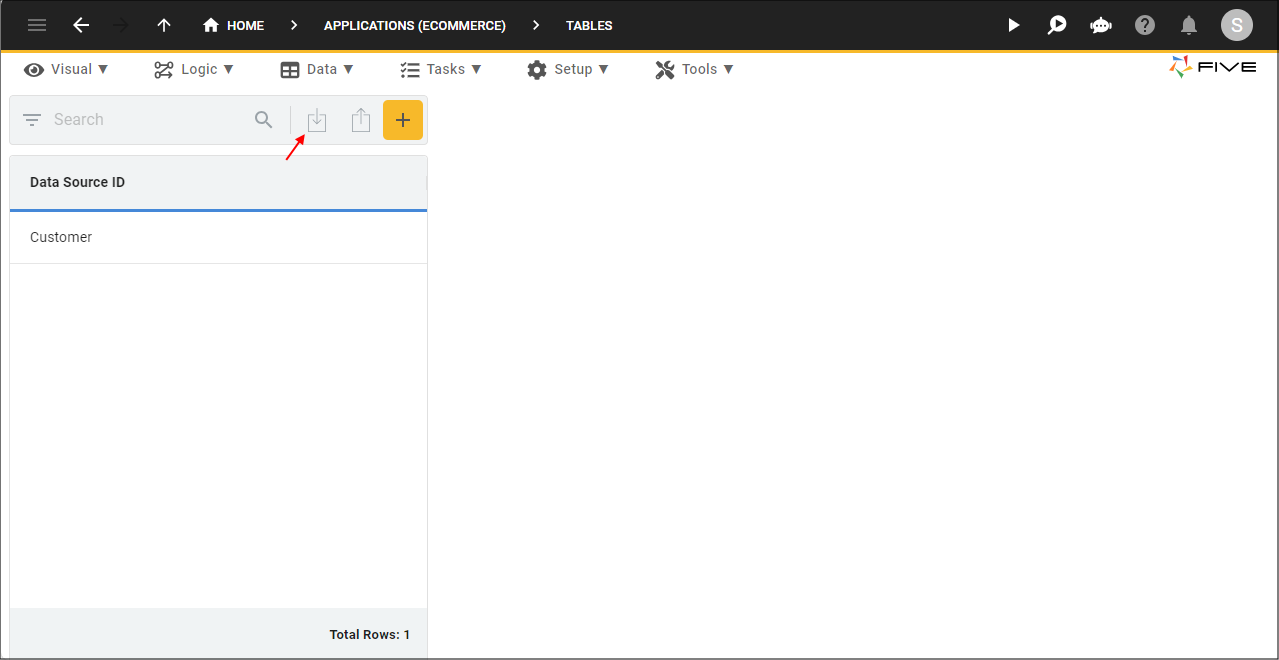
Figure 10 - Import CSV into Table button
4. Click the lookup icon in the Table field and select Customer.
5. Click the Choose File button, navigate and open the customer.csv file.
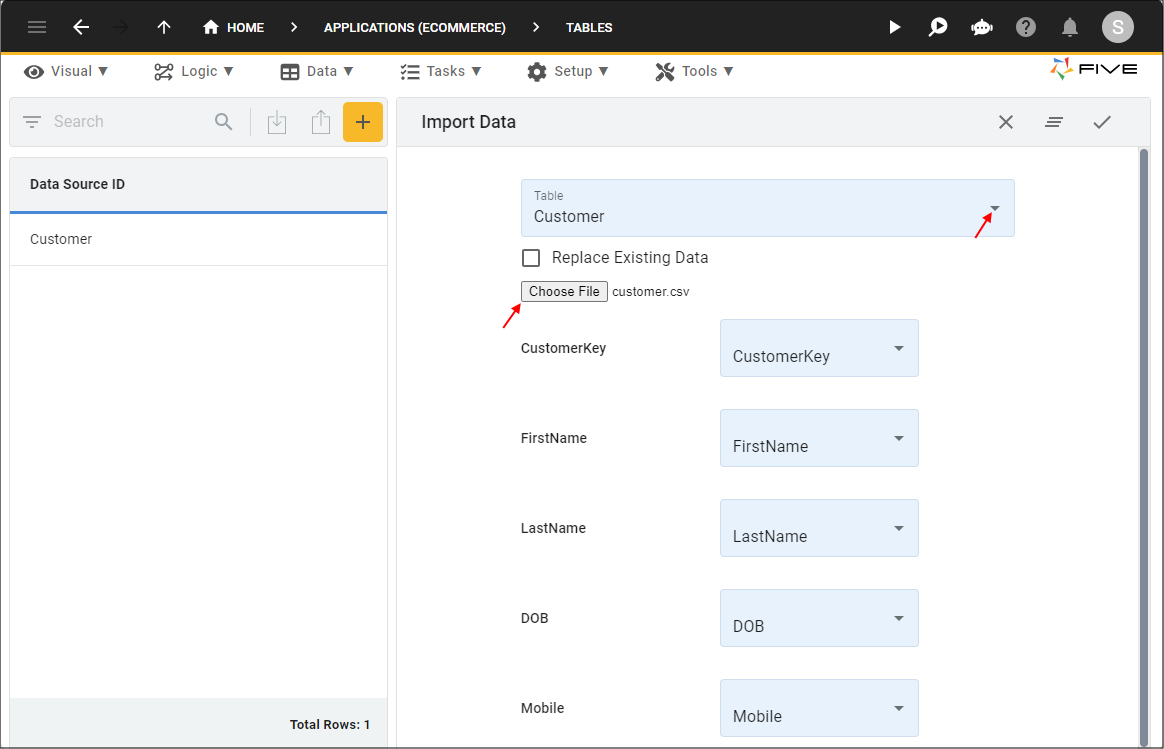
Figure 11 - Import the customer.csv file
6. Click the Save button.
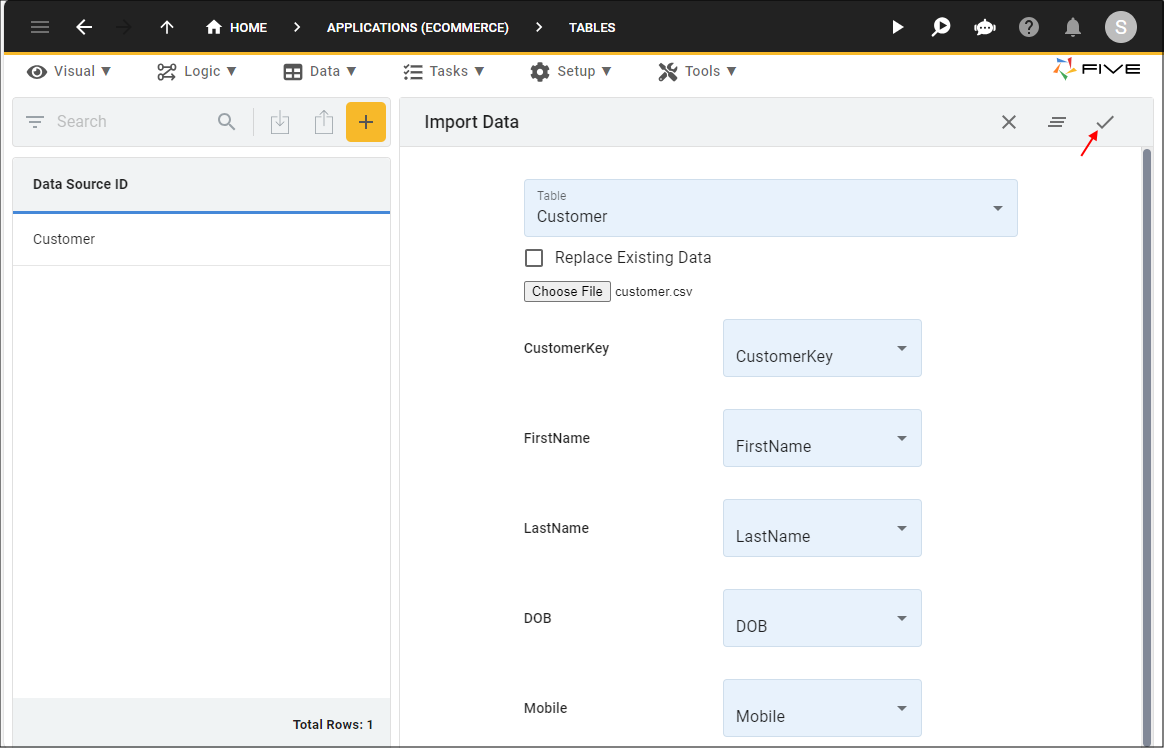
Figure 12 - Save the import
7. Click the OK button.
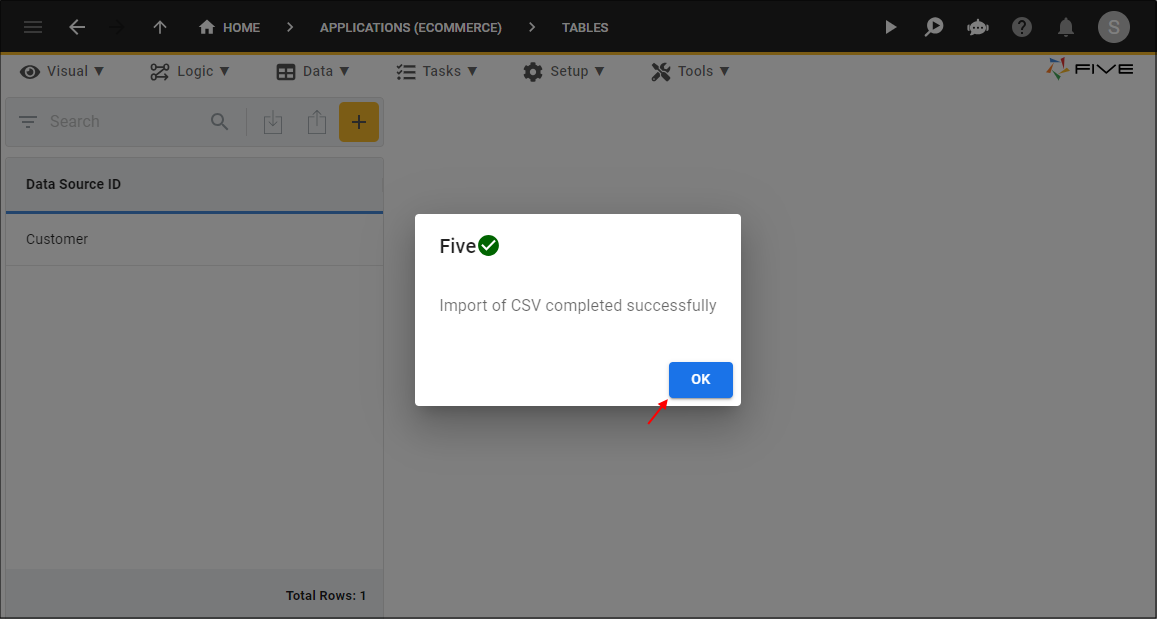
Figure 13 - Ok Button