Quick Guide
Last updated 12/04/2022
Quick Operations
The following is a quick guide for the basic fundamentals when in the Table and Fields Designer.
Add a Table
- Click the Add Table button.

Figure 1 - Add Table button
- Click a table name.
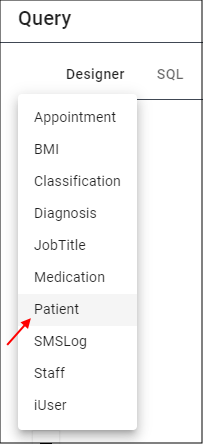
Figure 2 - Select table name
Remove the Table Selector Dialog Box
- Click outside the the Table Selector Dialog Box.
Position a Table
Click, hold, and drag the table to the desired position.
Release the table.
Remove a Table
- Click the Cancel button in the header of the table.
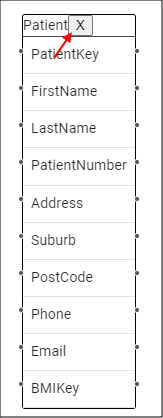
Figure 3 - Remove table
Add a Field
- Double click a field name in the table.
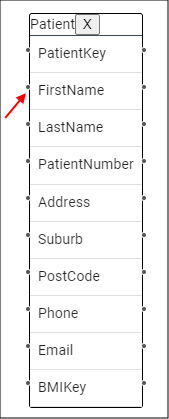
Figure 4 - Select field name
Change a Field
- Click the lookup icon in the Field field.
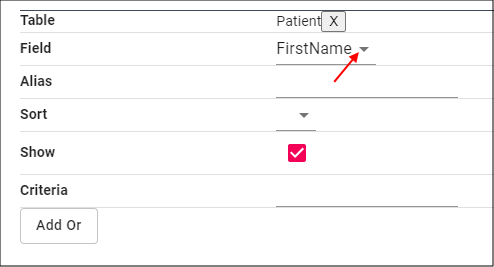
Figure 5 - Field lookup
- Select a new field name.
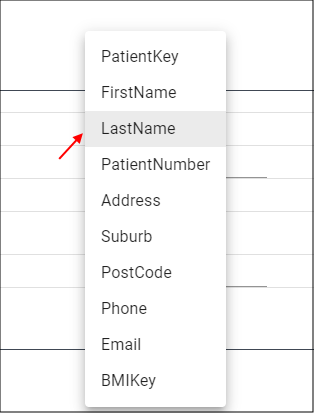
Figure 6 - Select field name
Remove a Field
- Click the Cancel button for the table and field selection.
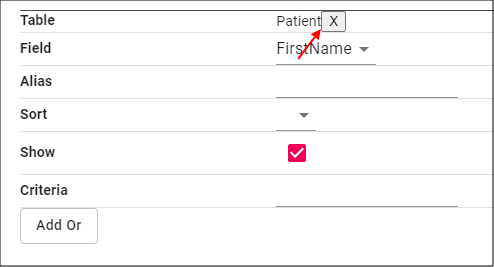
Figure 7 - Remove a field
Unshow a Field
- Click the Show checkbox.
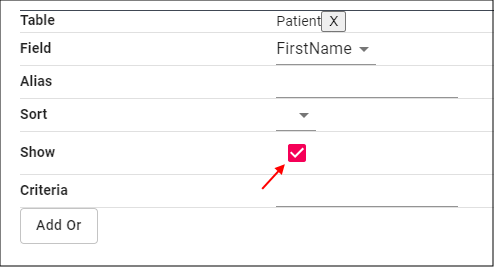
Figure 8 - Show checkbox
Add Criteria to Filter
- Type the clause to filter by in the Criteria field.
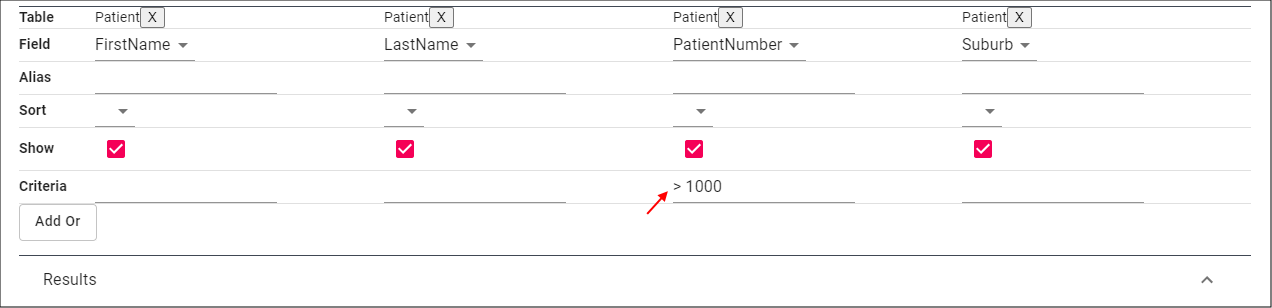
Figure 9 - Criteria field
Add an AND Condition
For field one, type a condition in the Criteria field.
For field two, type a condition in the Criteria field.

Figure 10 - AND condition
Add an Or Condition
- Click the Add Or button.
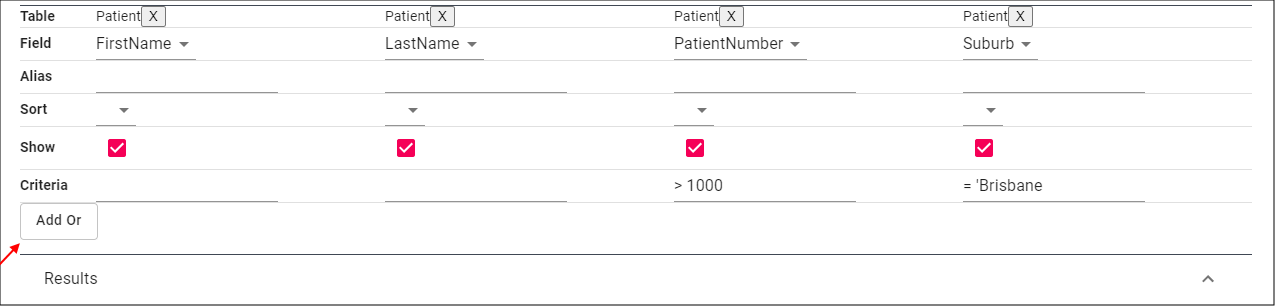
Figure 11 - Add Or button
- Type the OR condition in the Criteria field.
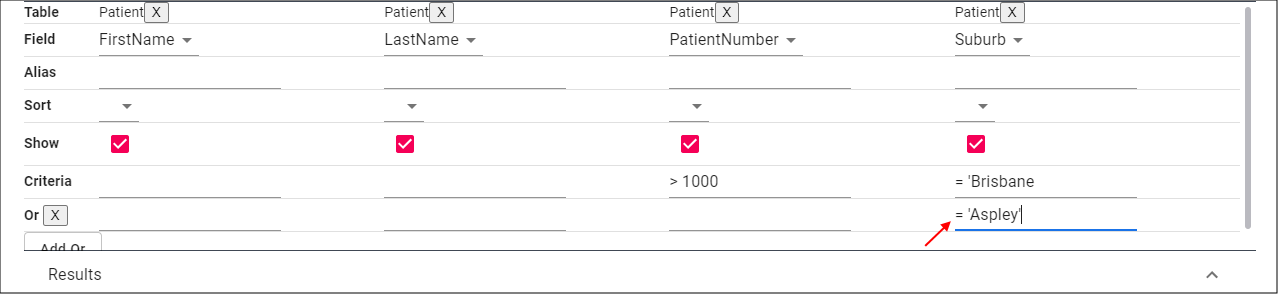
Figure 12 - OR condition
Remove a Row Holding Criteria
- Click the Cancel button at the beginning of the row.
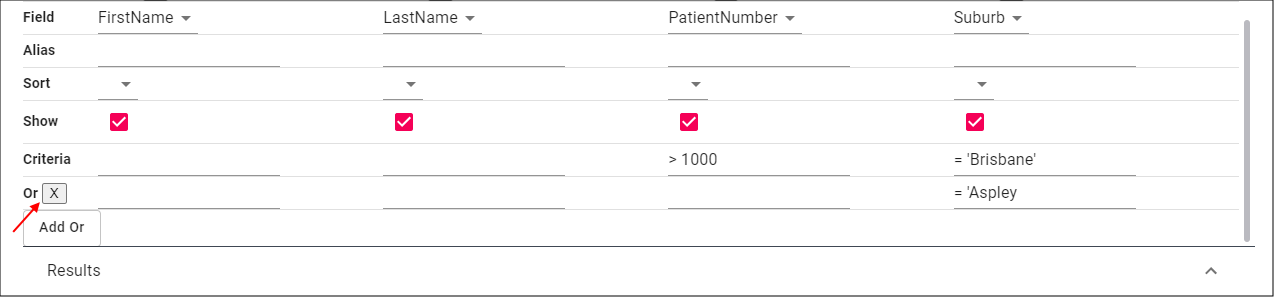
Figure 13 - Remove Criteria field
View the Details of a Relationship
- Click the Cog on the relationship line.

Figure 14 - Cog icon
Close the Relationship Dialog Box
- Click the Close button.
Run the Results
- Click the Run button in the Table and Fields Designer app bar.

Figure 15 - Run button
Enlarge to Fullscreen
- Click the Fullscreen button in the Table and Fields Designer app bar.

Figure 16 - Fullscreen button
Remove Fullscreen
- Click the Exit Fullscreen button in the Table and Fields Designer app bar.

Figure 17 - Exit Fullscreen button
Cancel All Changes
- Click the Cancel button in the Table and Fields Designer app bar.

Figure 18 - Cancel button
Save all Changes
- Click the Save button in the Table and Fields Designer app bar.

Figure 19 - Save button
Zoom In
- Click the Zoom In button.
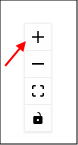
Figure 20 - Zoom In button
Zoom out
- Click the Zoom Out button.

Figure 21 - Zoom Out button
Diagram to Fit Screen
- Click the Fit View button.
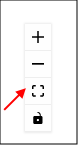
Figure 22 - Fit View button
View SQL
- Click the SQL tab in the Table and Fields Designer app bar.

Figure 23 - SQL Tab
Hide Results
- Click the Hide Results button.
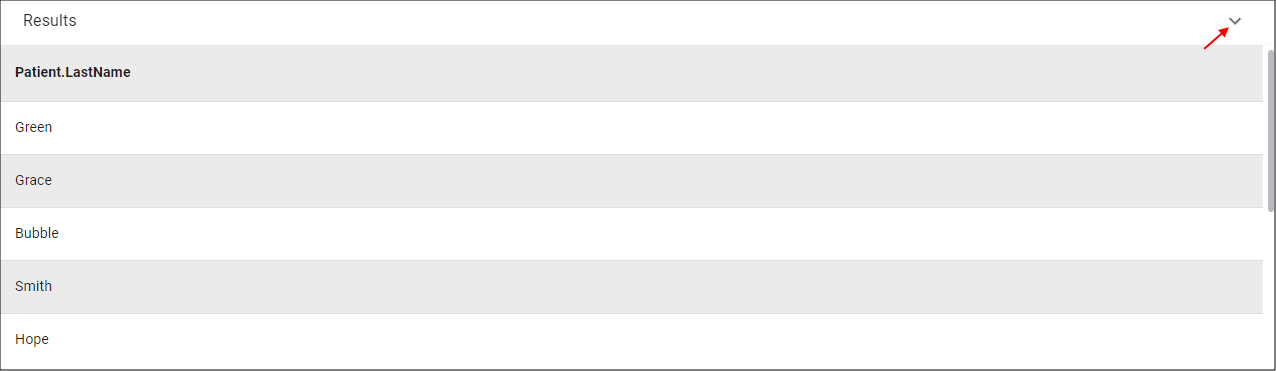
Figure 24 - Hide Results button
View Results
- Click the View Results button.
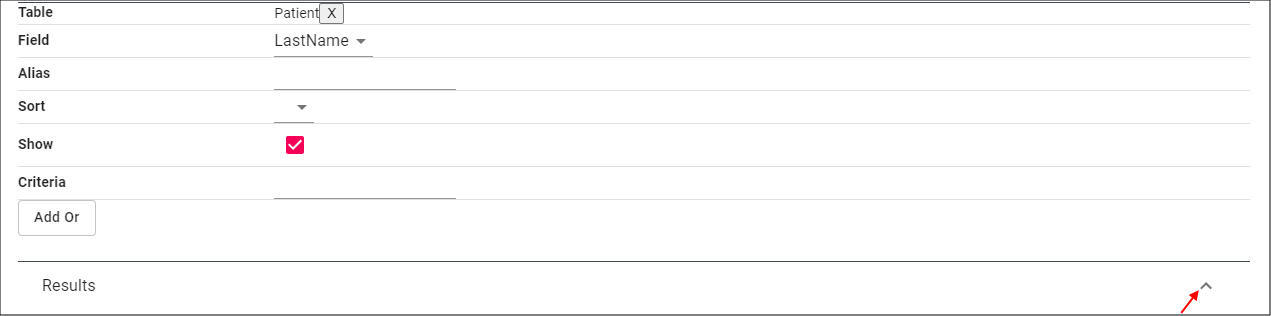
Figure 25 - View Results button