3.6 - Find Books Dashboard
Last updated 16/06/2023
Now that we have all of our elements built that we need for the Find Books dashboard, we only have the easy part left of designing the dashboard.Navigate to Dashboards
1. Select Visual in the menu.2. Select Dashboards in the sub-menu.
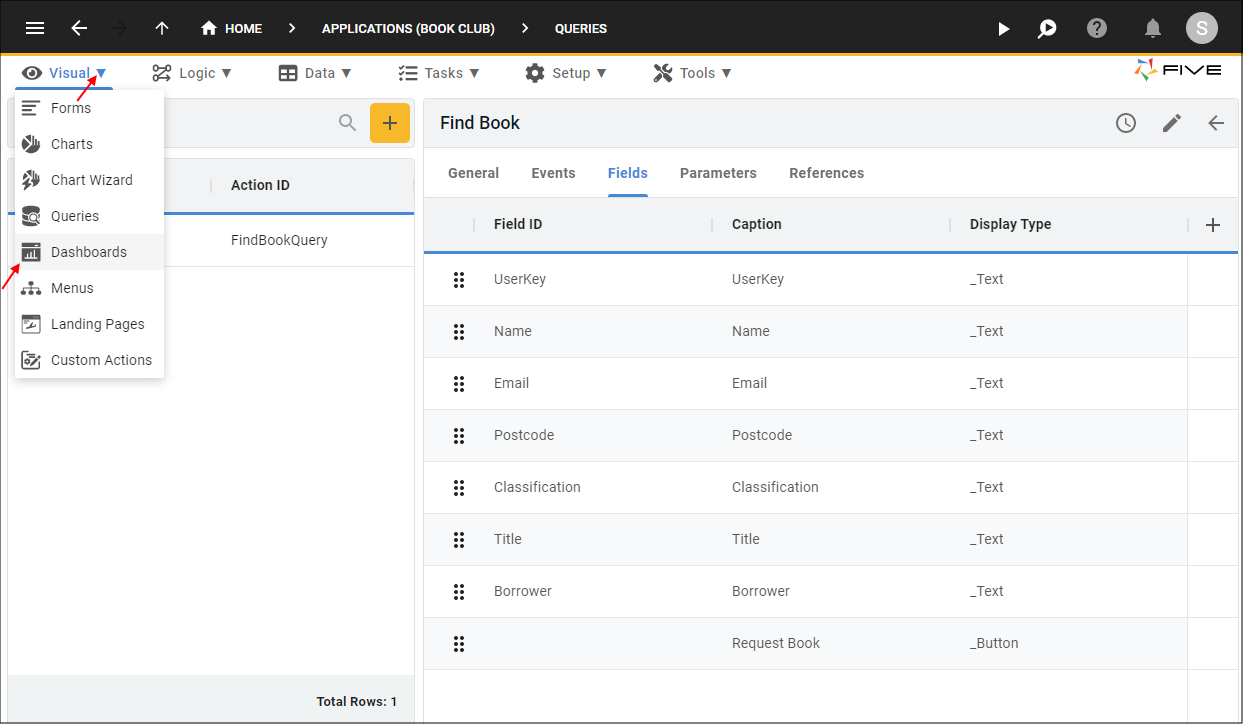
Figure 1 - Dashboards menu item
Design the Find Books Dashboard
1. Click the Add Item button.2. Type Find Books in the Title field.
3. Type Dashboard after FindBooks in the Action ID field.
4. Type false in the Show Title If field.
5. Type 1 in the Columns field.
6. Type 6 in the Rows field.
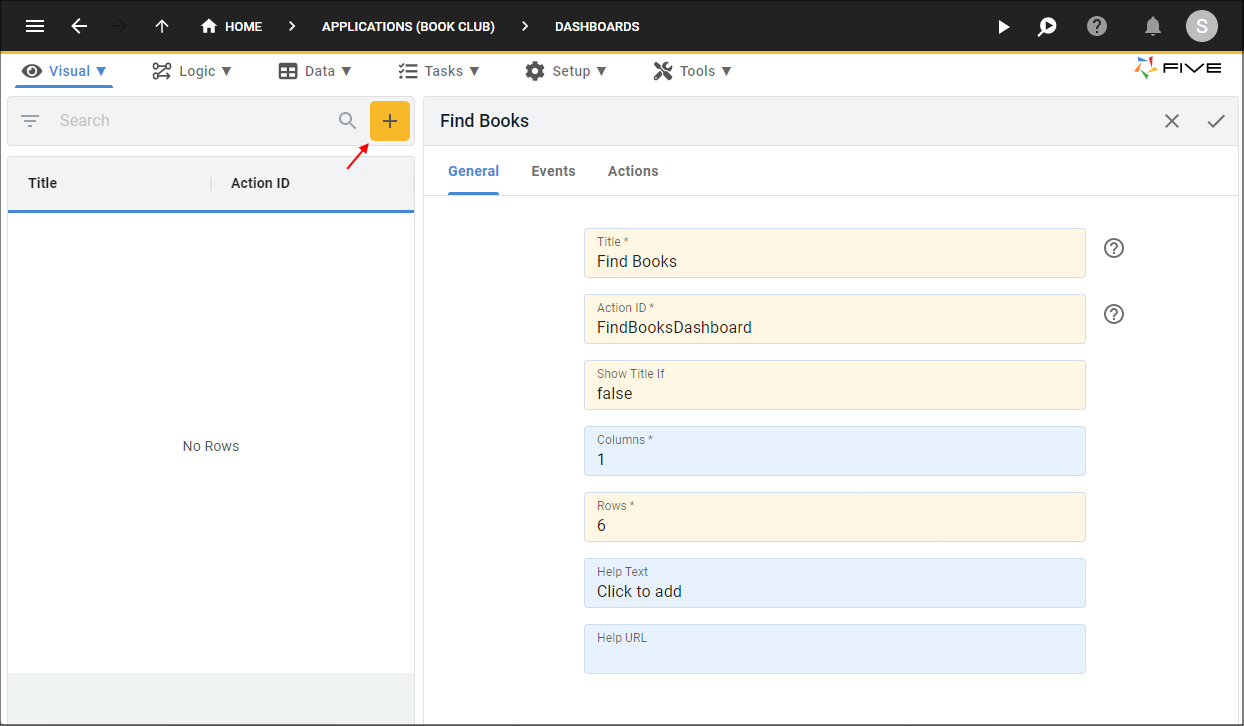
Figure 2 - Add the Find Books dashboard
7. Click the Actions tab.
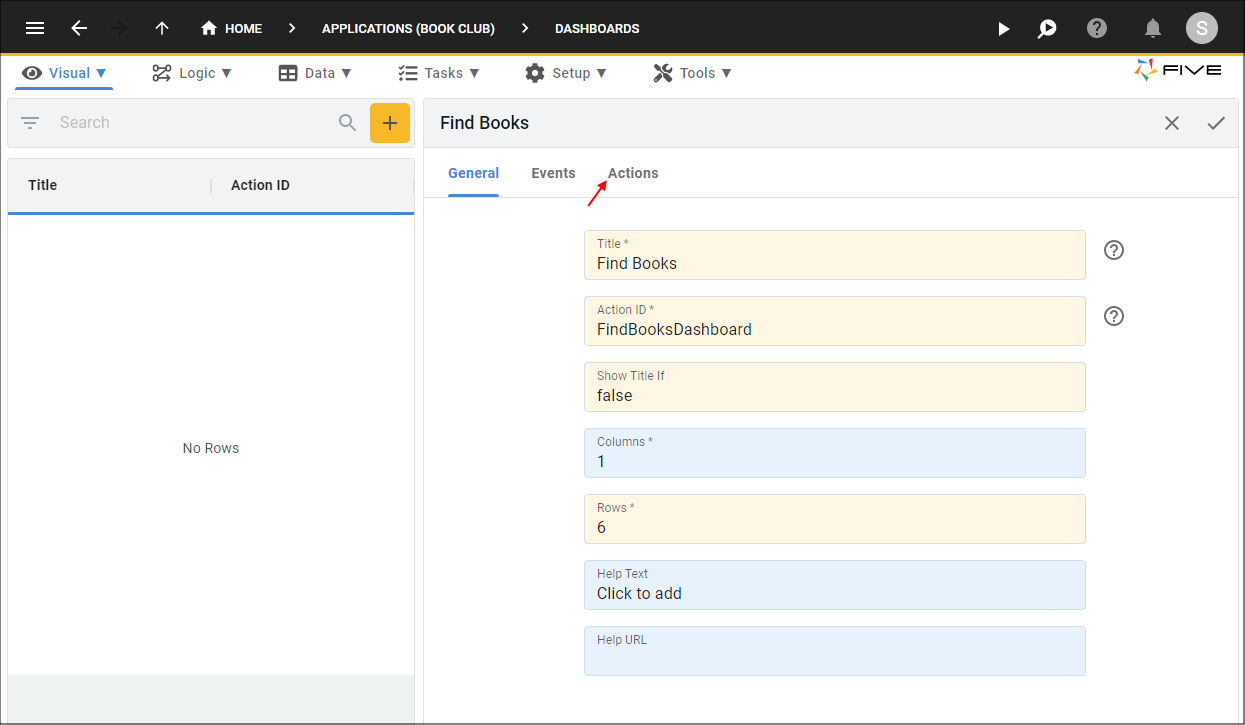
Figure 3 - Actions tab
8. Click the Add Actions button.
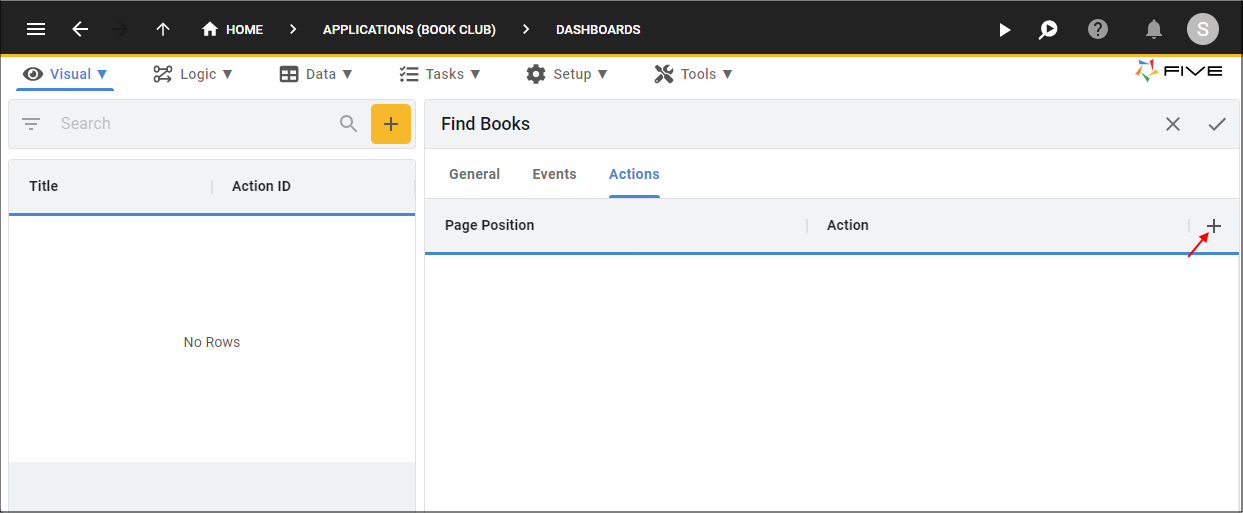
Figure 4 - Add Actions button
9. Click the Edit button in the Page Position field.

Figure 5 - Edit button
10. Click the A1 position and click the Save button in the Grid Picker.
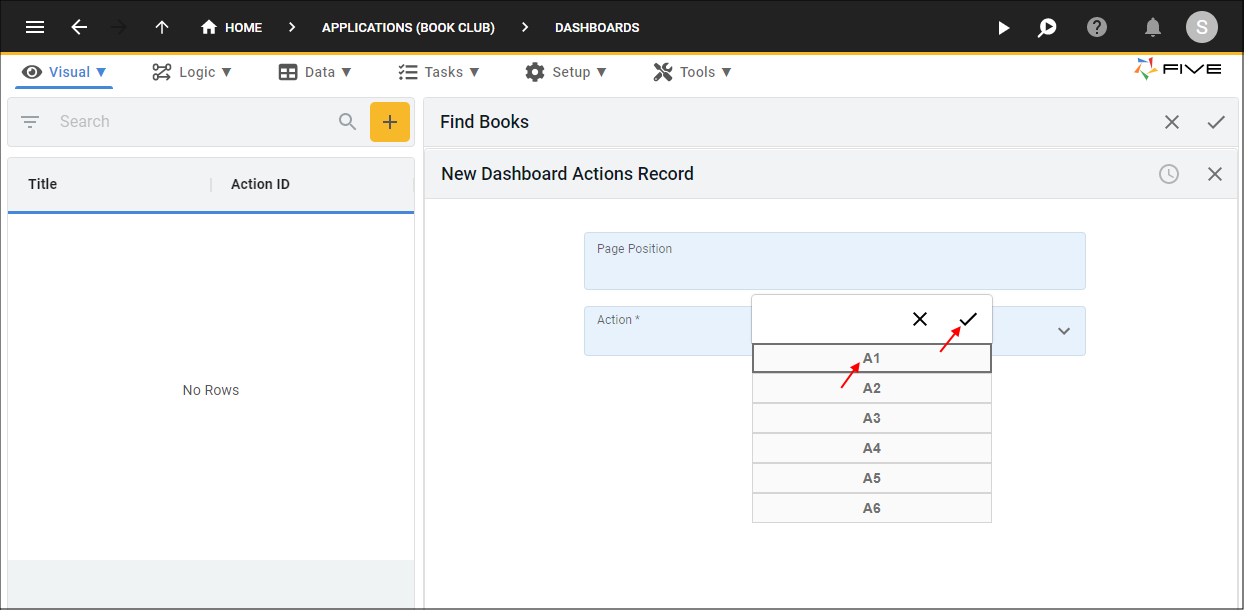
Figure 6 - Select A1 position
11. Click the lookup icon in the Action field and select FindBookProcess (Process).
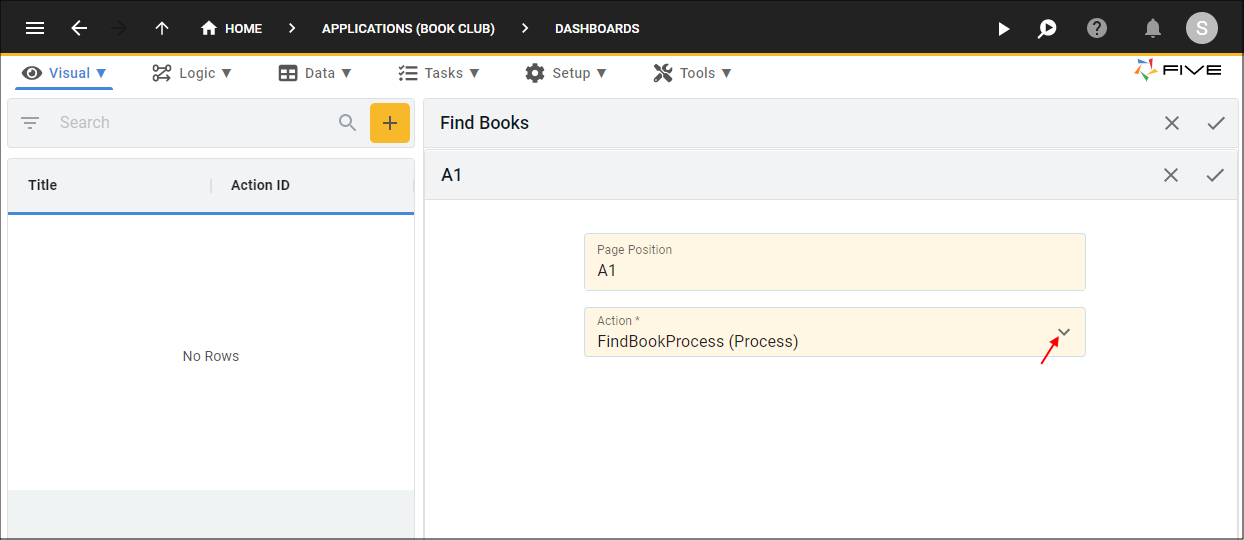
Figure 7 - Attach the FindBookProcess action
12. Click the Save button in the form app bar.
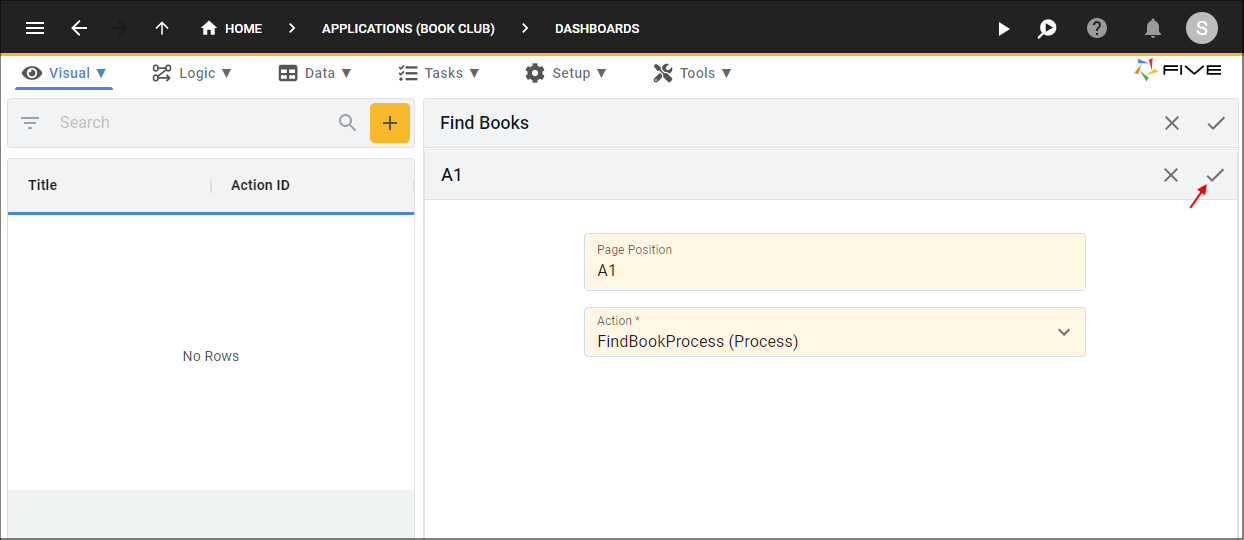
Figure 8 - Save the FindBookProcess action
13. Click the Add Actions button.
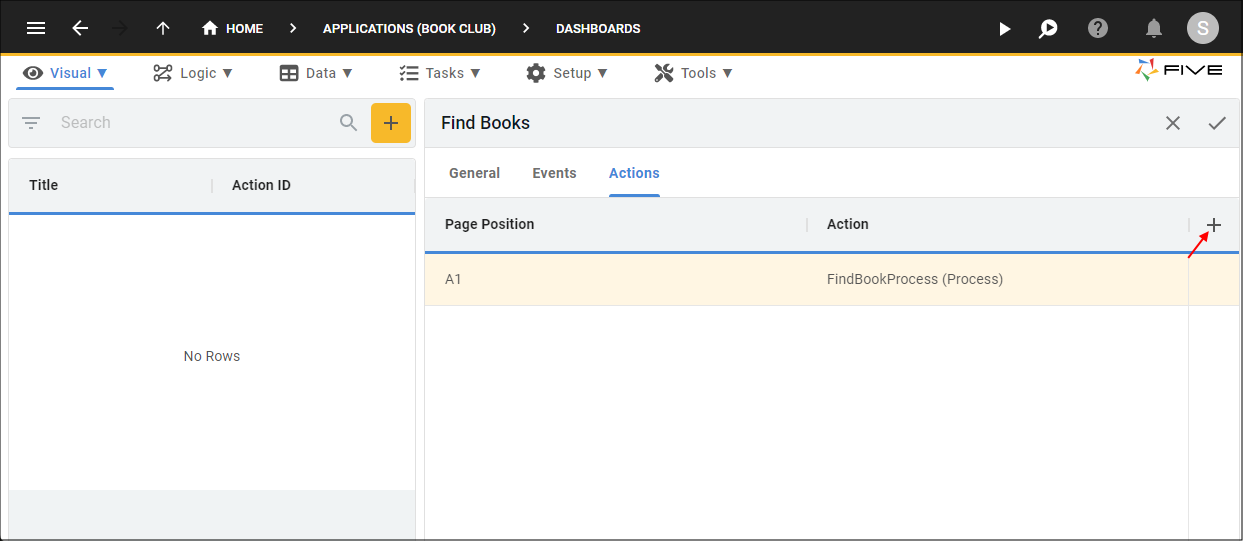
Figure 9 - Add Actions button
14. Click the Edit button in the Page Position field.
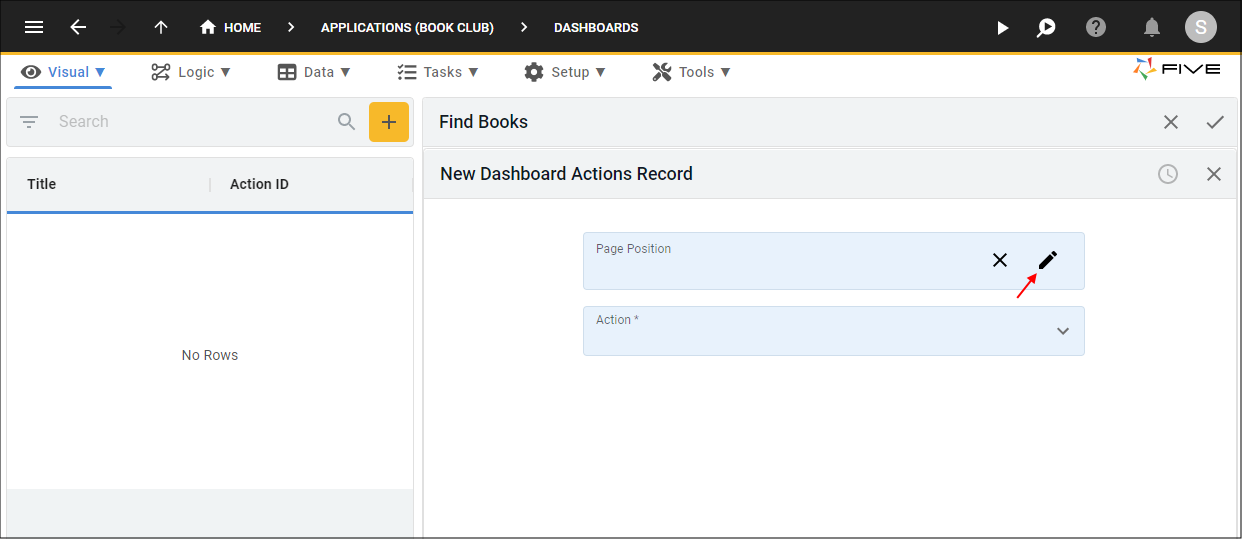
Figure 10 - Edit button
15. Click the A2 position and click the Save button in the Grid Picker.
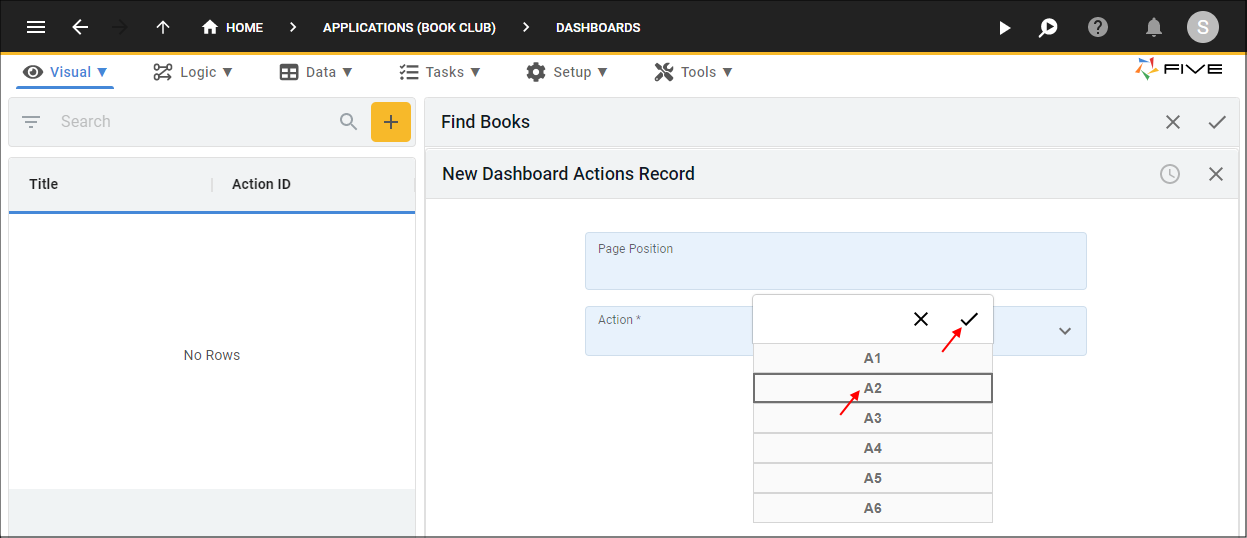
Figure 11 - Select A2 position
16. Click the lookup icon in the Action field and select FindBookQuery (Query).
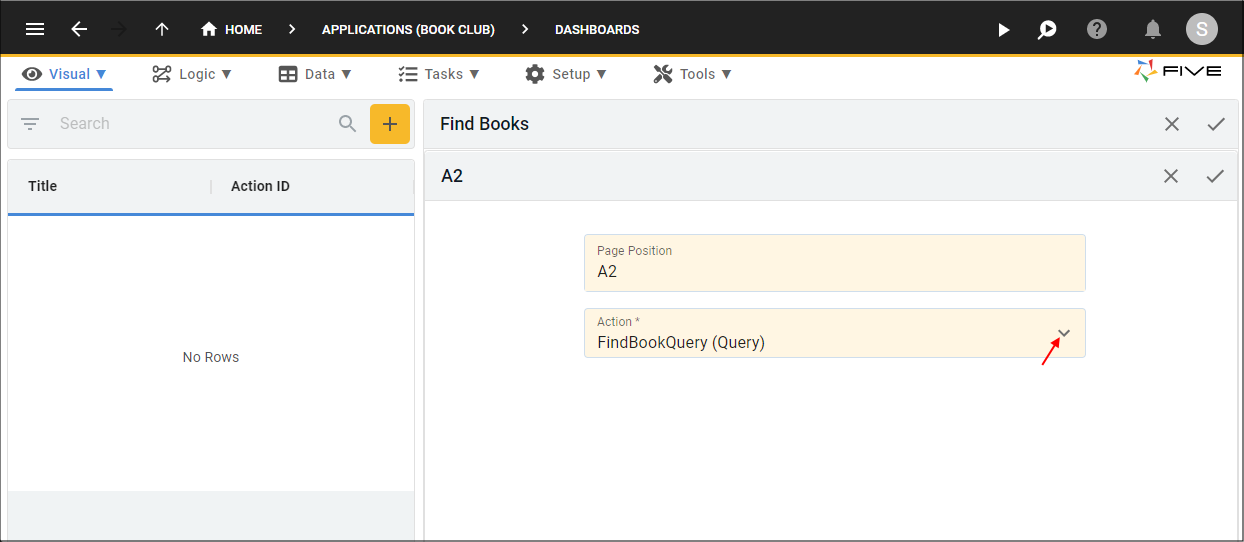
Figure 12 - Attach the FindBookQuery action
tip
The FindBookProcess will take the first row of the grid and the FindBookQuery will take up the last 5 rows. This will allow for more records to be in view when the results are returned rather than if we had configured the grid to have two rows!
17. Click the Save button in the form app bar.
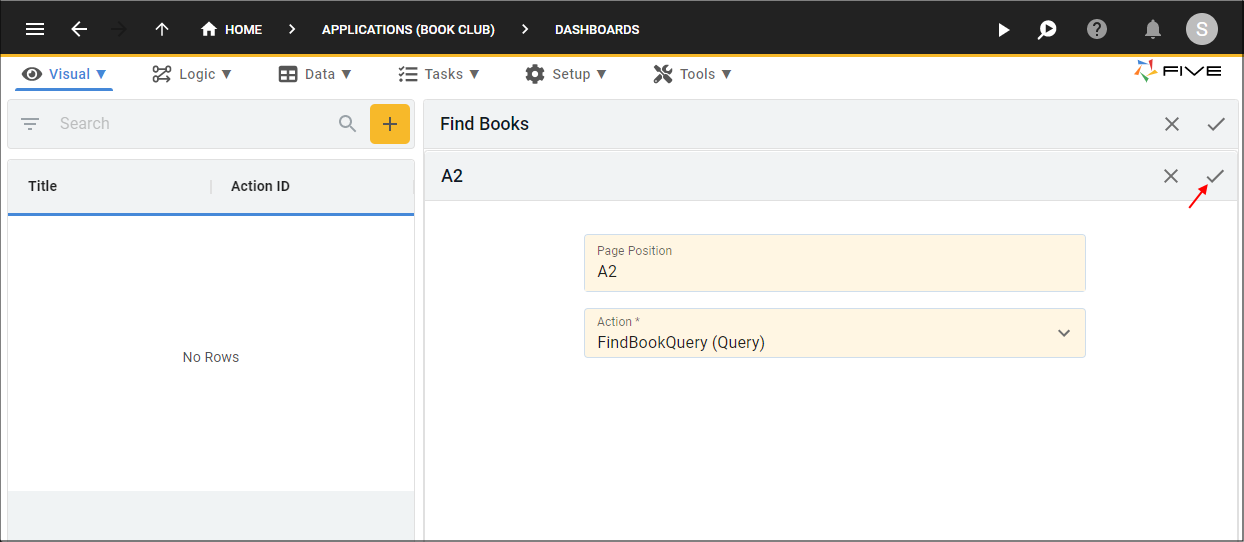
Figure 13 - Save the FindBookQuery action
18. Click the Save button in the form app bar above the list.
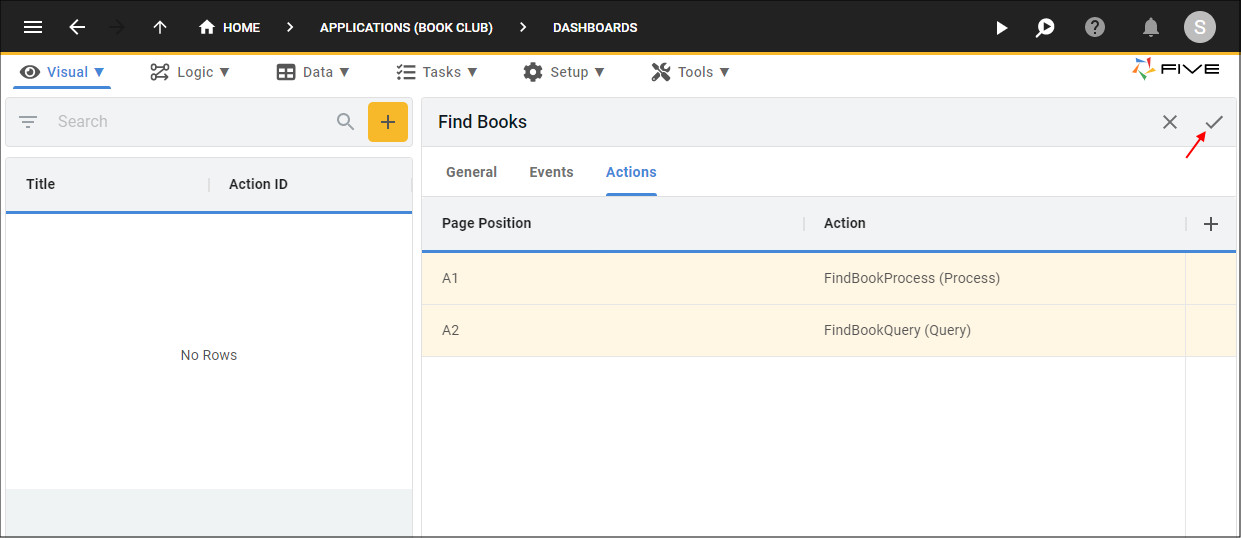
Figure 14 - Save the Find Books dashboard