1 - Connect with the System Database
Last updated 12/06/2023
In certain scenarios you may find you need to connect with the system database. This documentation is to explain how to do this.In the last section, we created roles and imported the users for the Book Club application so that we have some data to play with. At the moment, none of our members have a role assigned because the Member role we created is stored in the system database while the users are stored in the application database. So before we can log in as a member, we need to connect with the system database to assign each member the Member role. We can do this by using Five's getDatabaseConnectionByID().
Tips
- Your application schema is stored in the system database!
- Your data is stored in the application database!
The diagram below gives you a good interpretation of how your schema and data are stored.
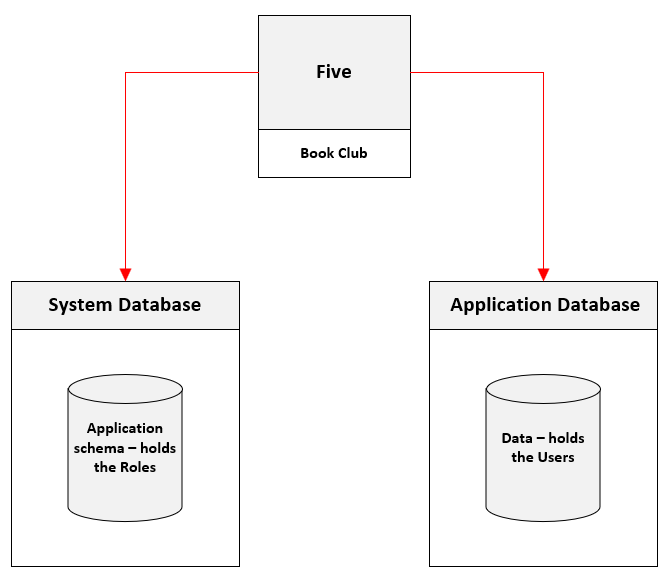
Figure 1 - Schema and data storage
Navigate to the Code Editor
1. Select Logic in the menu.2. Select Code Editor in the sub-menu.
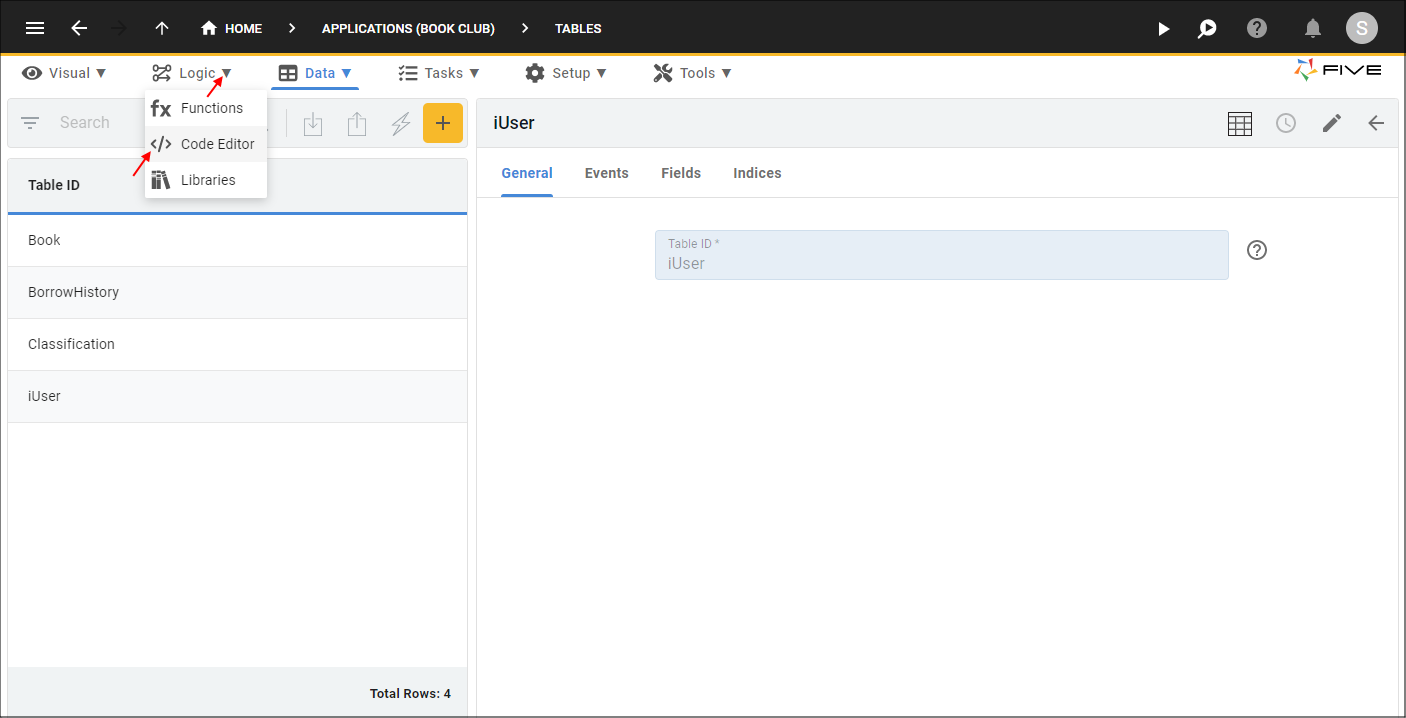
Figure 2 - Code Editor menu item
Add the MigrateUsers Function
1. Click the Add New Code button.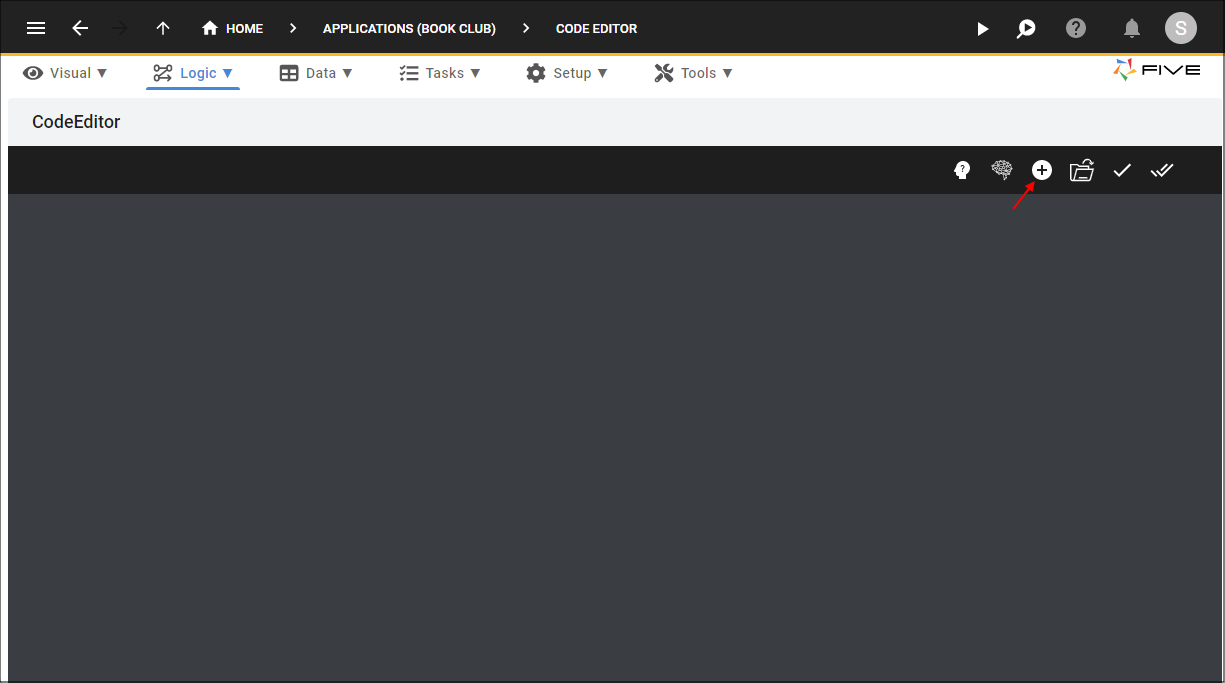
Figure 3 - Add New Code button
2. Type MigrateRoles in the Function ID field.
3. Click the lookup icon in the Language field and select JavaScript.
4. Click the OKAY button.
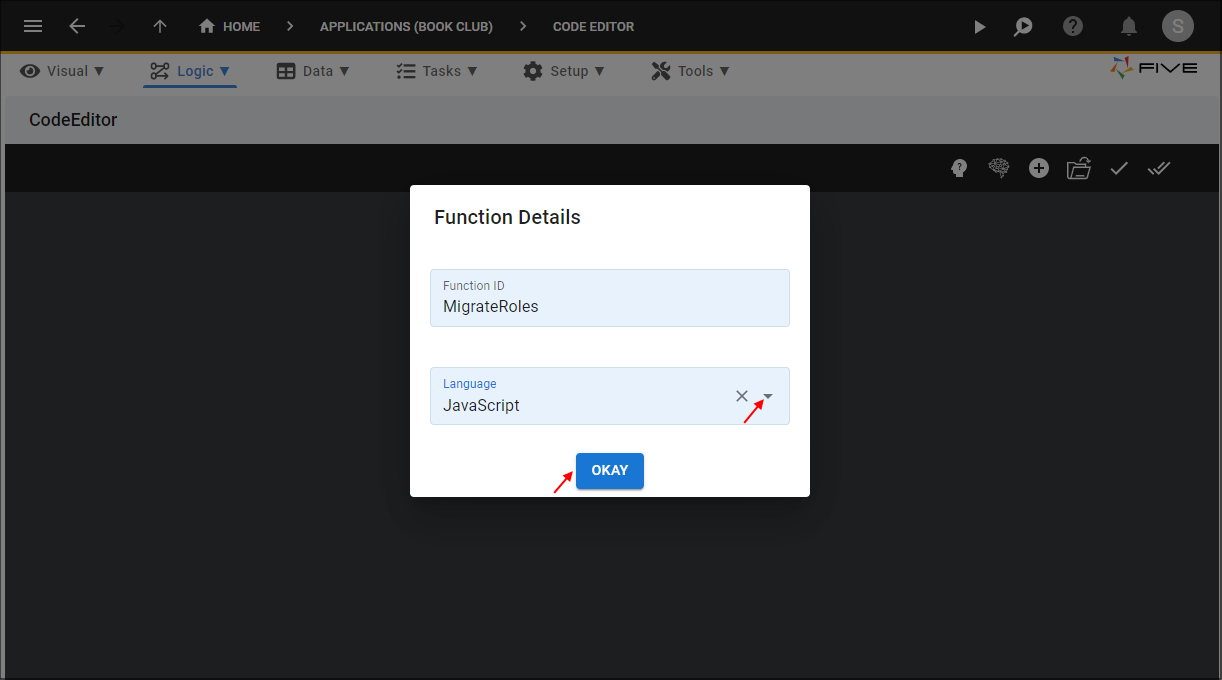
Figure 4 - Add the MigrateRoles function
5. Highlight and delete the template in the Code Editor.
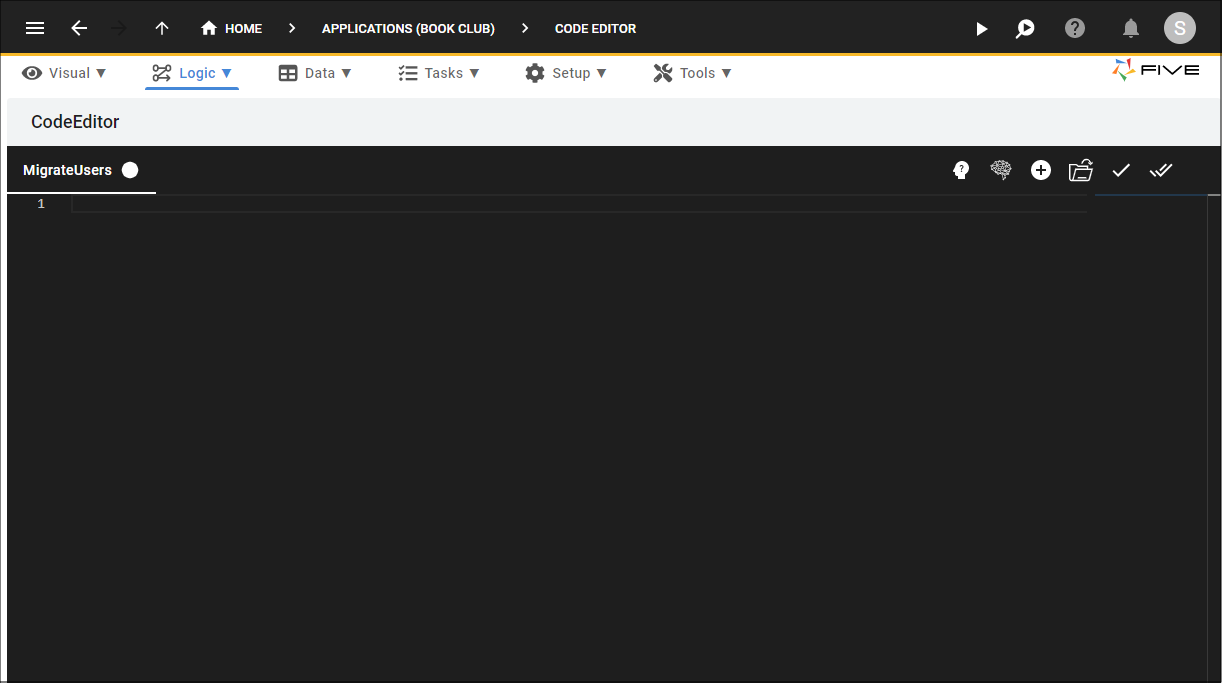
Figure 5 - Clean the Code Editor
6. Click the Copy button on the code block below.

MigrateRoles()
function MigrateRoles(five, context, result)  {
    const db = five.getDatabaseConnectionByID(five.SYSTEM_DATABASE_NAME);
    if (db.isOk() === false) {
        return five.createError(db);
    }

    const tx = five.startTransaction(db);
    if (tx.isOk() === false) {
        return five.createError(tx);
    }

    const results = five.executeQuery(tx, `SELECT iRoleKey FROM iRole WHERE Name = 'Member'`, 0);
    if (results.isOk() === false) {
        return five.createError(results);
    }

    const iRoleKey = results.values[0].iRoleKey;
    const updateResults = five.executeQuery(`UPDATE iUser SET iRoleKey = ? WHERE UserID <> 'admin' AND UserID <> 'public'`, 0, iRoleKey);
    if (updateResults.isOk() === false) {
        return five.createError(updateResults);
    }

    return five.success(result, 'Migration completed');
}
7. Paste the code in the Code Editor.
8. Click the Save Current Tab button.
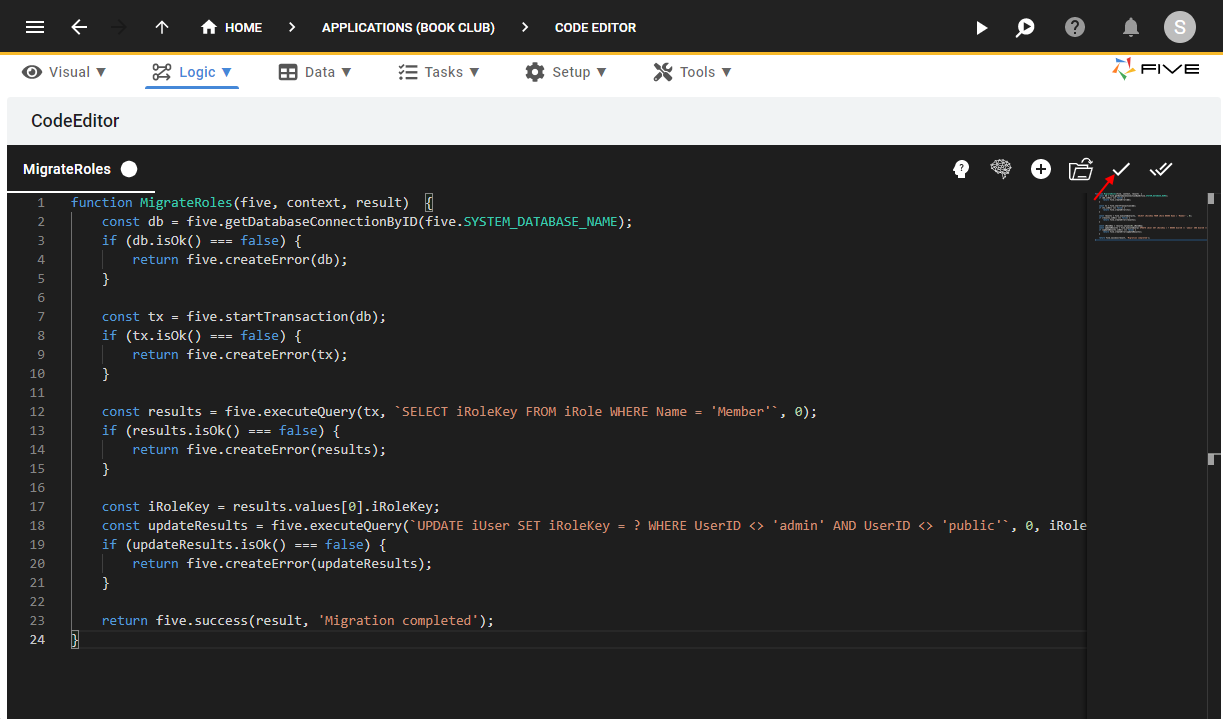
Figure 6 - Save the MigrateRoles function
Add the Migrate User Roles Process
The Migrate User Roles process needs to be created so the MigrateRoles function can be attached to the Do Run event. We will need to open the Migrate User Roles process in the Book Club application and click the Run button. Once the Run button is clicked, the code will be executed on the server and migrate the users imported with the Member role created for the Book Club application.Application roles are unique globally and this is the reason why we have to migrate our users to the Member role in the Book Club application.
1. Click Tasks in the menu.
2. Click Processes in the sub-menu.
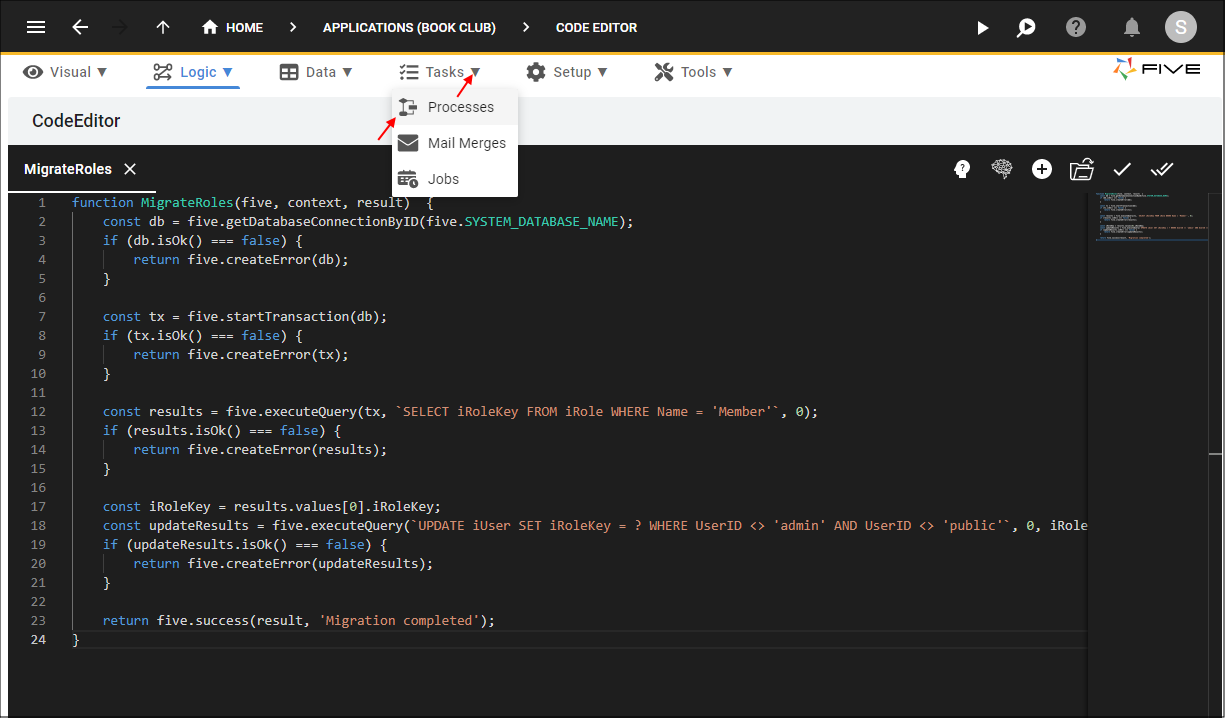
Figure 7 - Processes menu item
3. Click the Add Item button.
4. Type Migrate User Roles in the Title field.
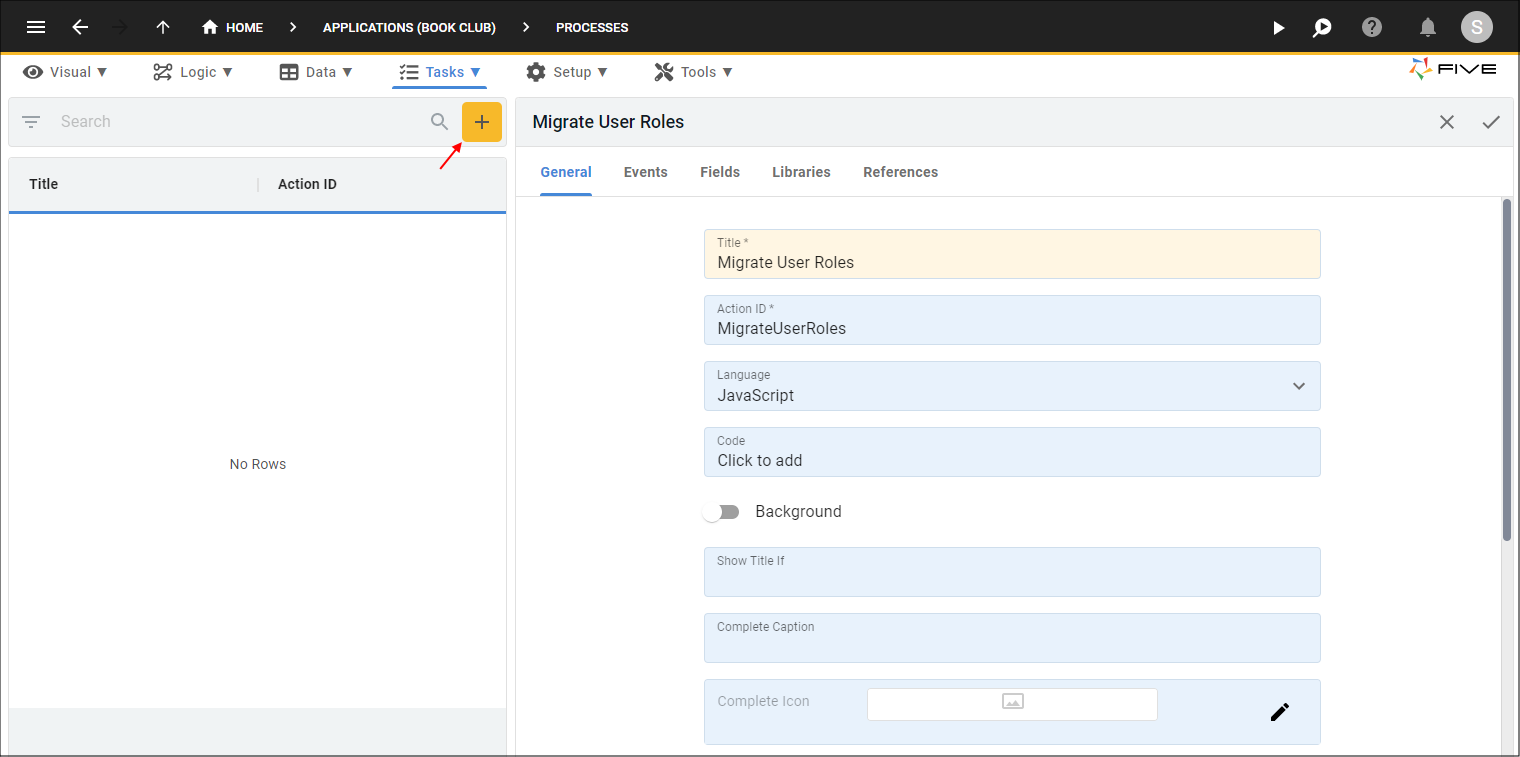
Figure 8 - Add the Migrate User Roles process
5. Click the Events tab.
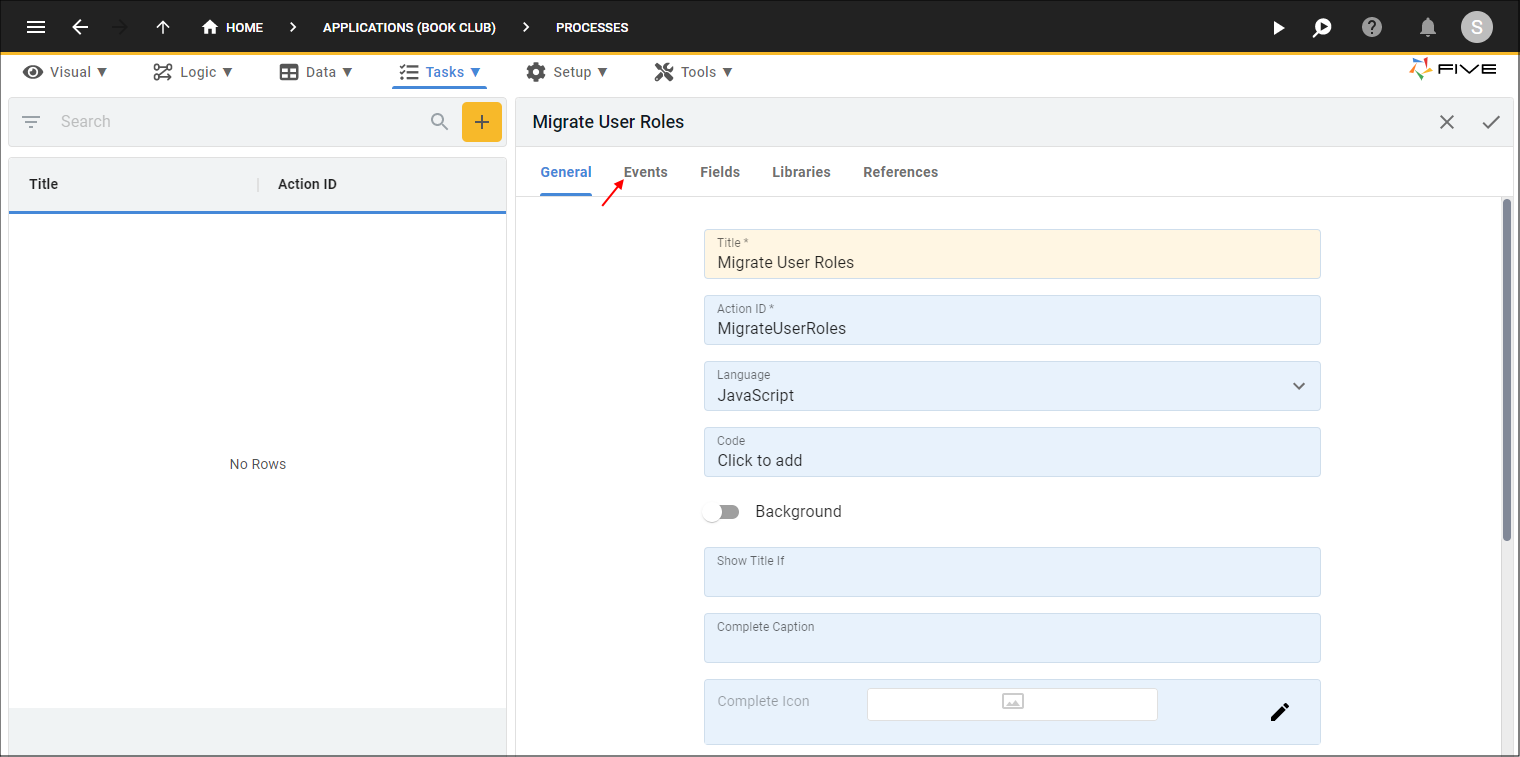
Figure 9 - Events tab
6. Click the lookup icon in the Do Run field and select MigrateRoles.
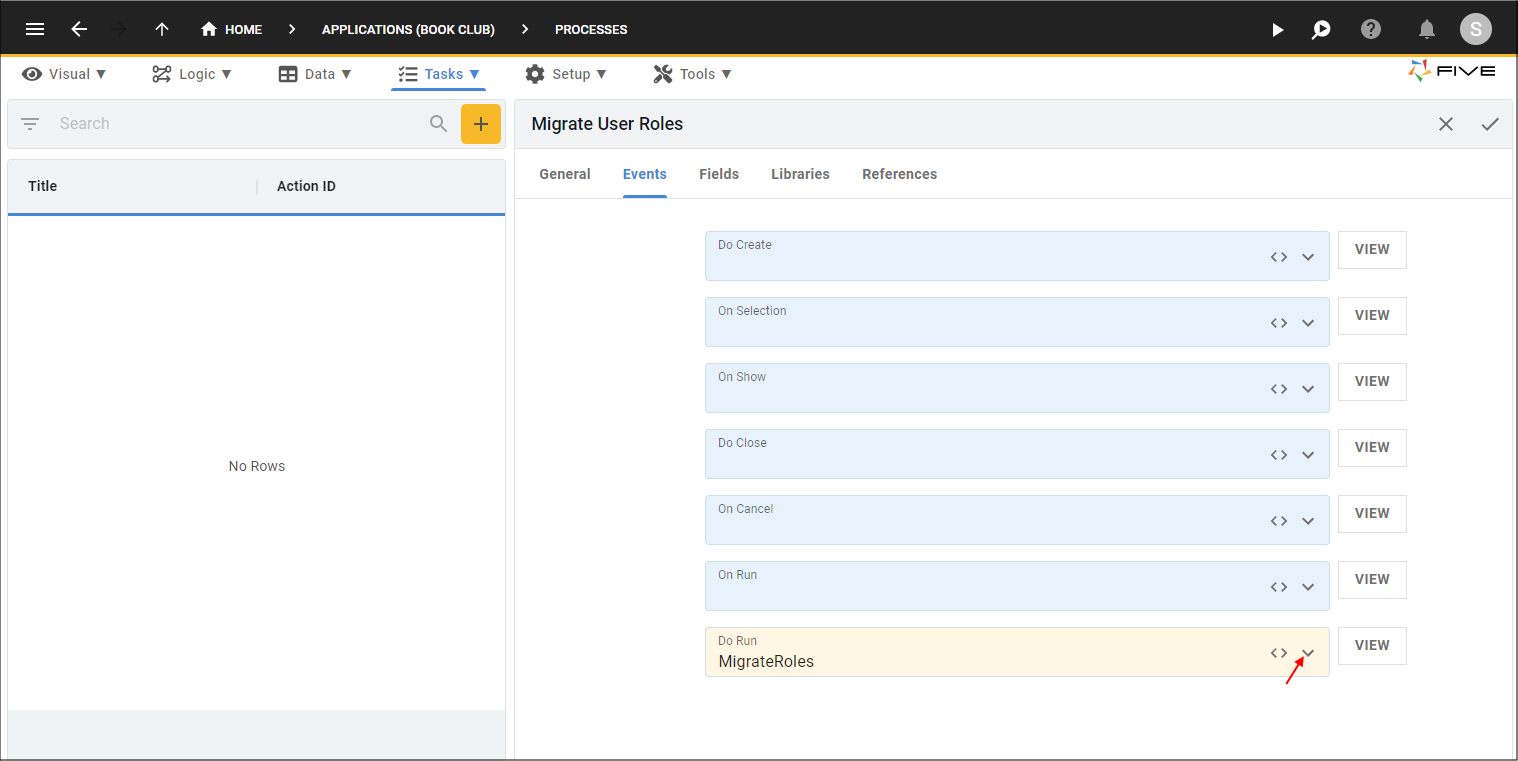
Figure 10 - Attach the MigrateRoles function
tip
If you click the VIEW button located next to an Event field, it will open the code attached in the Code Editor for you!
7. Click the Save button in the form app bar.
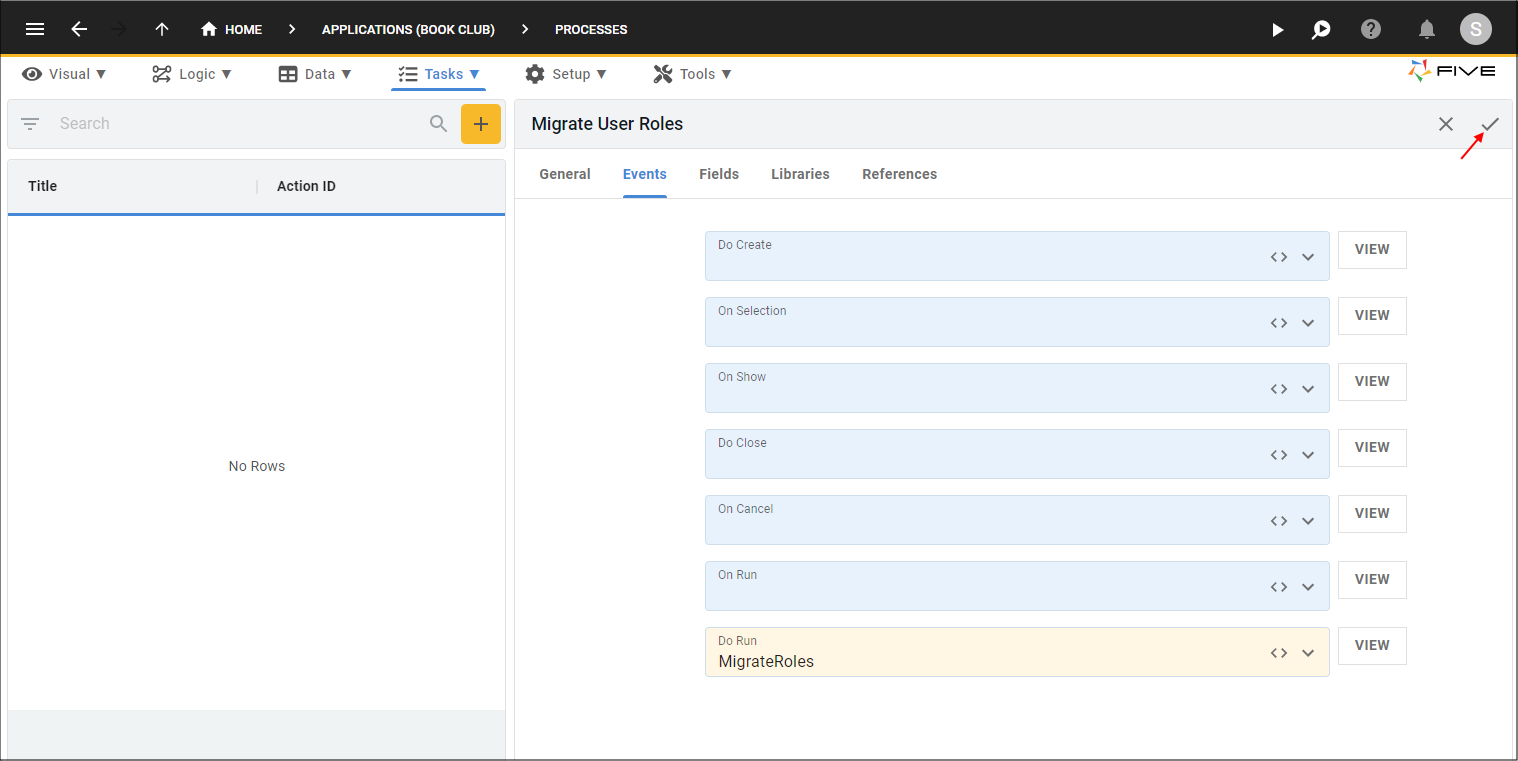
Figure 11 - Save the Migrate User Roles process
Create the Migrate User Roles Menu
Because we need to open and run the process in the Book Club application we will need to create a menu item for the process to have access to it. We will only ever need to run this process once, as any new users created for the Book Club application can simply have their role attached when adding the user to the system.tip
For a process that needs to run frequently, you create a job that will run in the background and this way the process will not need a menu item!
1. Select Visual in the menu.
2. Select Menus in the sub-menu.
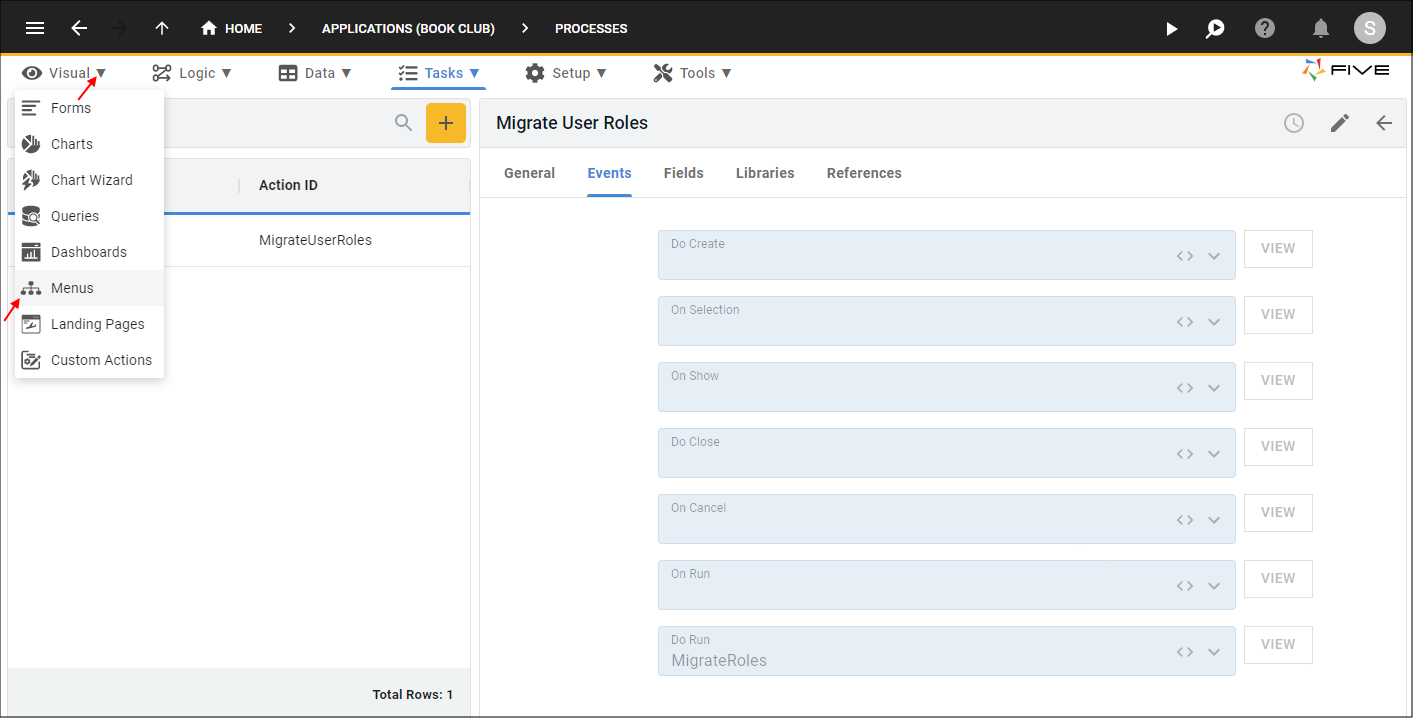
Figure 12 - Menus menu item
3. Click the Add Item button.
4. Type Migrate User Roles in the Caption field.
5. Type 100300 before MigrateUserRoles in the Menu ID field.
6. Type 100300 in the Menu Order field.
7. Click the lookup icon in the Action field and select MigrateUserRoles (Process).
8. Click the lookup icon in the Parent Menu field and select 100000AdministrationMenu (AdministrationMenu).
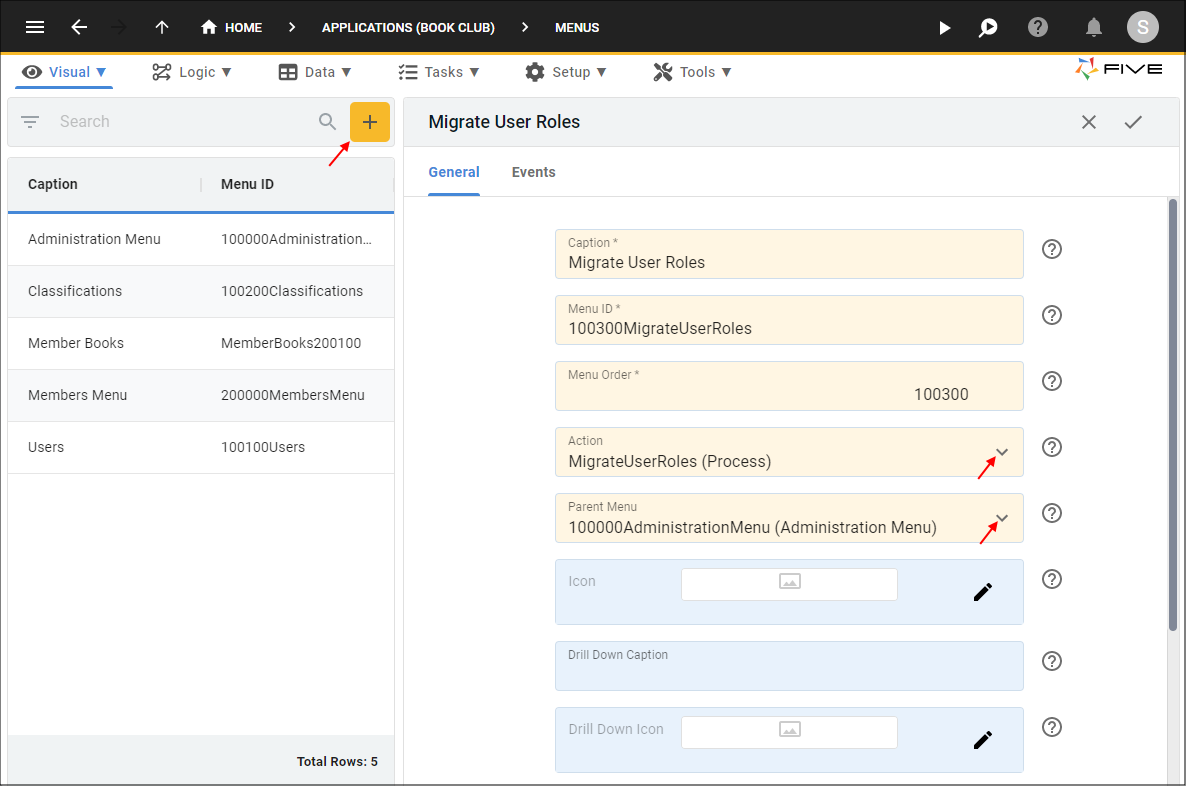
Figure 13 - Add the Migrate User Roles menu
9. Click the Save button in the form app bar.
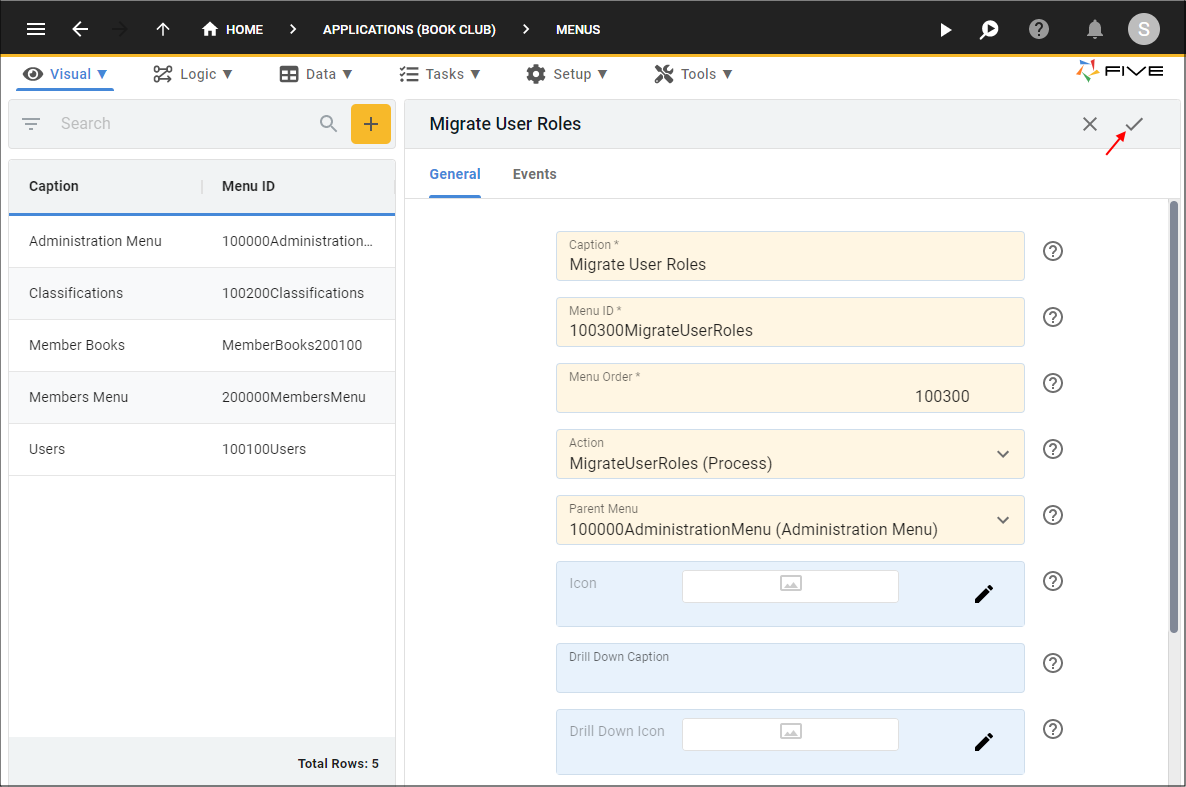
Figure 14 - Save the Migrate User Roles menu
Run the Book Club Application
This is a great time to run the Book Club application so we can run the Migrate User Roles process and check out the user logins.1. Click the Run button in the toolbar.

Figure 15 - Run button
info
We will need to sign in with the Administrator role to begin with because we have positioned the Migrate User Roles process in the Administration Menu.
2. Type admin in the Username field.
3. Type your password in the Password field.
4. Click the Sign In button.
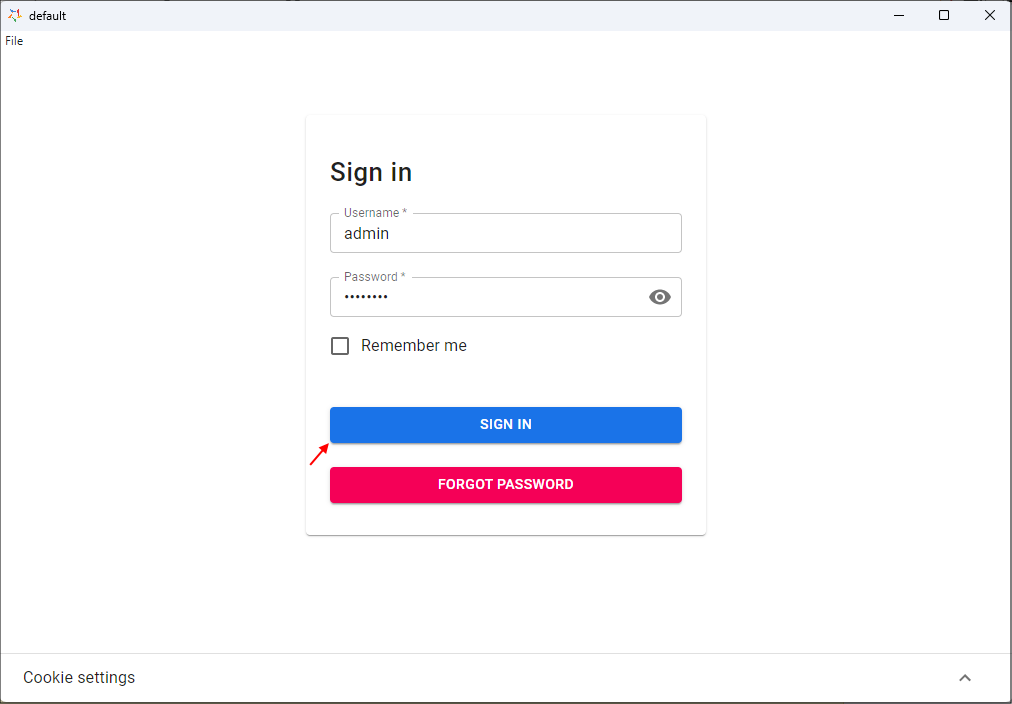
Figure 16 - Sign in with the Administrator role
5. Click Administration Menu in the menu.
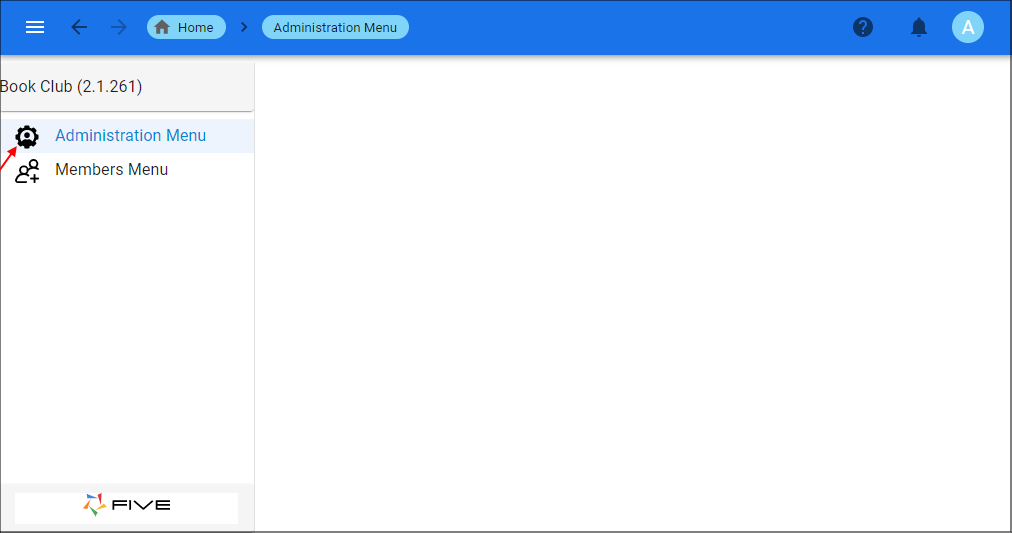
Figure 17 - Administration Menu menu item
6. Click Migrate User Roles in the menu.
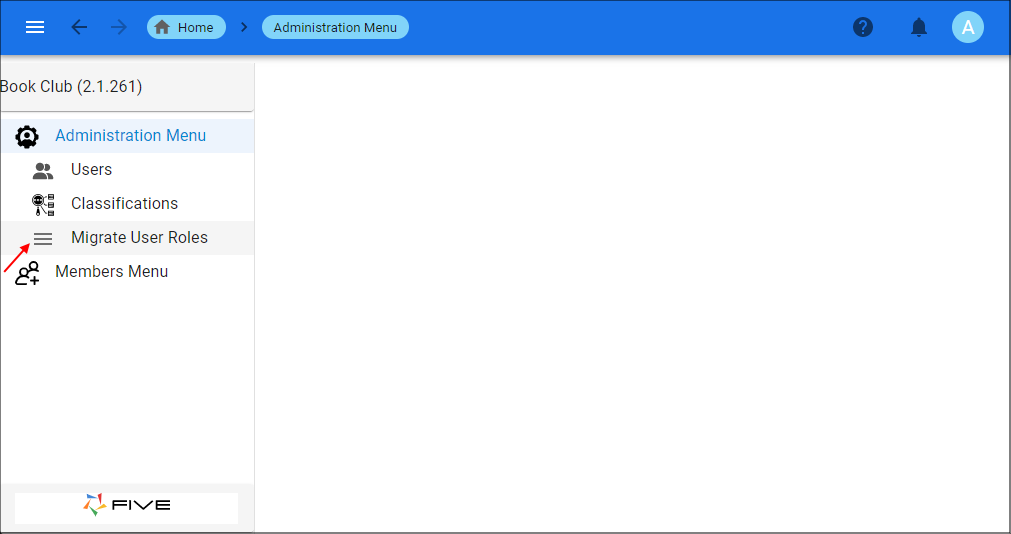
Figure 18 - Migrate User Roles menu item
7. Click the Run button.
info
The process will run and migrate the Member role to the Member users.
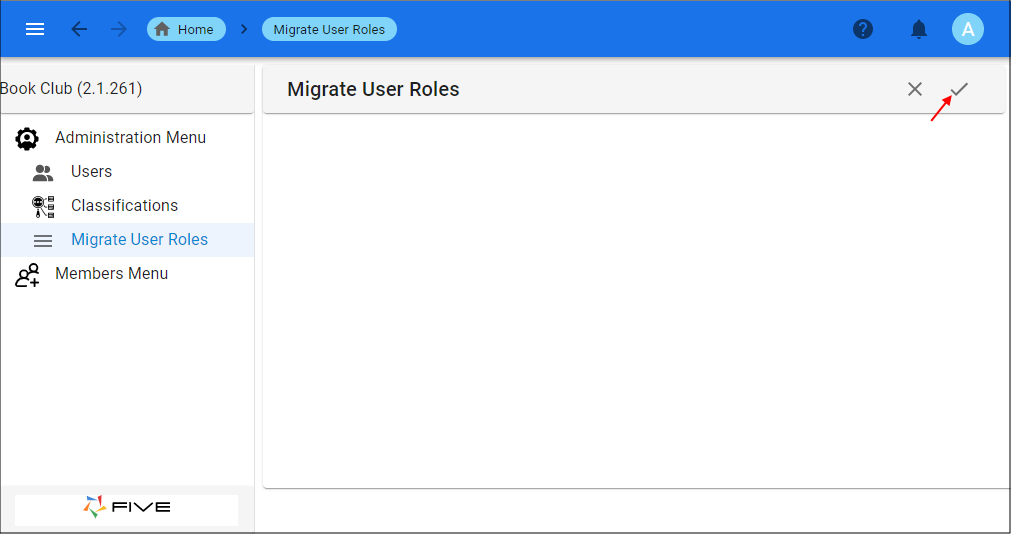
Figure 19 - Run the process
8. Click the OK button.
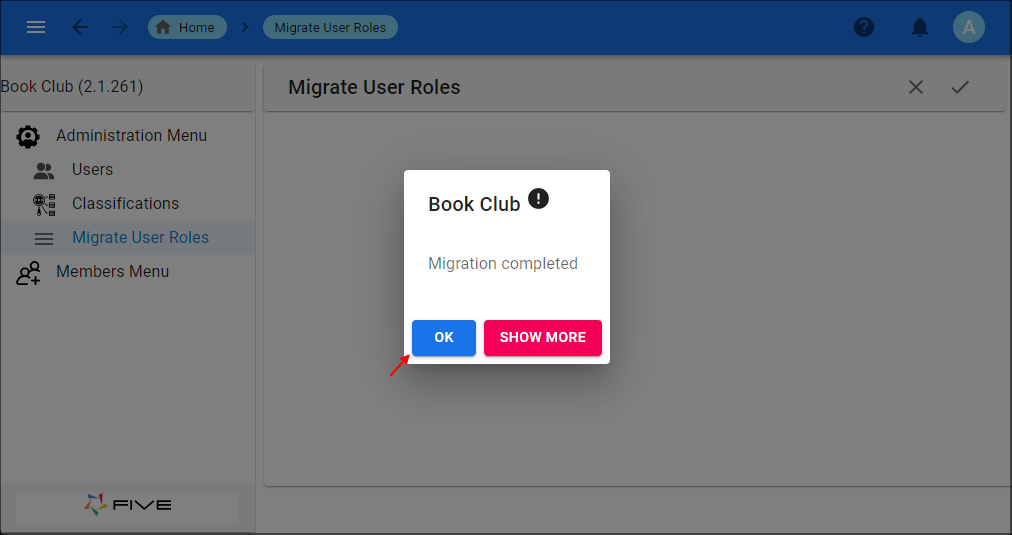
Figure 20 - OK button
9. Click Users in the menu.
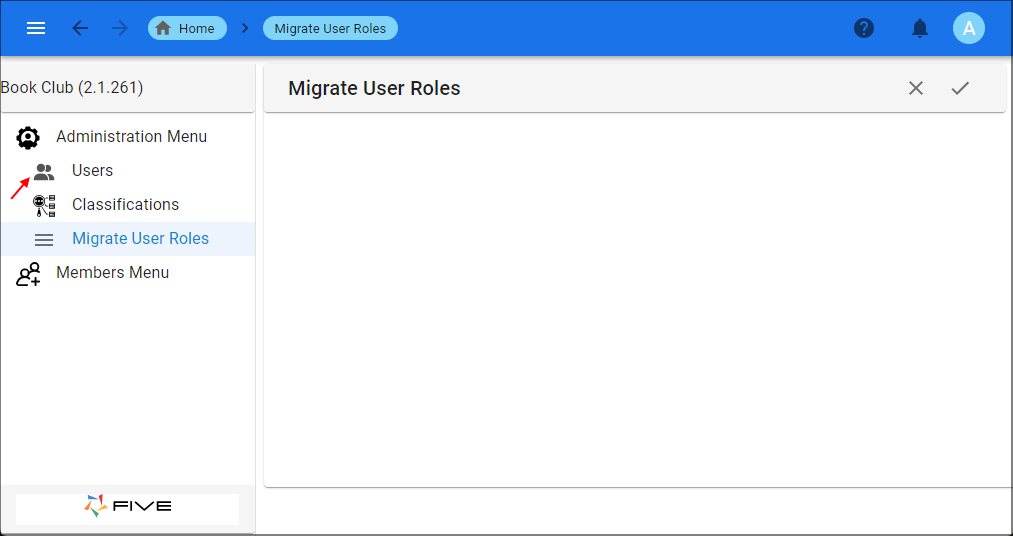
Figure 21 - Users menu item
10. Select the Anne Clifford record in the list.
info
You can see now in the Role field Anne has the role of Member. If you click through the other records you will see they are assigned the Member role with the exception of admin and public as we specified in the function for them not to be assigned the Member role.
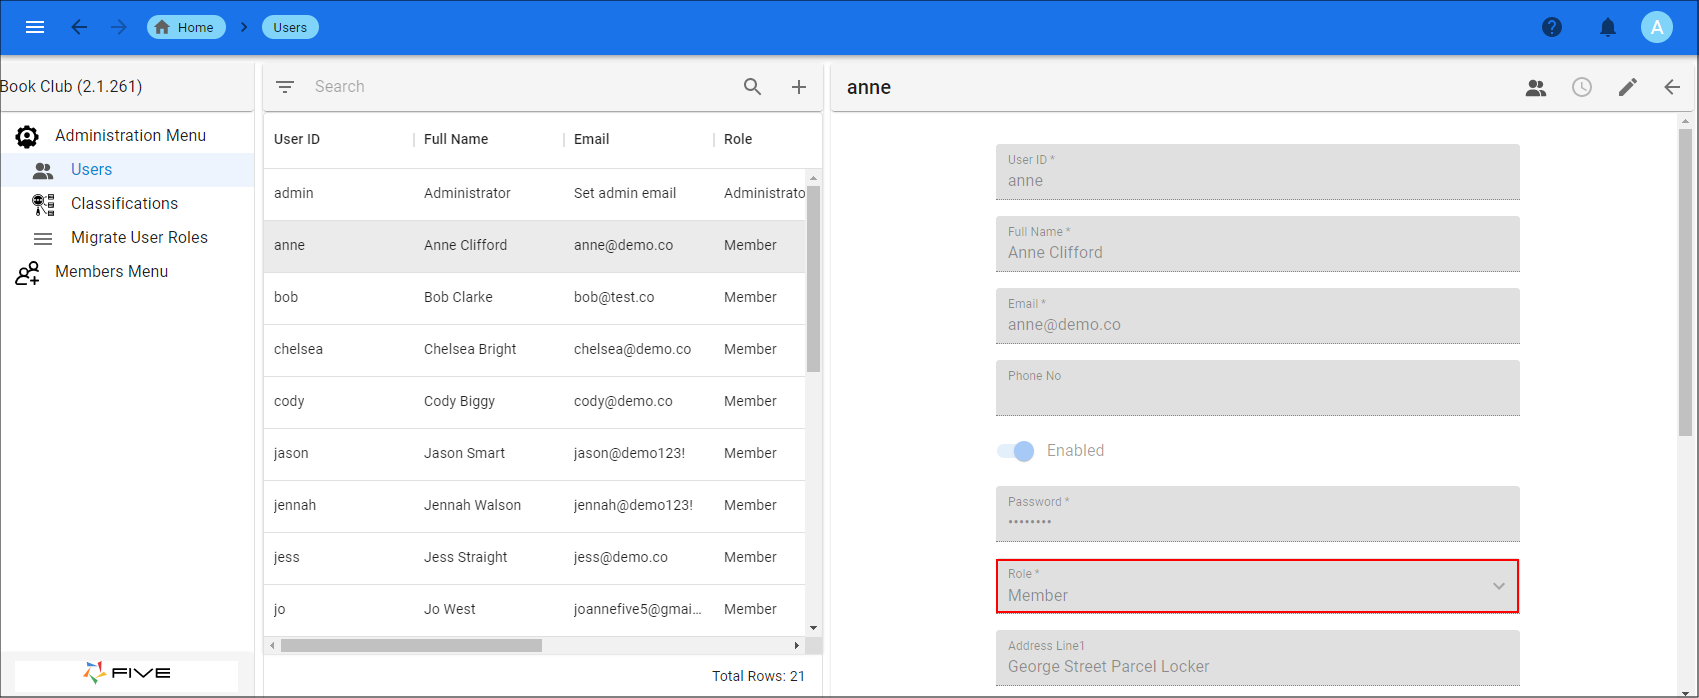
Figure 22 - Anne Clifford record
11. Click Members Menu in the menu.
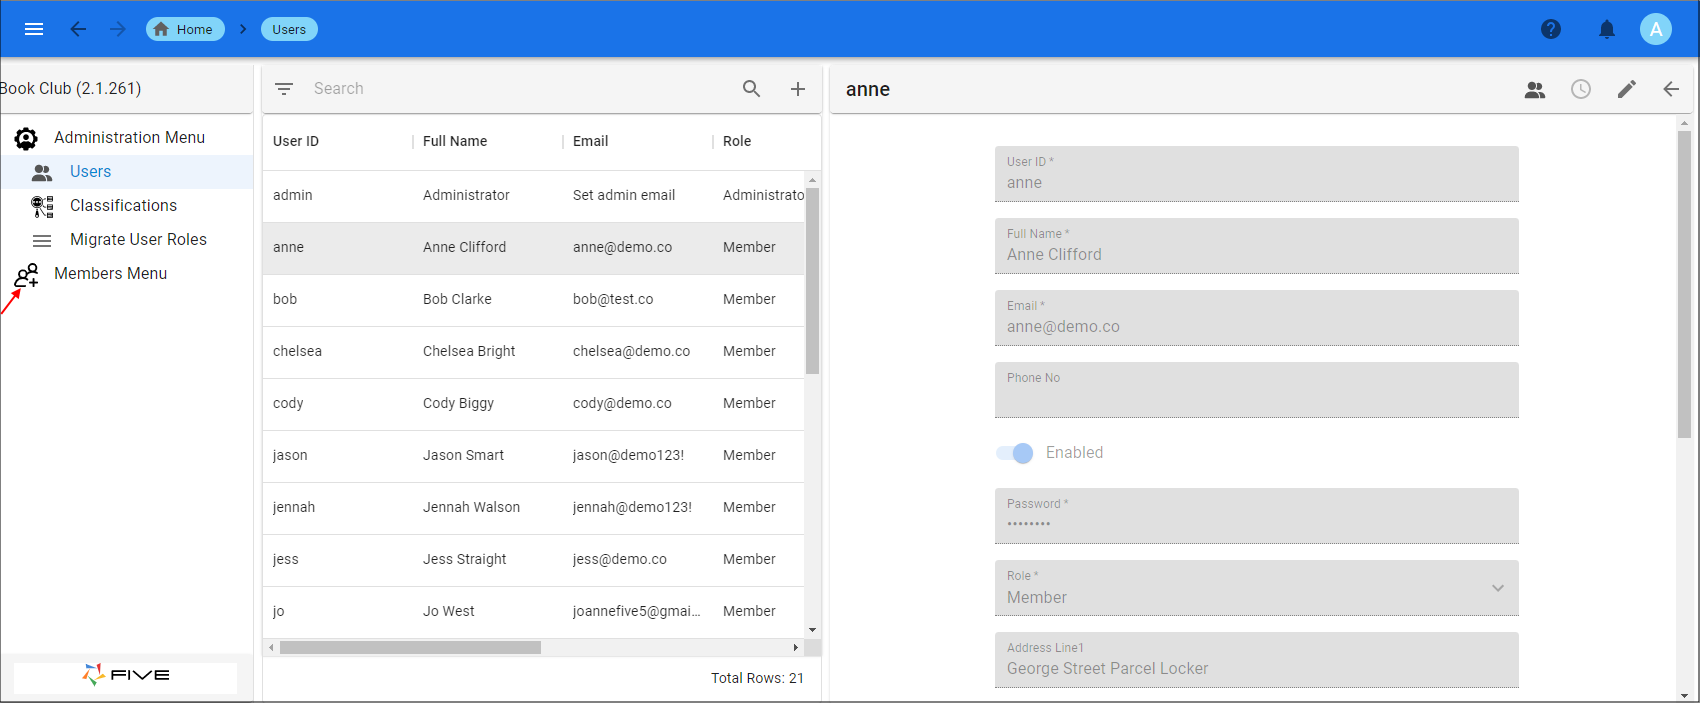
Figure 23 - Members Menu menu item
12. Click Member Books in the menu.
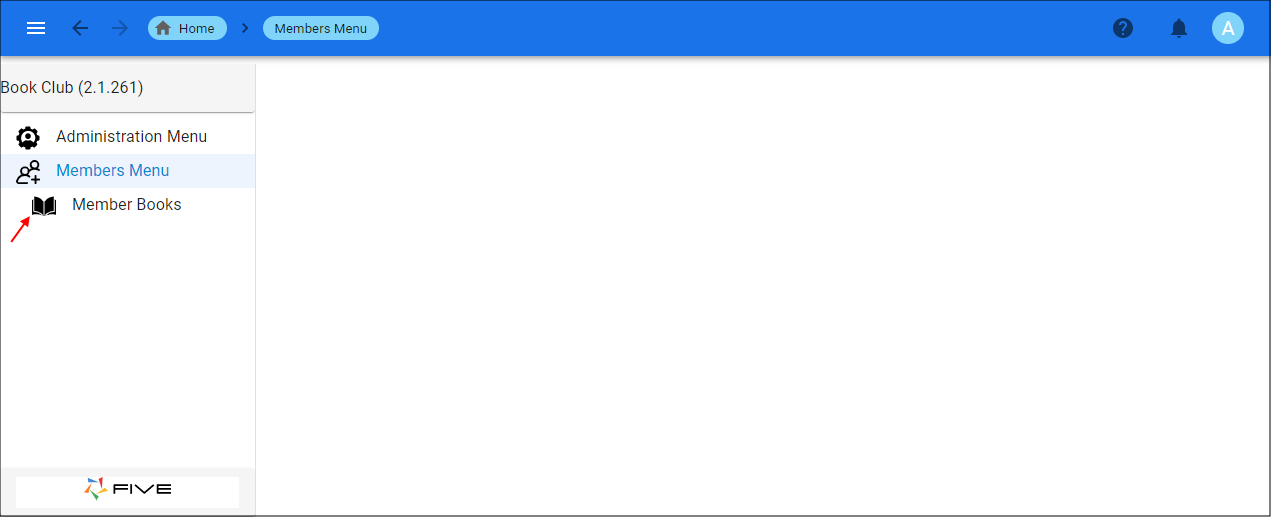
Figure 24 - Member Books menu item
info
All the books that belong to all members in the system will be listed here as you are signed in with the Administrator role. Selecting a record will display the details for the book.
13. Select the first record in the list.
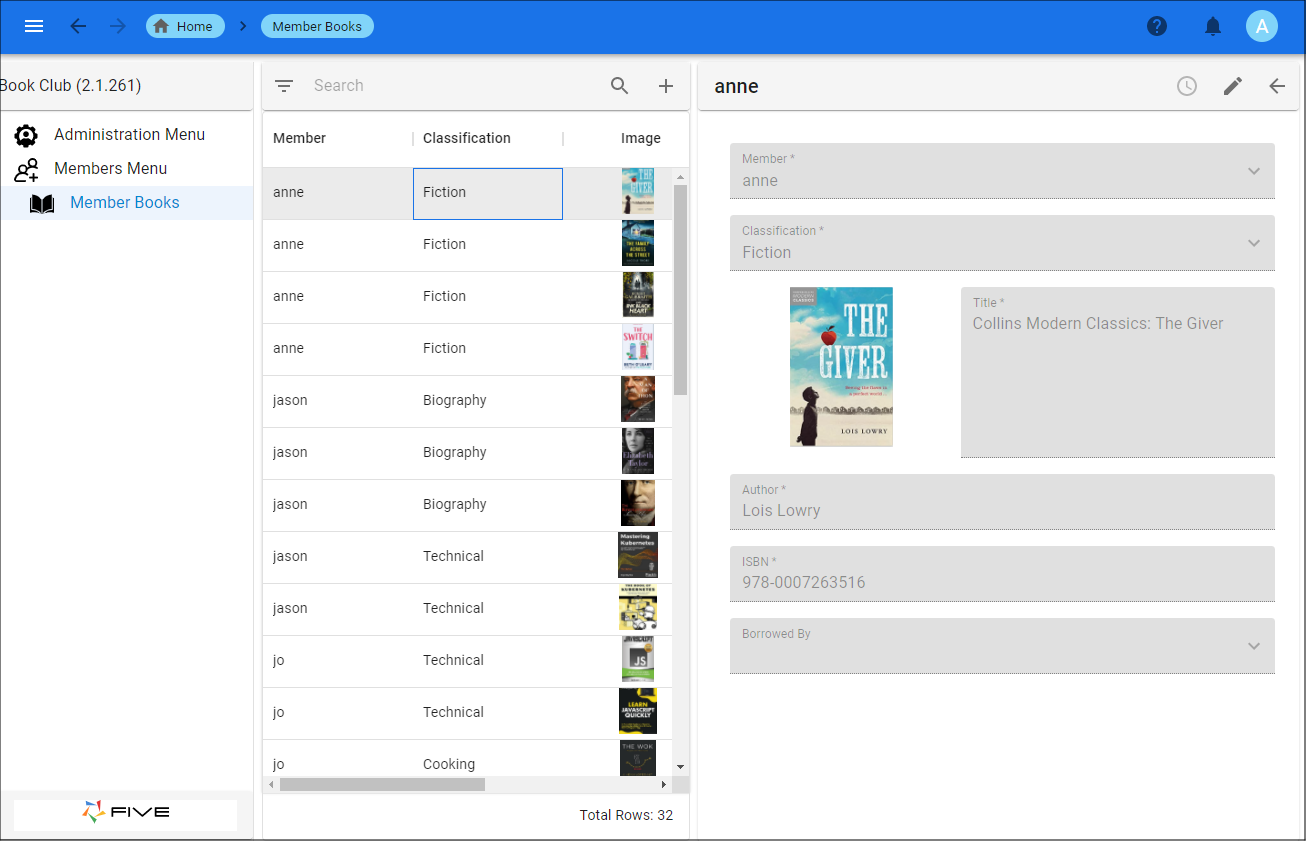
Figure 25 - Book list
info
If you take a look at the list you can see that Anne has four books in the system that she can lend out. We'll sign in as Anne and we'll be able to see what she sees with her Member role.
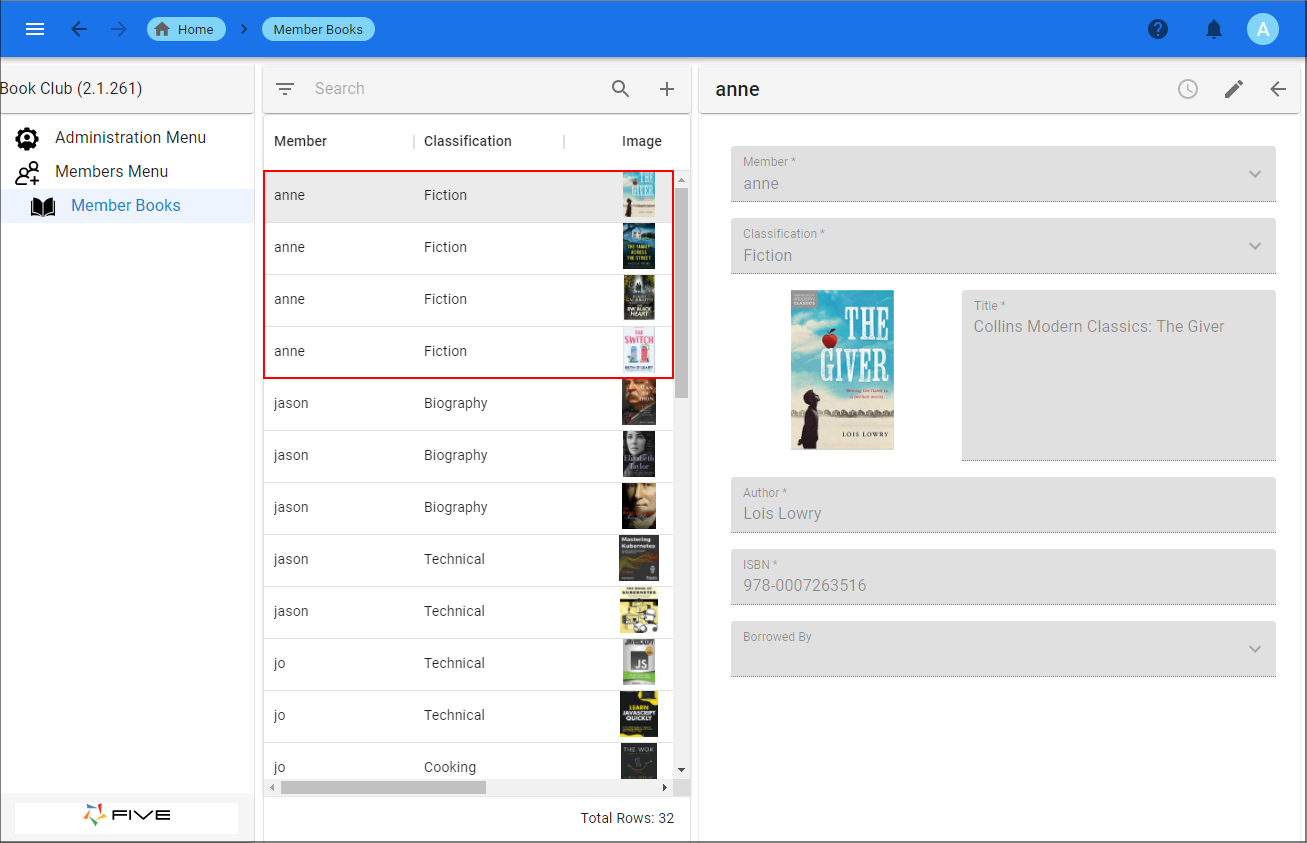
Figure 26 - Anne's books
14. Click the Avatar button.
15. Click the Logout button.
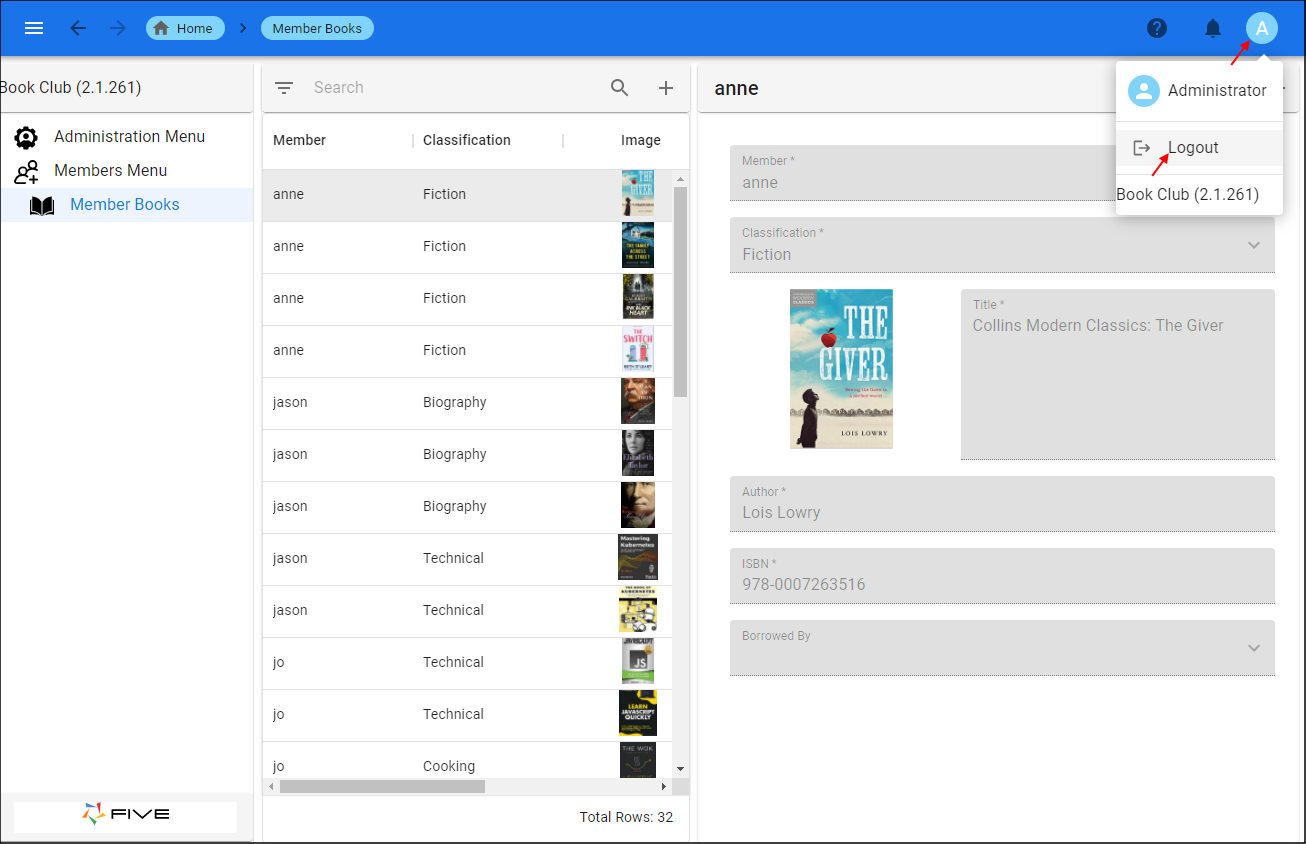
Figure 27 - Logout as Administrator
16. Type anne in the Username field.
17. Type Demo123! in the Password field.
18. Click the Sign In button.
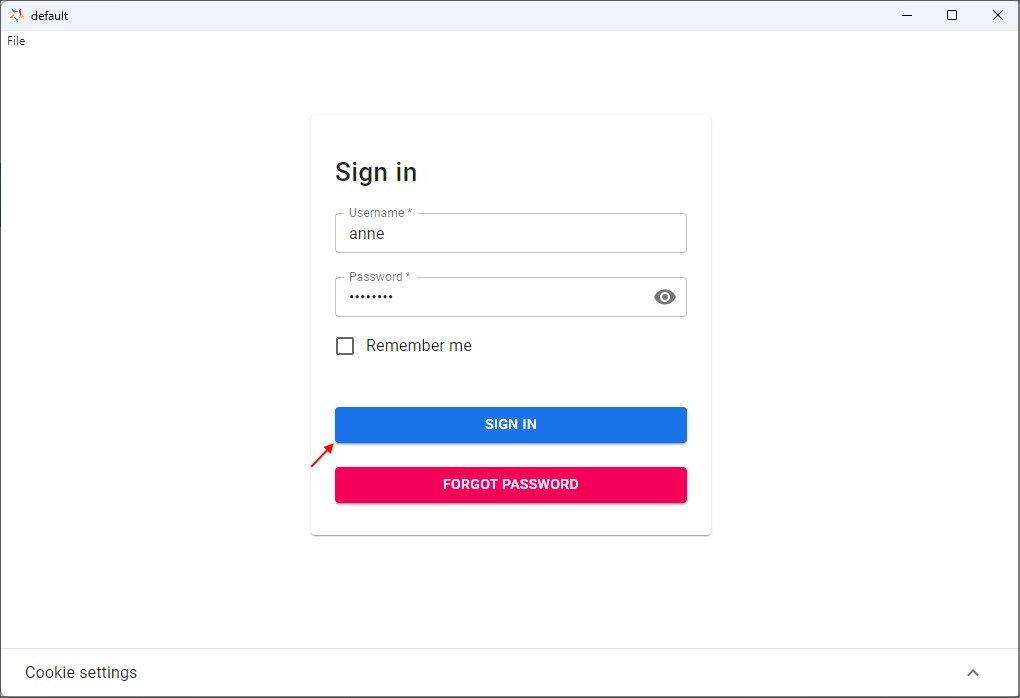
Figure 28 - Sign in with the user Anne
info
When Anne signs in with her Member role, she lands straight on the Member Books menu item and the list is filtered so she only sees her books in the system. Feel free to log in with any of the members in the system, just use their username on the Users form and the password Demo123! The same password is set for each user for you for ease of use.
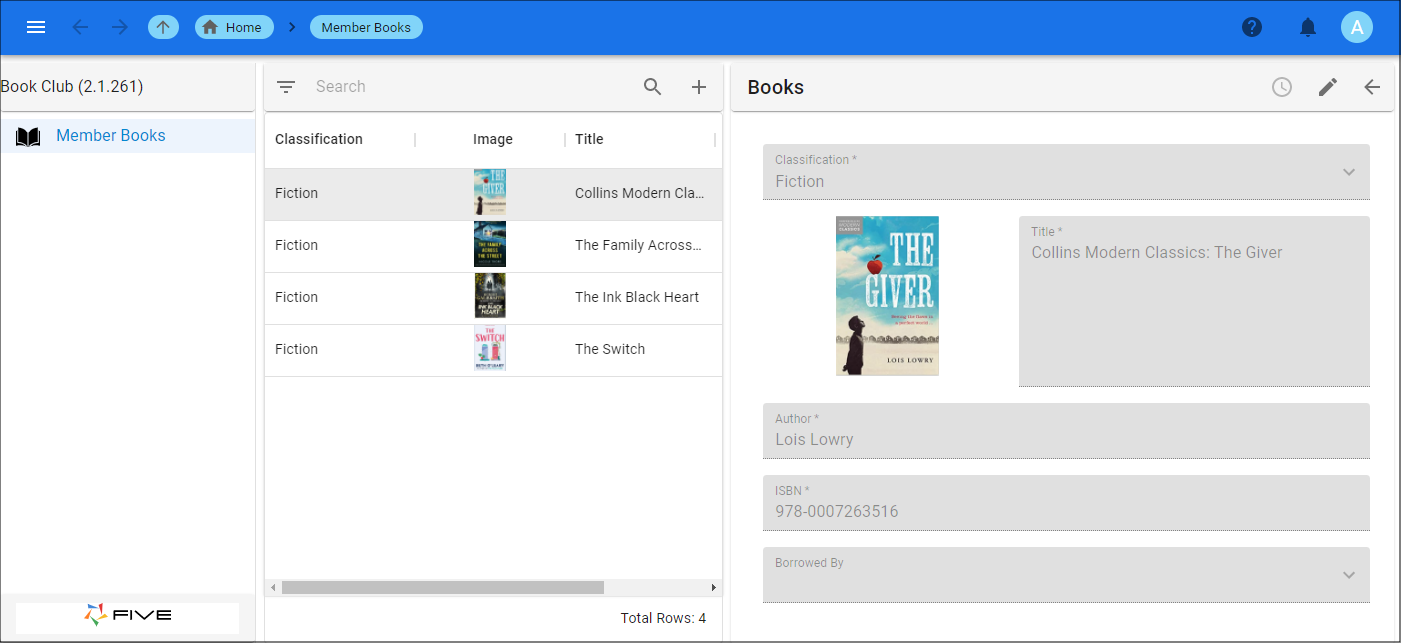
Figure 29 - Anne's member account
19. Click the Avatar button.
20. Click the Logout button.
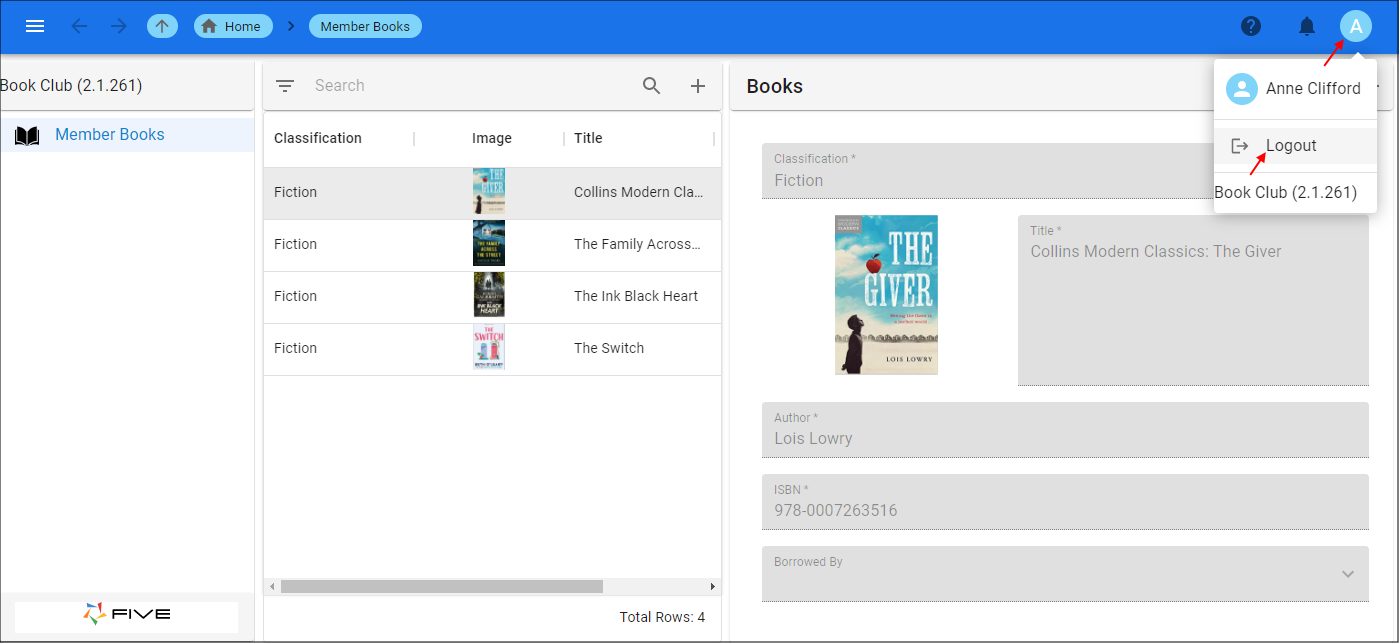
Figure 30 - Logout as the user Anne
21. Click the Close button and return to Five.

Figure 31 - Close button