2 - Design an Advanced Theme
Last updated 12/06/2023
Five's Theme Editor lets you create a theme either by point and click or writing your own CSS to style your HTML elements. This documentation will explain the Advanced side of the Theme Editor and explain what an instance of your application is as you can create multiple themes and attach them to different instances of your application.Before you start to add the Book Club theme, click the following link to download the code used for the Book Club applicaton.
Book Club theme
Navigate to Themes
1. Select Setup in the menu.2. Select Themes in the sub-menu.
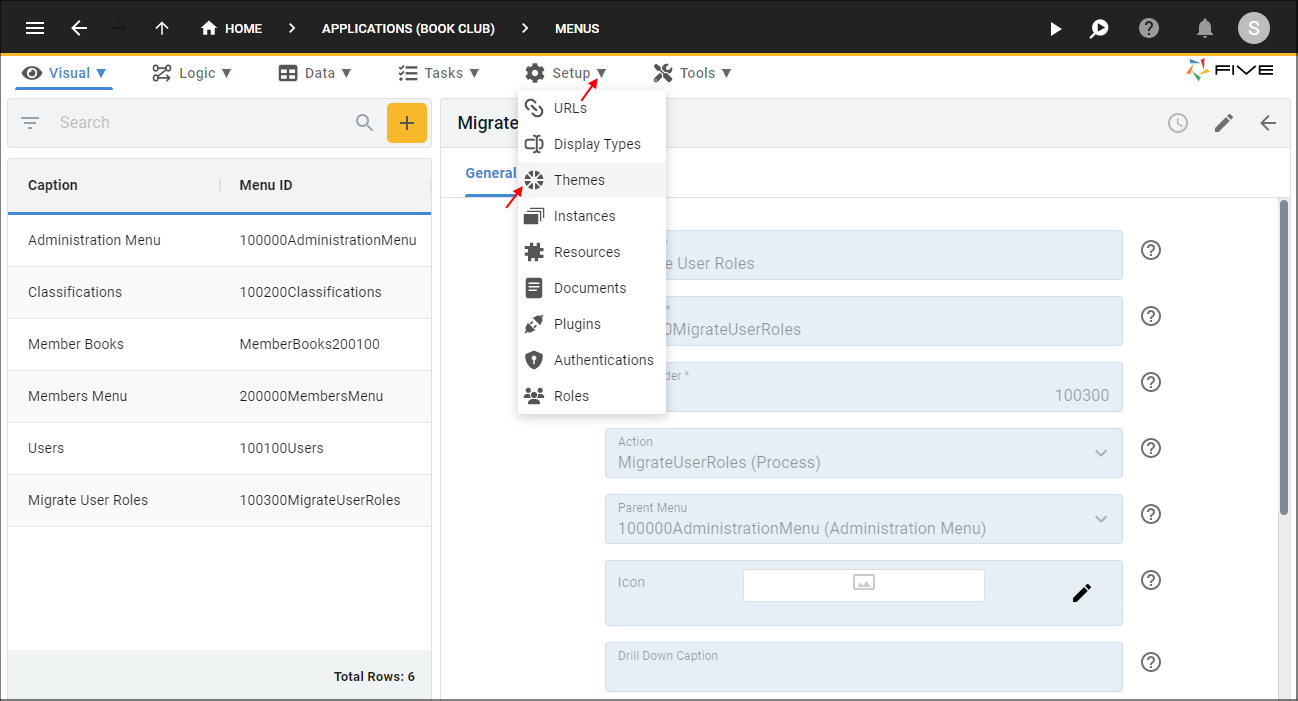
Figure 1 - Themes menu item
Add the Book Club Theme
1. Click the Add Item button.2. Type Book Club in the Name field.
3. Click in the Theme field to open Five's Theme Editor.
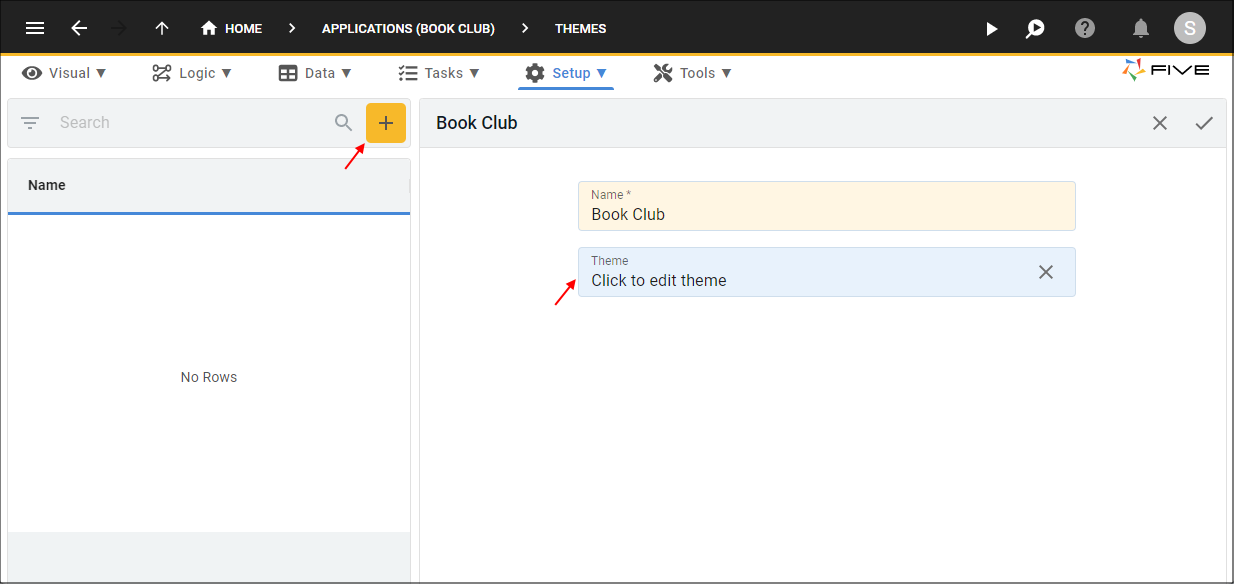
Figure 2 - Add the Book Club theme
4. Click the Advanced tab.
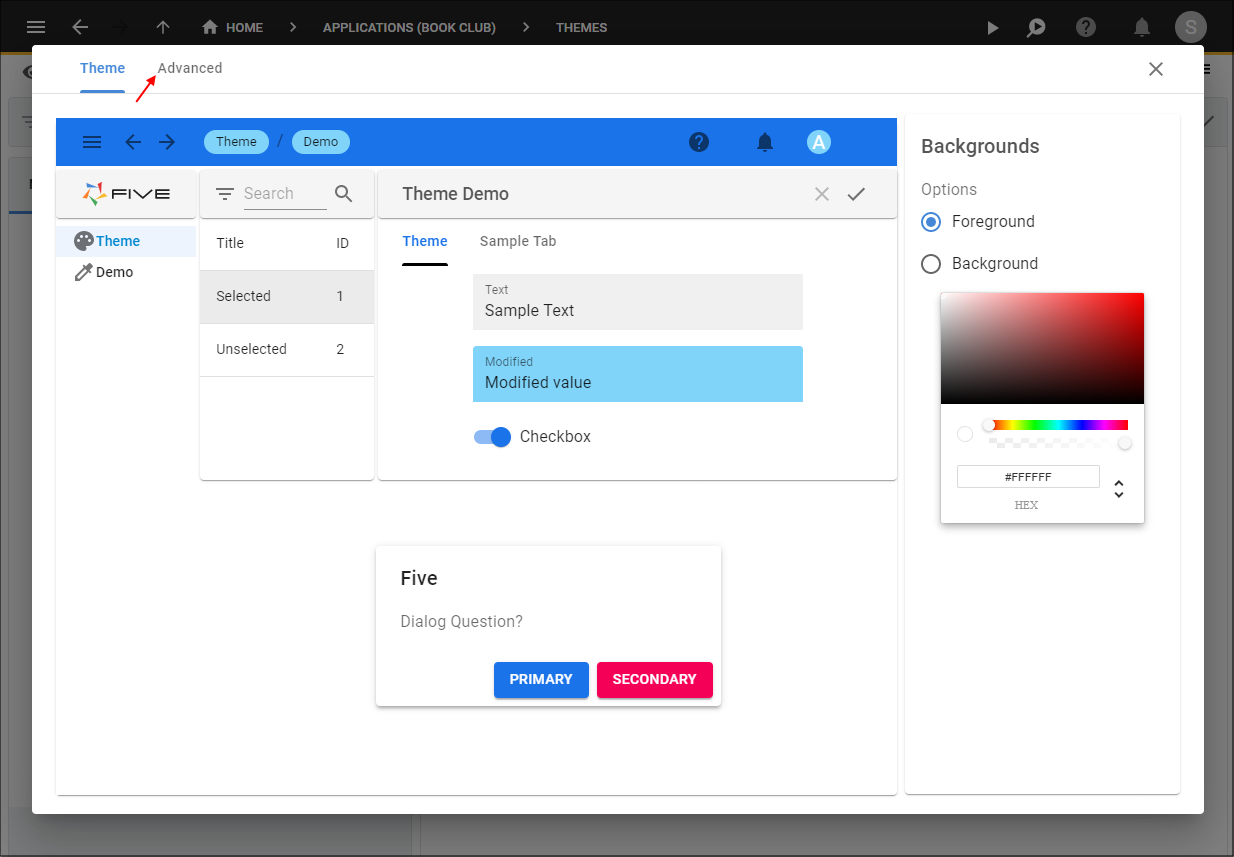
Figure 3 - Advanced tab
info
This is the code for the default theme, you can either clean the entire editor and start from scratch, or you may prefer to use some of the targeted HTML elements in here and edit the code. The highlighted section below will target the buttons for messages returned in your application.
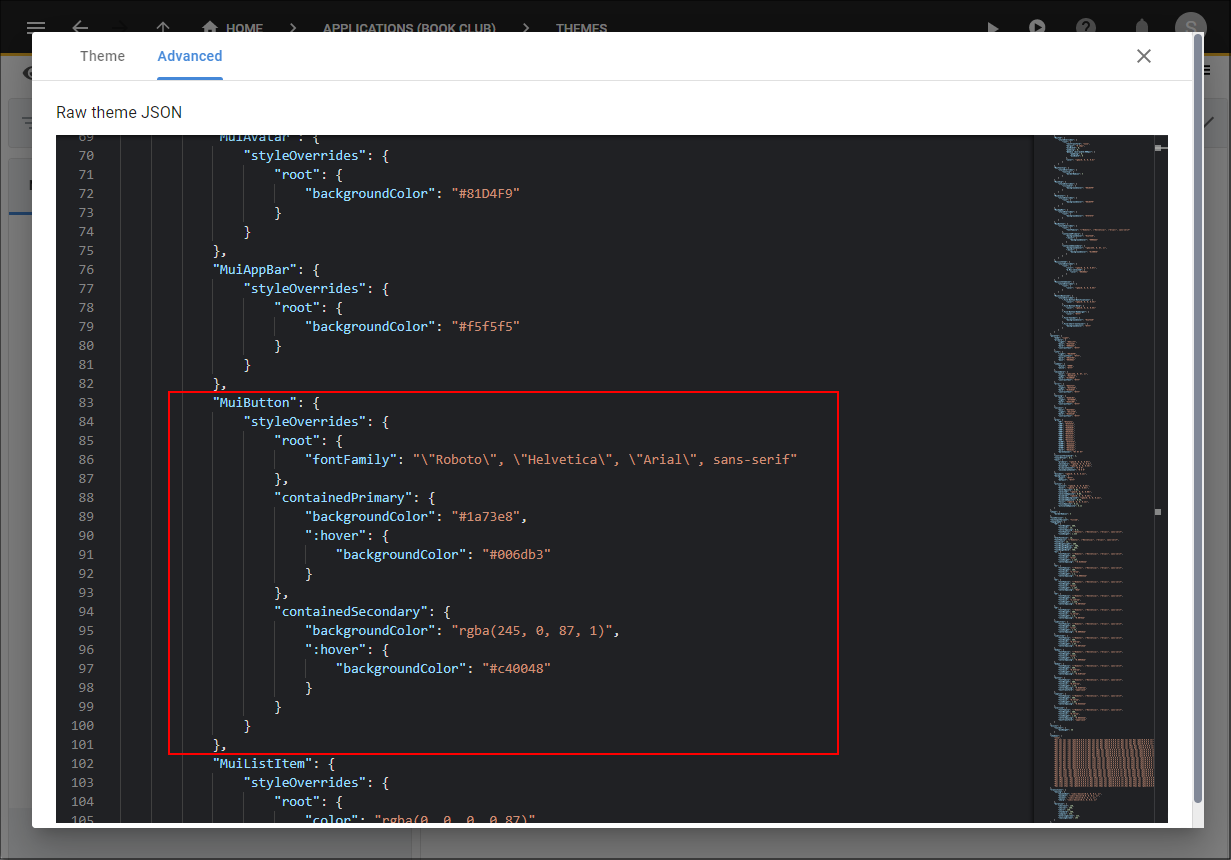
Figure 4 - Override message buttons
5. Press Ctrl A or Command A and delete the code in the editor.
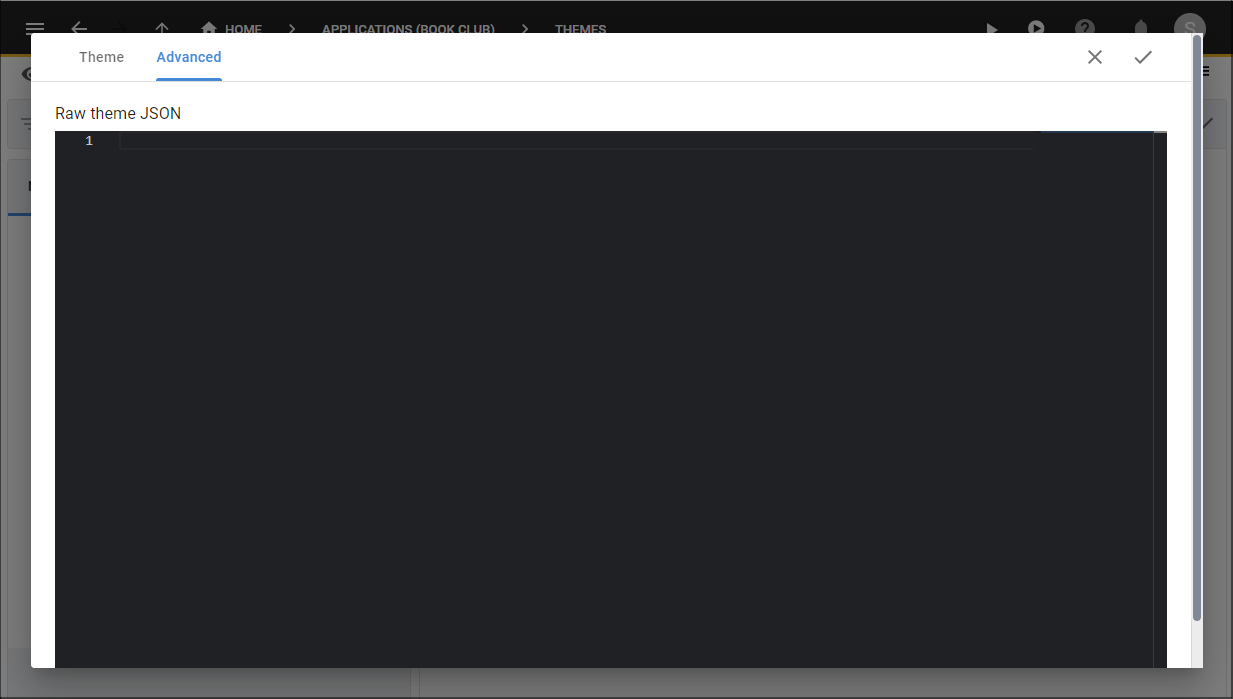
Figure 5 - Clean the Theme Editor
6. Open the .txt file you downloaded and copy the code.
7. Paste the code in the Theme Editor.
8. Click the Save button in the Theme Editor app bar.
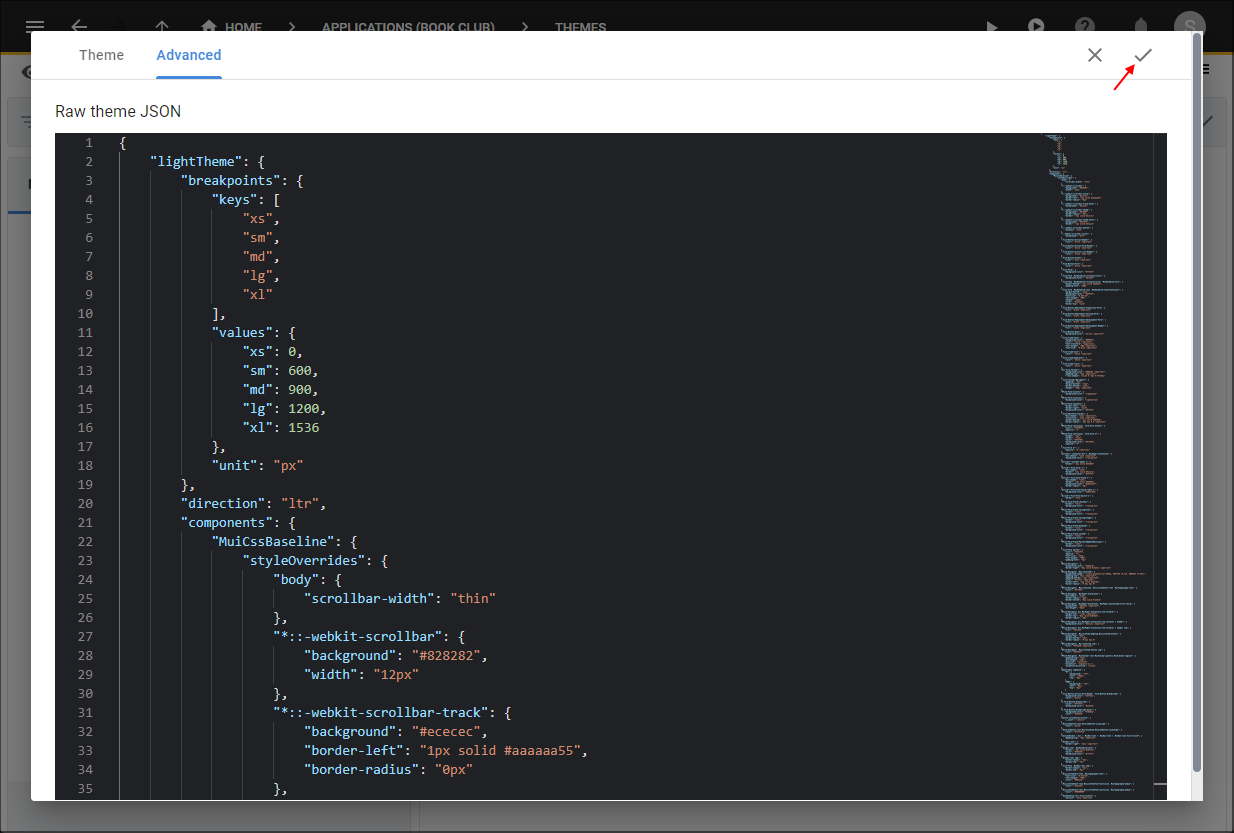
Figure 6 - Save the Book Club theme
9. Click the Save button in the form app bar.
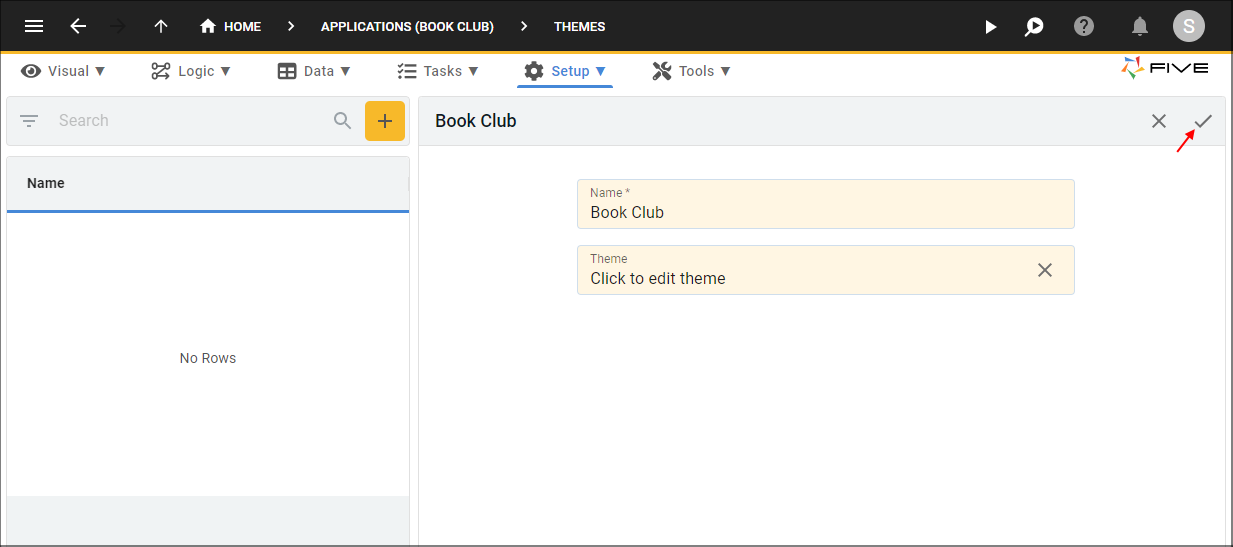
Figure 7 - Save the Book Club theme record
Attach the Book Club Theme to an Instance
An instance is an instance of your application. In Five, you can have many instances for the one application. Each instance will have exactly the same schema and code base, however, you can tailor each instance with different themes, logos, and Invite and Reset Password emails. To give you an example, say with the Book Club application we wanted a different instance of the application for each state so only users in the one state can borrow each others books. We could create an instance of the application for each state using the same application schema and tailor it with a different theme etc for each state.There are no limits to how many instances you can have deployed when working in the Cloud, however, when working in Local, you can only have one instance running at a time.
To have full access to the Instances form, you need to be working in the Cloud and be logged into Five with the role of Admin or Control. When working in Local, you will not have the Cluster Management page as you are not deploying in the Cloud so you do not need the different deployment environments.
1. Select Setup in the menu.
2. Select Instances in the sub-menu.
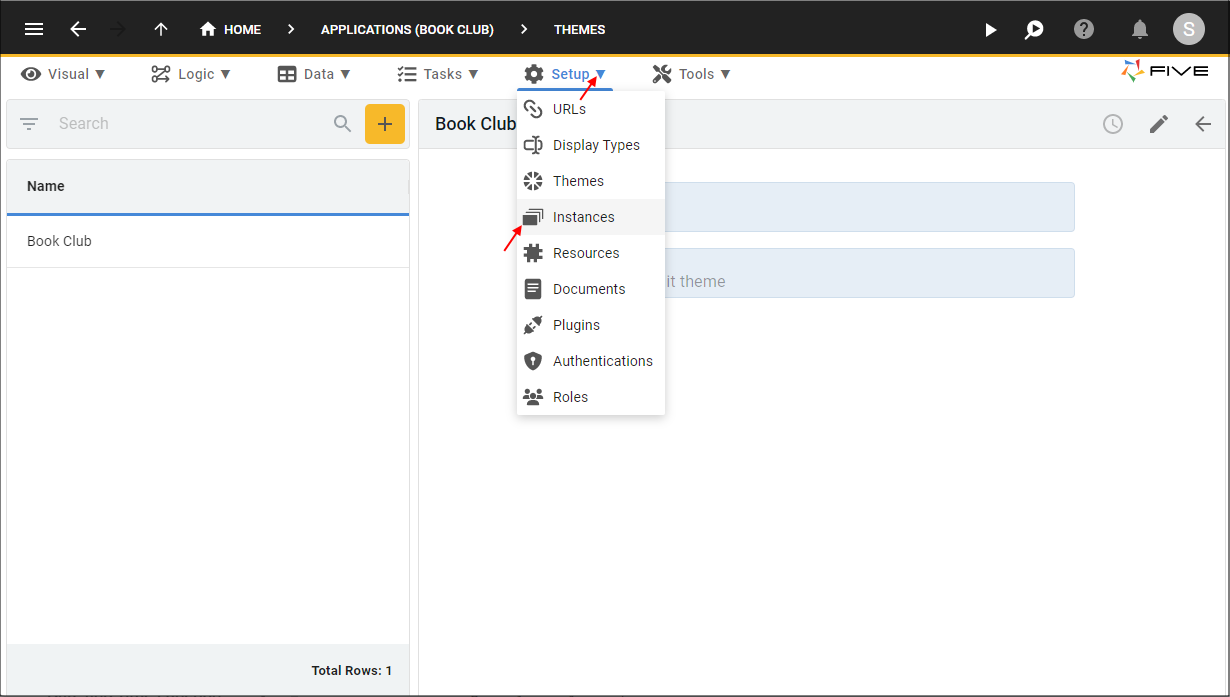
Figure 8 - Instances menu item
info
Five creates a default instance when you create an application to allow you to run your application immediately. You can run the default instance from any view in Five. All other instances will need the Cluster Management page to deploy your instance of an application to the Cloud.
You can only have one default instance and can select the default instance by turning the Default Instance switch on on the Instances form.
You can only have one default instance and can select the default instance by turning the Default Instance switch on on the Instances form.
3. Select the default record in the list.
4. Either click the Edit button in the form app bar, or click directly in the Name field.
5. Click the Cancel button in the Name field and type Book Club.
6. Click the lookup icon in the Theme field and select Book Club.
7. Optional: Click the Edit button in the Logo field, navigate your files and open an image file.
8. Optional: Click the Edit button in the Small Logo field, navigate your files and open an image file.
info
The logo will be displayed on your application Sign In window and in your application. The small logo will be the favicon in the browser tab when working in the Cloud, and will also be displayed if the menu is reduced in your application.
9. Click the lookup icon in the User Interface field and select Boston.
info
The Boston user interface will dislay your menu items to the left of your screen. The New York user interface will display your menu items along the top of your screen.
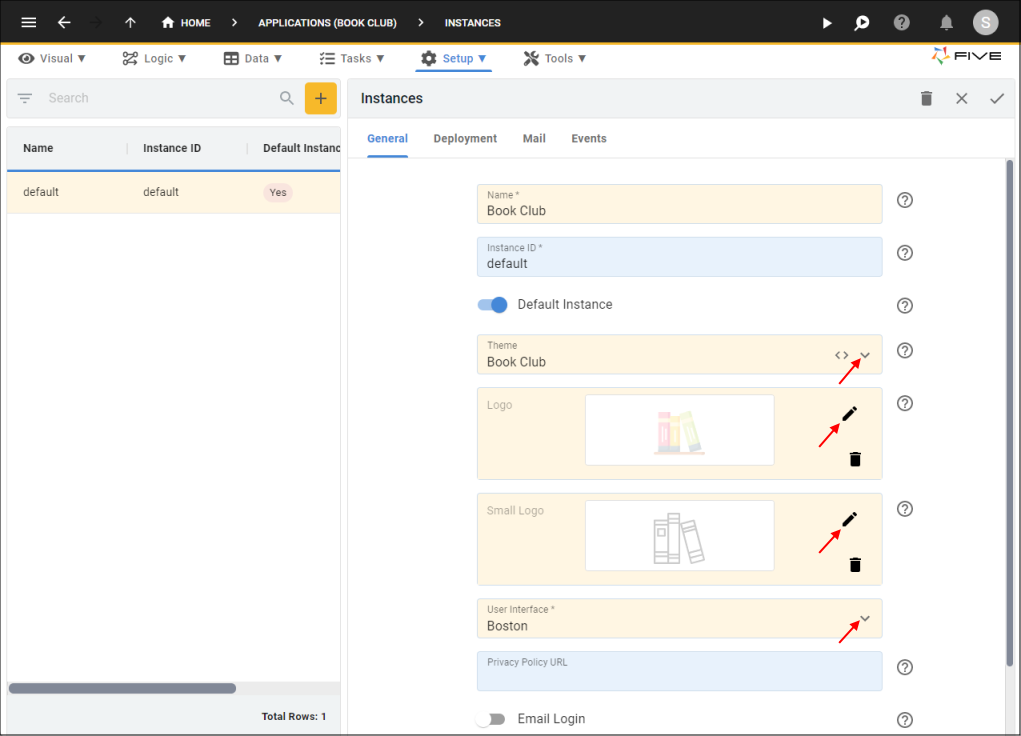
Figure 9 - Edit the default record
10. Click the Save button in the form app bar.
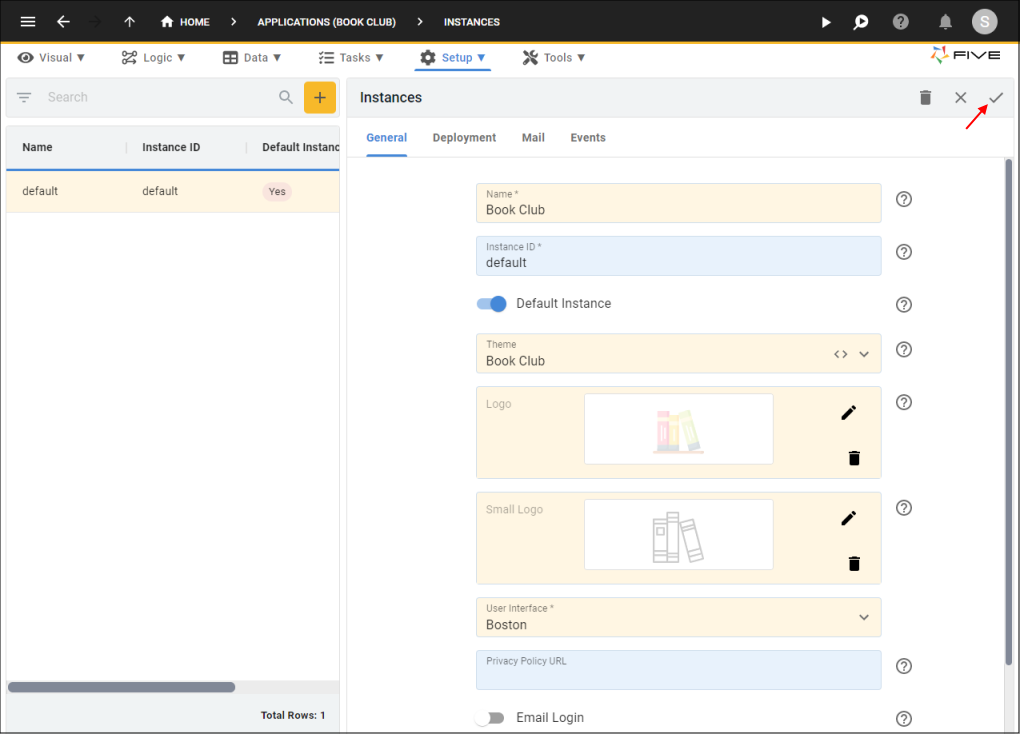
Figure 10 - Save the default record
Run the Book Club Application
This is a great time to run the Book Club application so we can see the new look!1. Click the Run button in the toolbar.

Figure 11 - Run button
info
You can see the Sign In window has taken the new theme, the logo, and the small logo is in the browser tab if working in the Cloud. Continue to sign into the Book Club application to see the new theme.
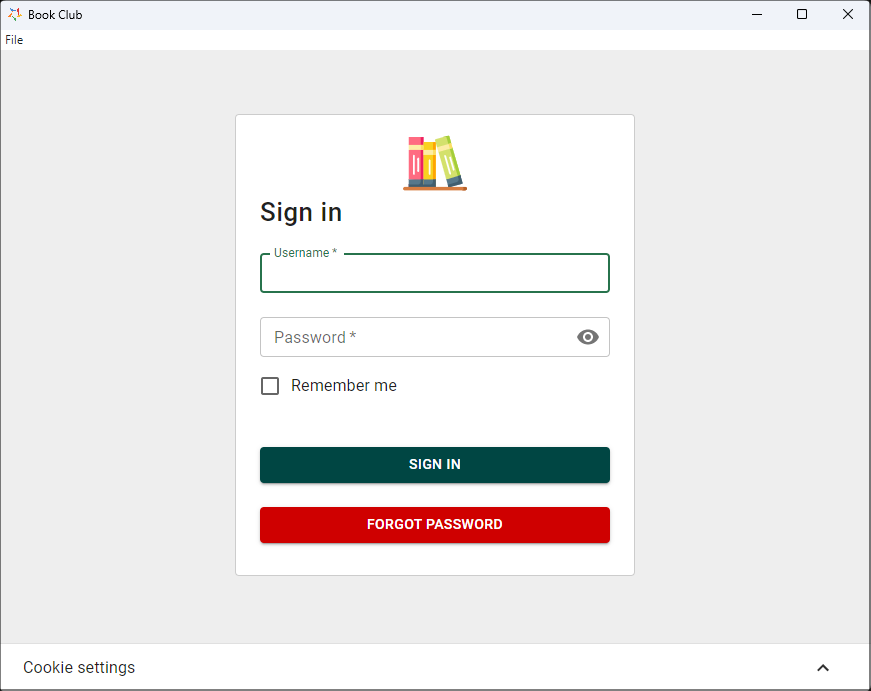
Figure 12 - New theme
2. Click the Close button and return to Five when you have finished looking at the new theme.