Drag and Drop Records in Your End-User Application
Last updated 15/11/2021
How to Have the Drag and Drop Capability
This documentation will explain how to have the drag and drop capability for records on a list page type.
Example
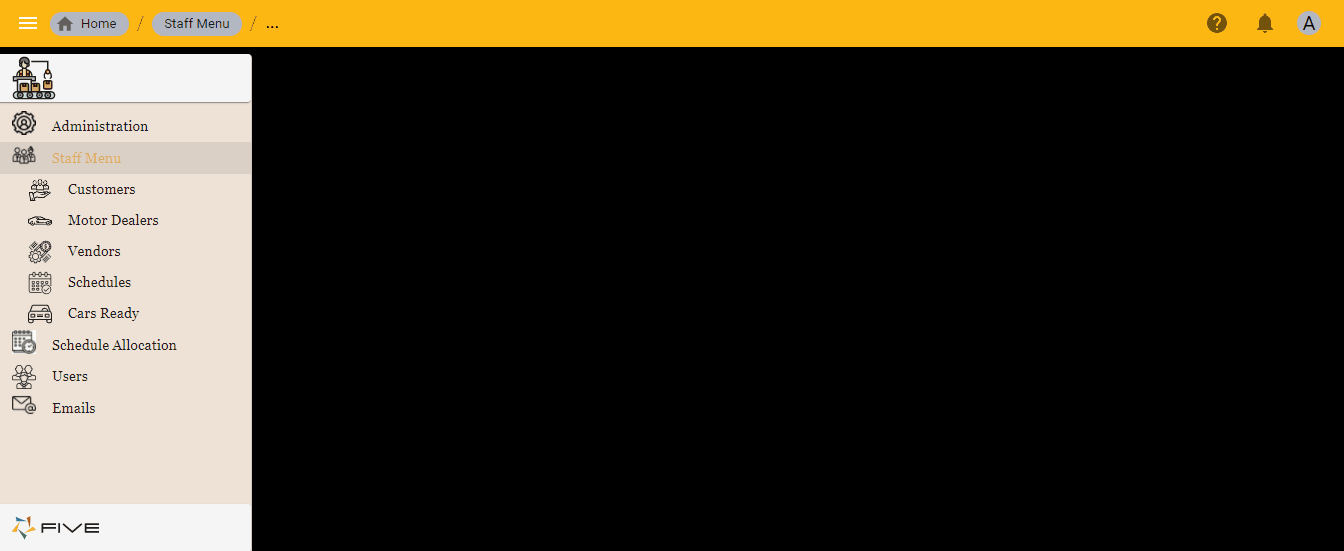
The Vendors form in the Production application includes a Categories list page, and we want to provide drag and drop capabilities to the entries in this list so that the categories can be reordered.
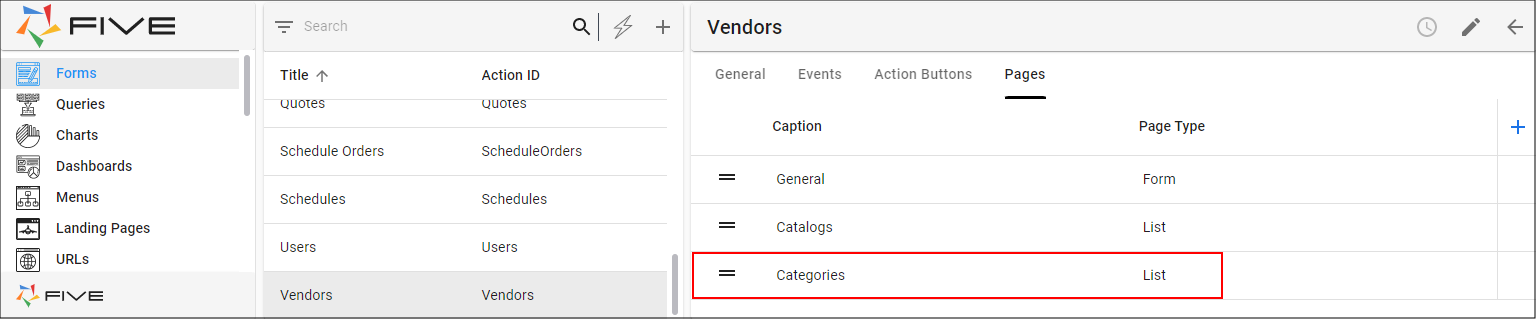
Figure 1 - Vendors form with a Categories list page
Requirements
- At the table level, a field to store the order number of the records in the list must be configured.
- It must be a List page type on a form.
Configure Your Table
- Select Tables in the Menu.
- Select the required table record in the list. For this example, the Category table.
- Click the Fields tab.
Figure 2 - Vendors form with a Categories list page
- Click the Add Fields button.
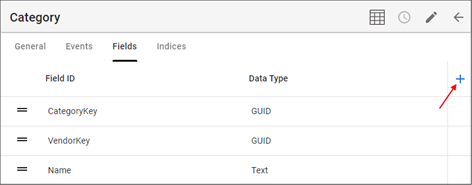
Figure 3 - Add Fields button
- Type a suitable name in the Field ID field. For this example, FieldOrder.
- Use the lookup icon in the Data Type field and select Integer.
- Type 4 in the Size field.
- Use the lookup icon in the Default Display Type field and select _Integer.
- Click the Save button in the form app bar.
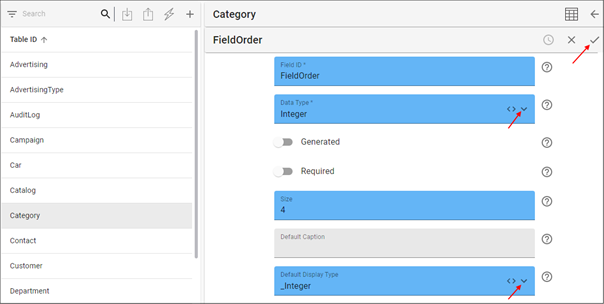
Figure 4 - New field details
- Click the Save button in the form app bar above the list.
- Click the Empty checkbox in the Field Change Window.
- Click the Save button in the Field Change window.
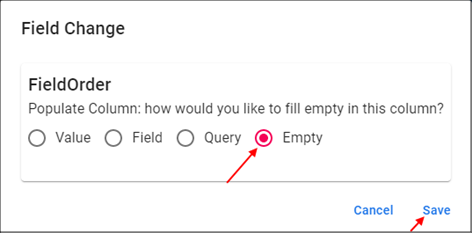
Figure 5 - Define how to populate the field for previous records
info
The Field Change window will appear when you add a new field to a table. This happens because Five needs to know what value you would like inserted in the field for previous records.
Edit the Form to Include the New Field
- Select Forms in the menu.
- Select the form record associated with the table in the list. For this example, Categories.
- Click the Edit button in the form app bar.
- Use the lookup icon in the Order Field field and select the new table field. For this example, FieldOrder.
- Click the Save button in the form app bar.
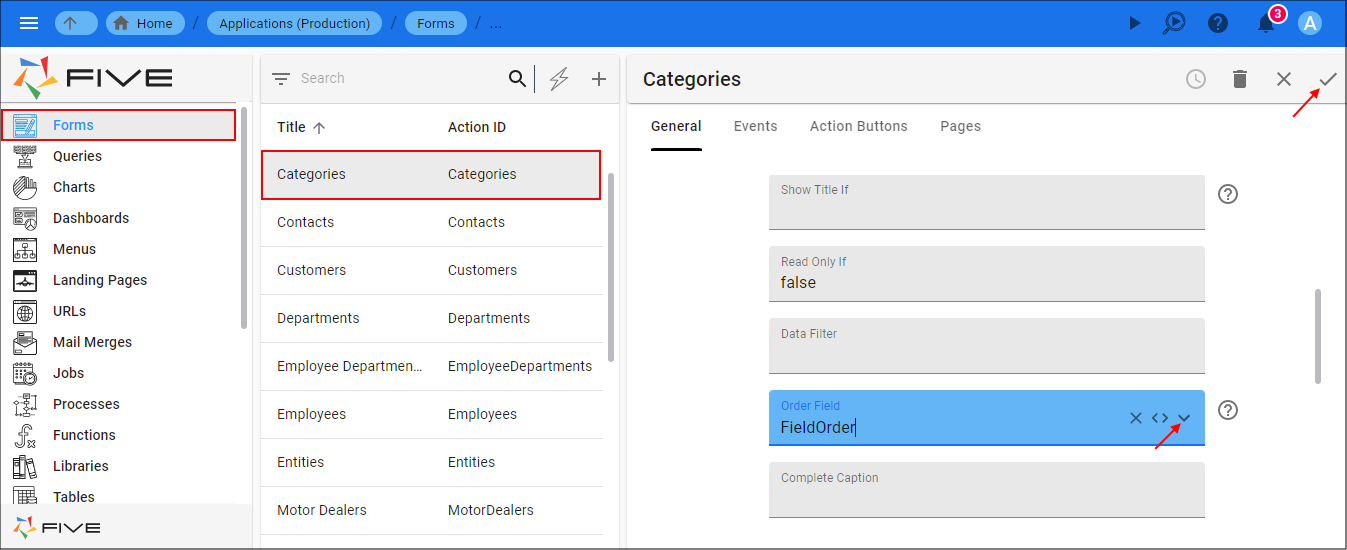
Figure 6 - Edit the form to include the Order Field form
How This Will Look in Your End-User Application
Your records can now be reordered, and the database will store the field's current order in the field you just added to the table.
- Select the menu item referencing the form. For this example, the Vendors form.
- Select the tab to navigate to the list page.
- Click, hold and drag the handler to move the record to the new position.
- Click the Save button in the form app bar.