Managing Tables
Last updated 31/10/2023
This documentation will aid you to upkeep your table records. All your table records will be listed in the Tables view whether they have been added via the Table form, the Table Wizard, or the Database Modeler.Edit a Table Record
1. Select the table record in the list.2. Either click the Edit button in the form app bar, or click directly in a field.
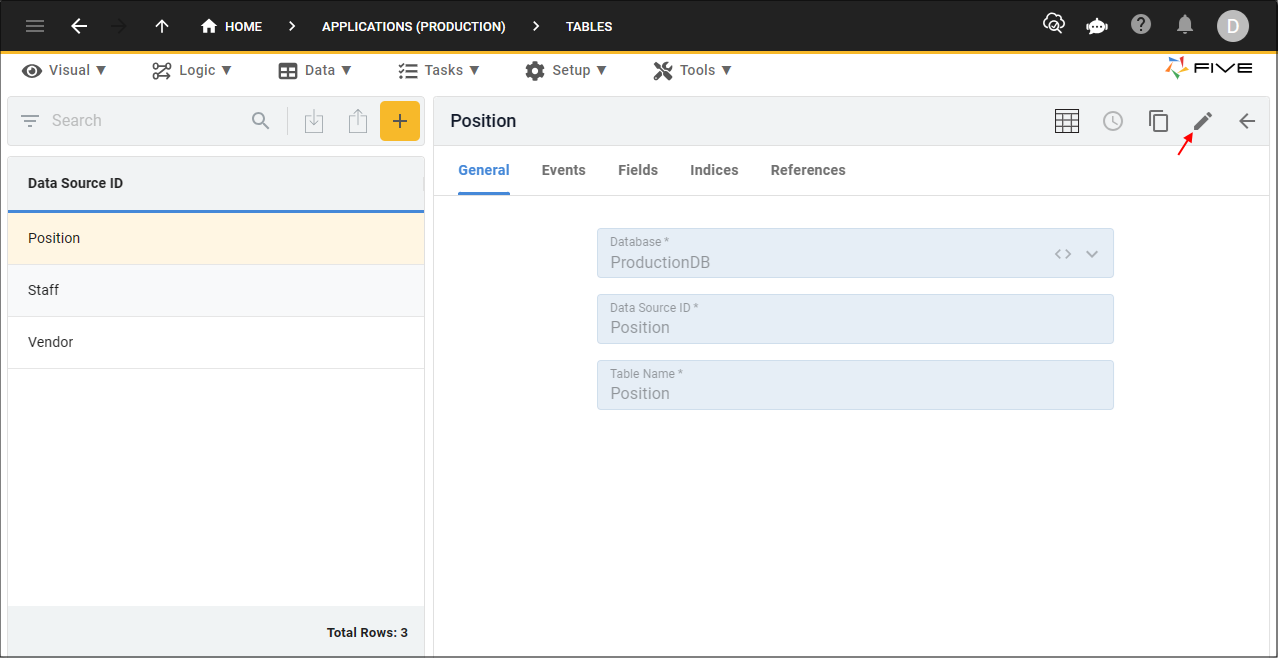
Figure 1 - Edit button
3. Make your changes.
4. Click the Save button in the form app bar.
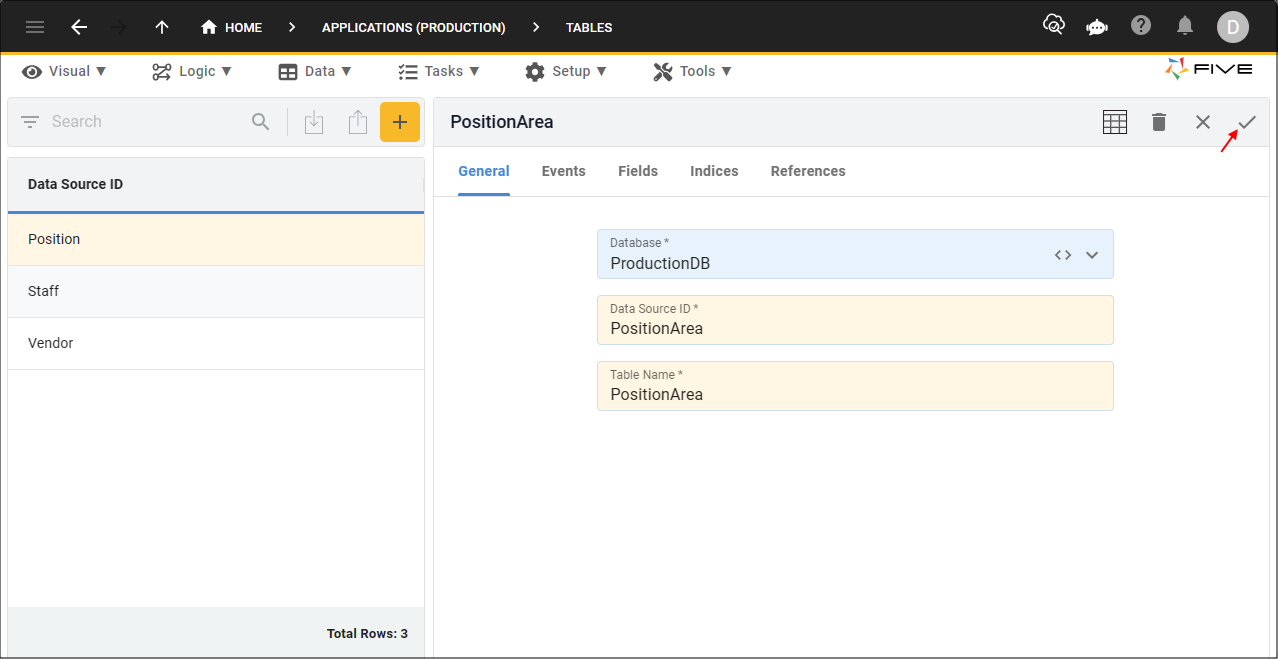
Figure 2 - Save button
Delete a Table Record
1. Select the table record in the list.2. Click the Edit button in the form app bar.
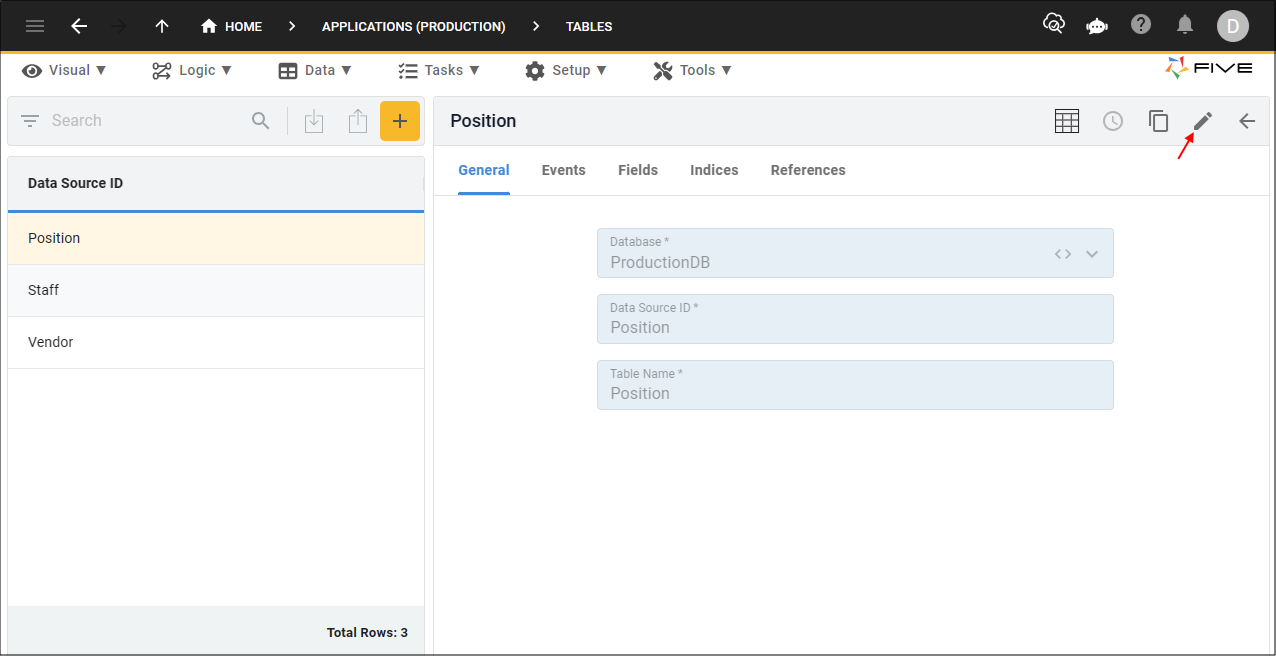
Figure 3 - Edit button
3. Click the Delete button in the form app bar.
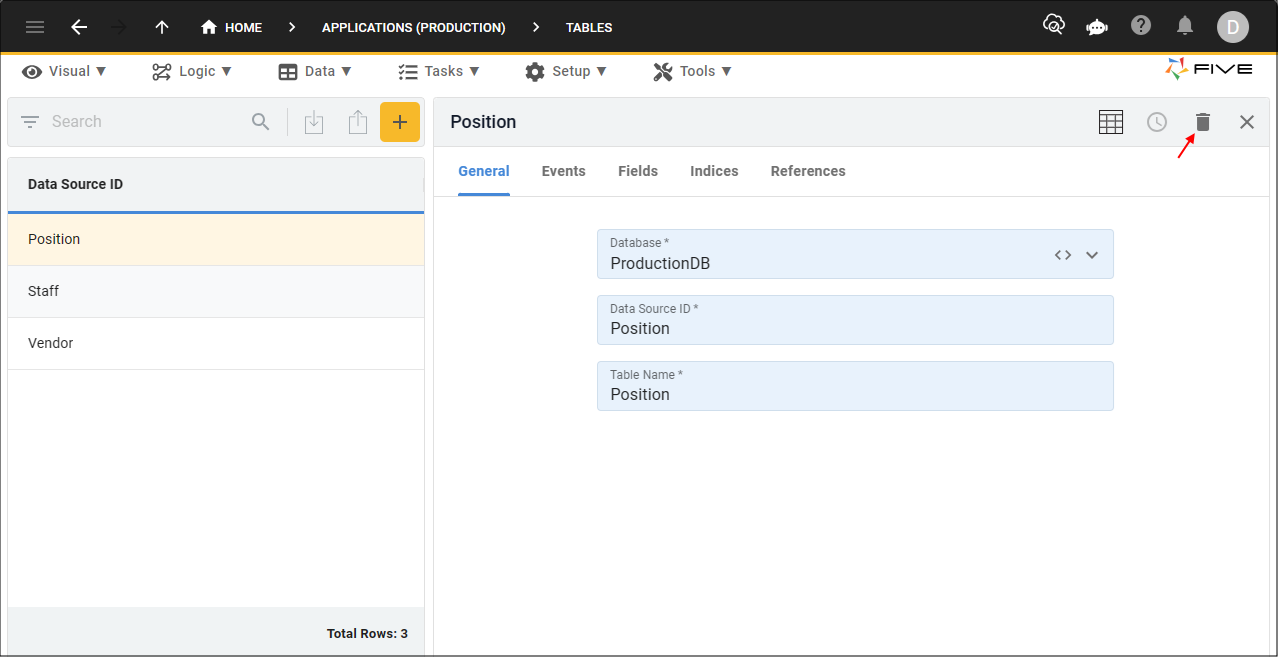
Figure 4 - Delete button
caution
Five will ask you 'Do you want to delete this record?' because once a table record has been deleted, all fields and indices will also be deleted.
tip
Any functions attached to your table will still be available in the Functions view!
4. Click the Yes button.
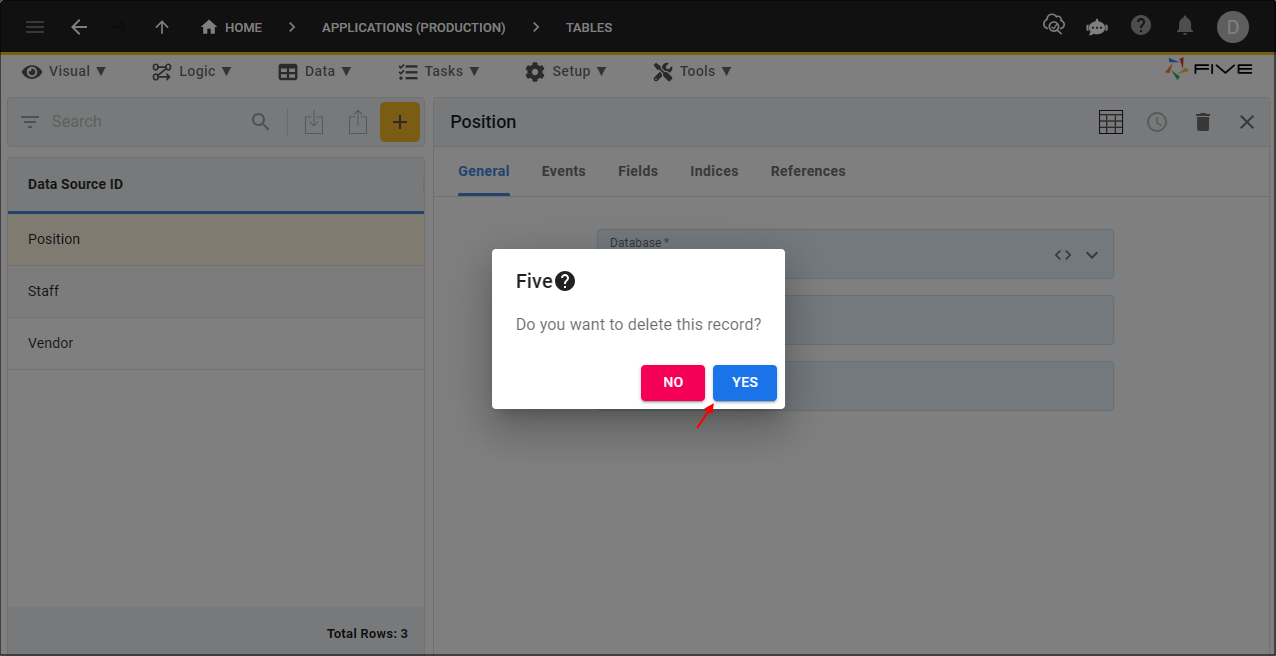
Figure 5 - Yes button
Edit a Field Record
1. Select the table record in the list.2. Click the Fields tab.
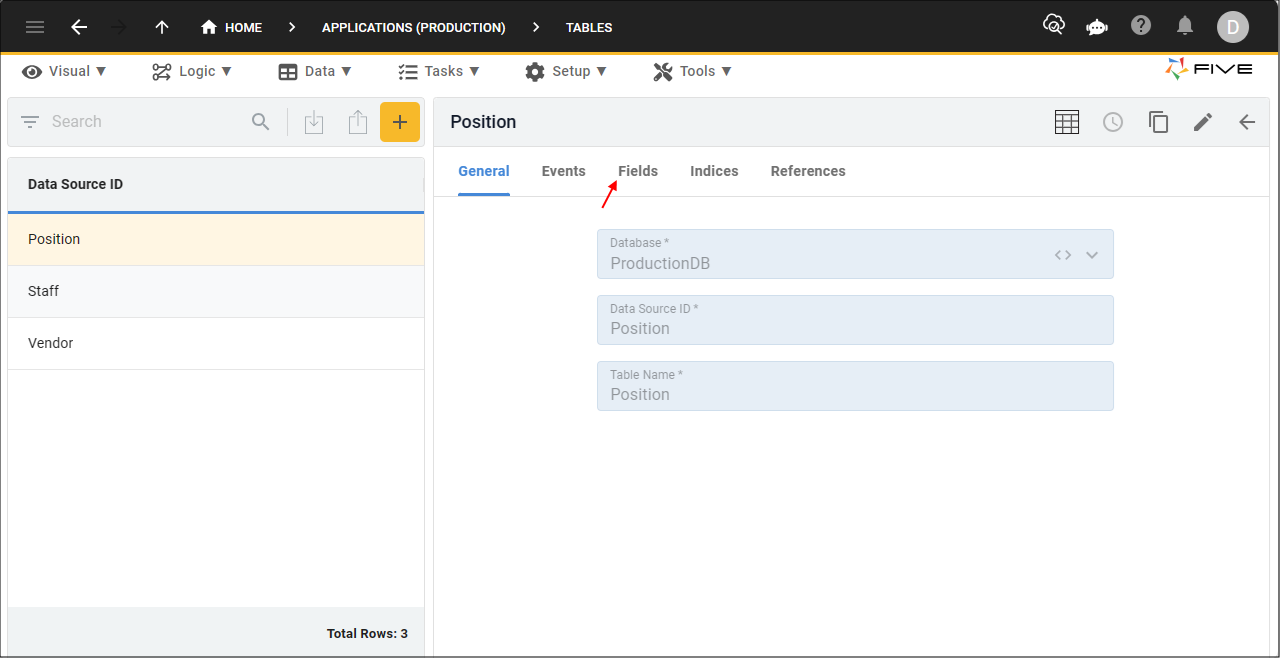
Figure 6 - Fields tab
3. Select the field record in the list.
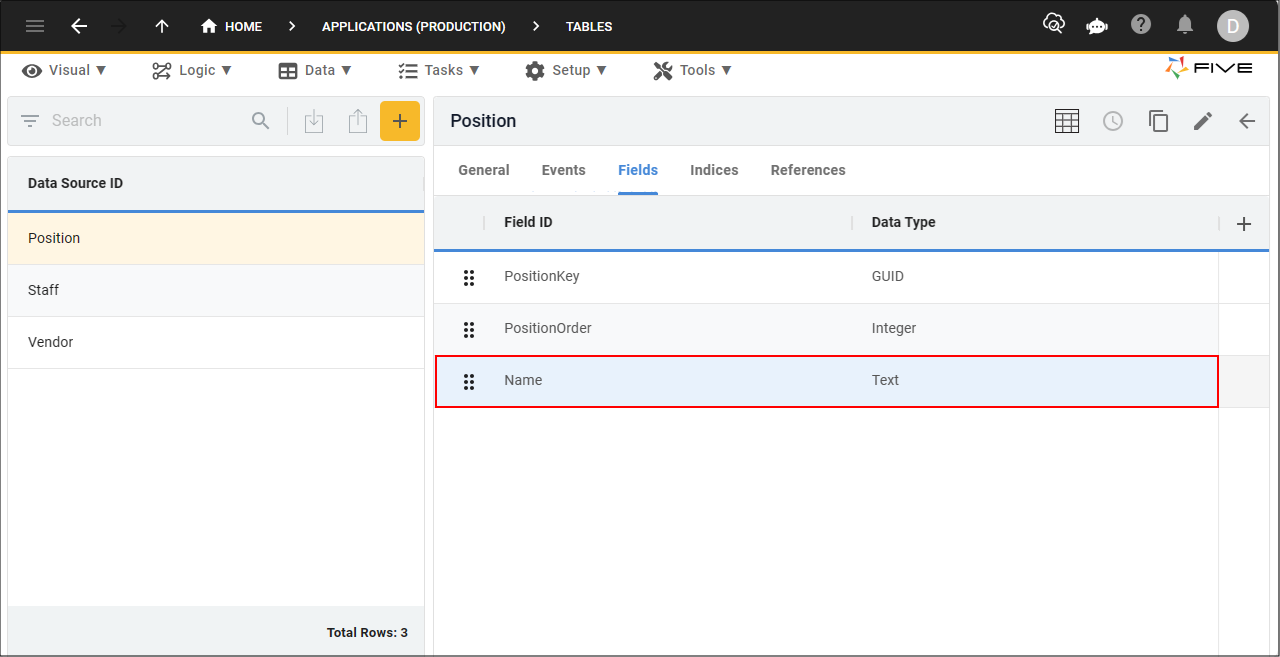
Figure 7 - Field record
4. Either click the Edit button in the form app bar, or click directly in a field.

Figure 8 - Edit button
5. Make your changes.
6. Click the Save button in the form app bar.
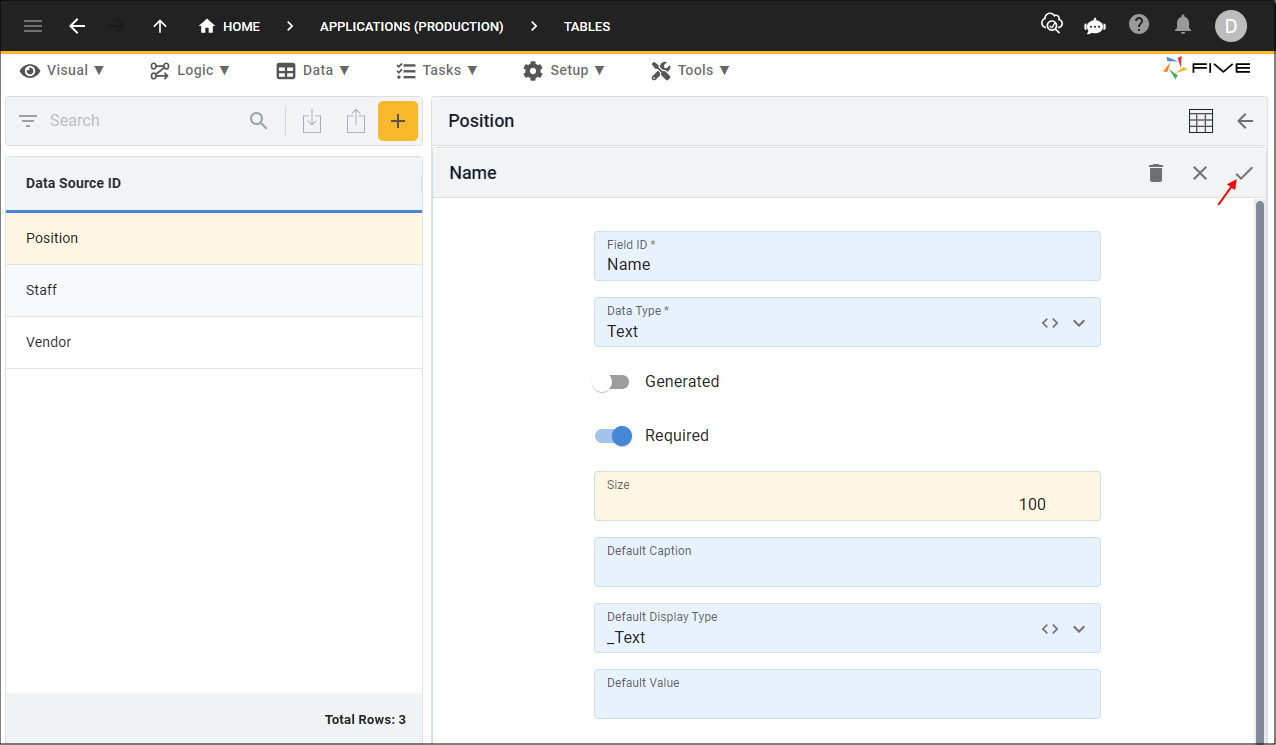
Figure 9 - Save button
7. Click the Save button in the form app bar above the list.

Figure 10 - Save button
Delete a Field Record
1. Select the table record in the list.2. Click the Fields tab.
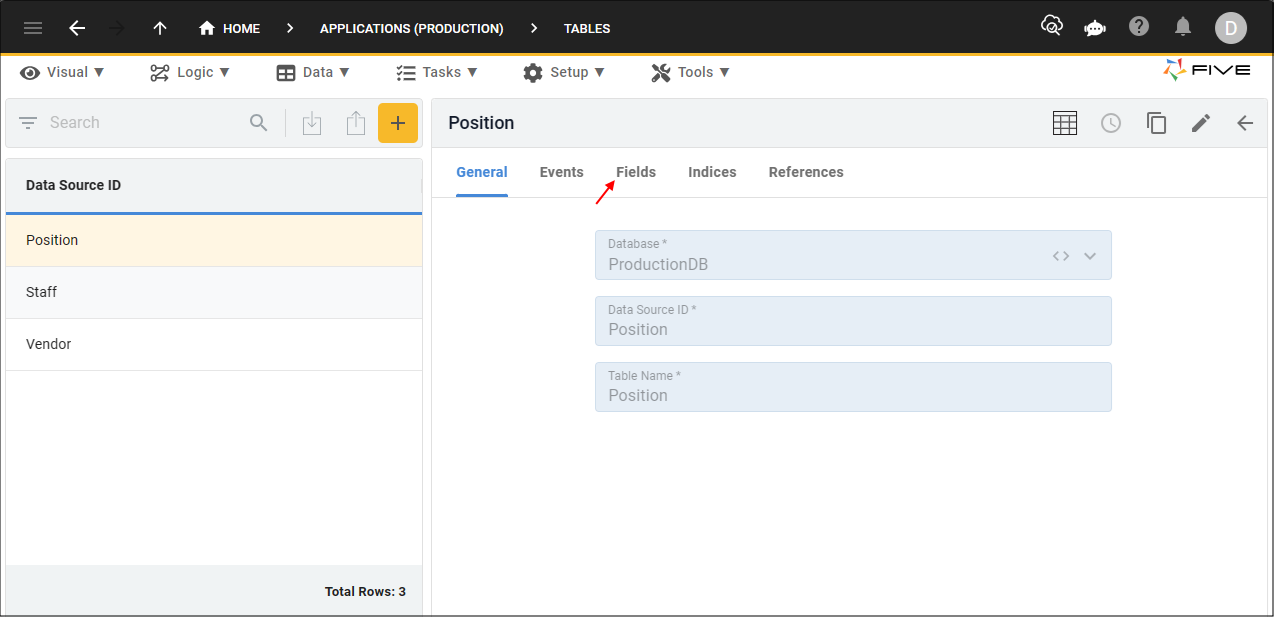
Figure 11 - Fields tab
3. Select the field record in the list.
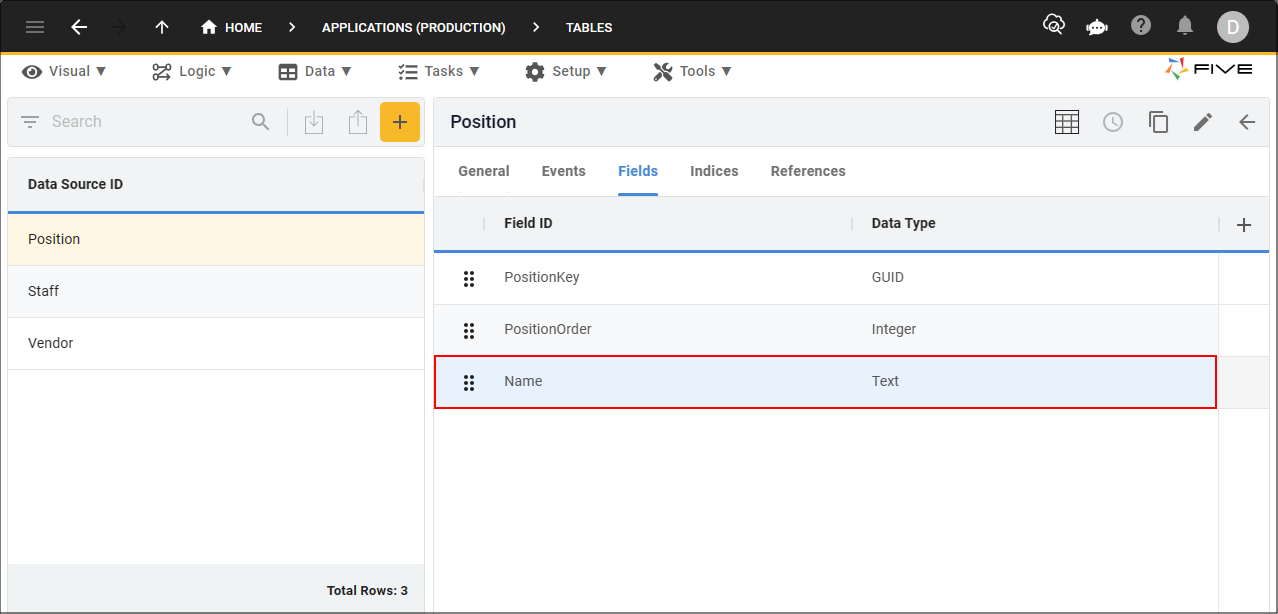
Figure 12 - Field record
4. Click the Edit button in the form app bar.
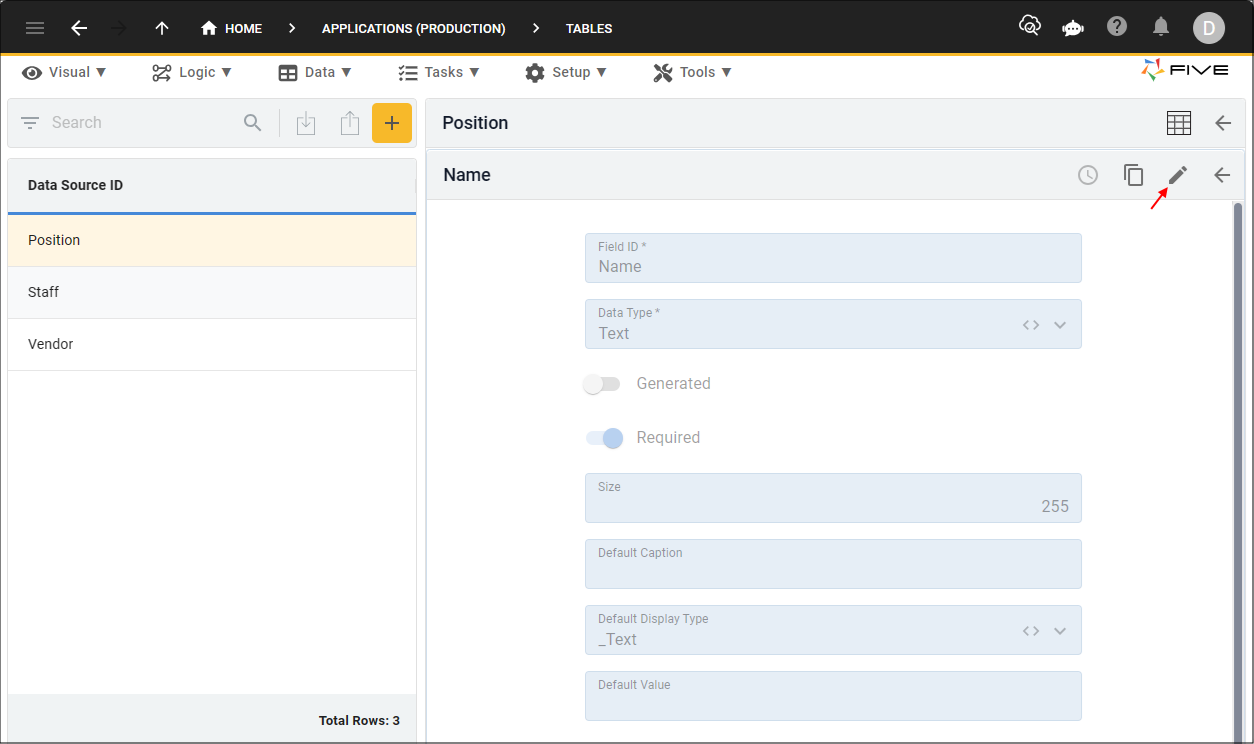
Figure 13 - Edit button
5. Click the Delete button in the form app bar.
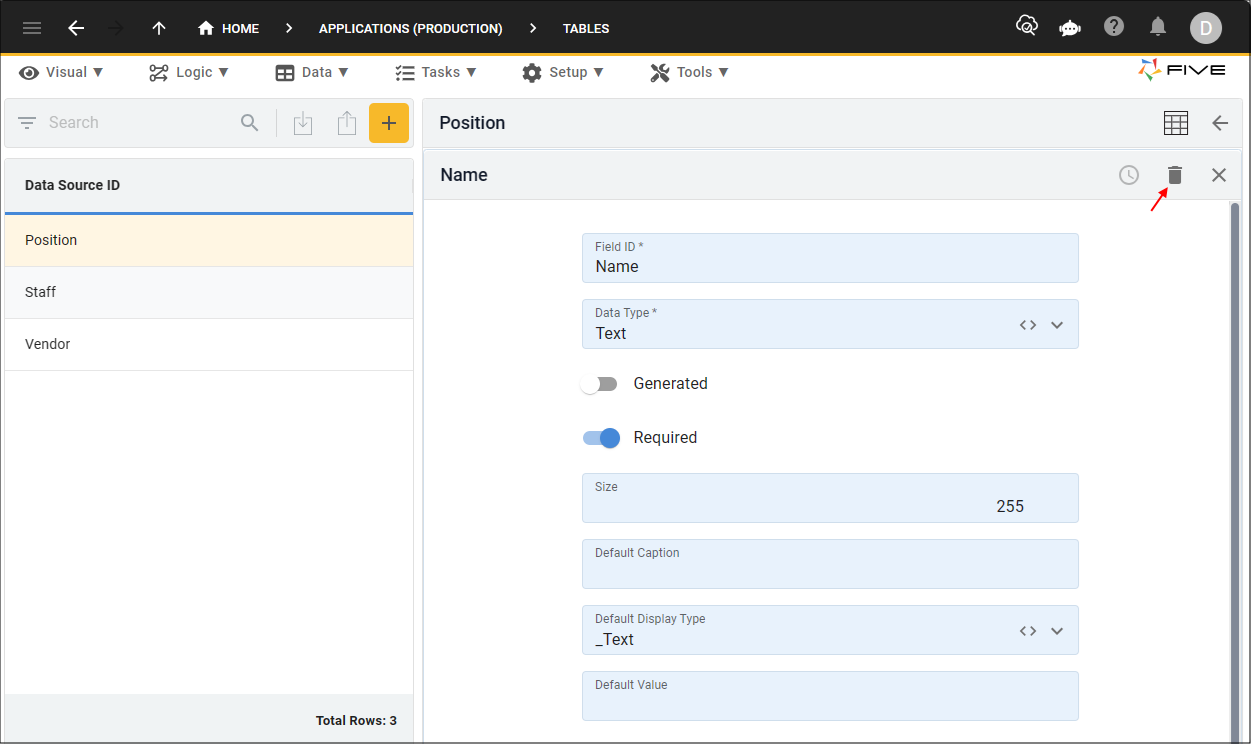
Figure 14 - Delete button
info
A record will be displayed in a bright yellow color in the list when it has been flagged to be deleted.
6. Click the Save button in the form app bar above the list.
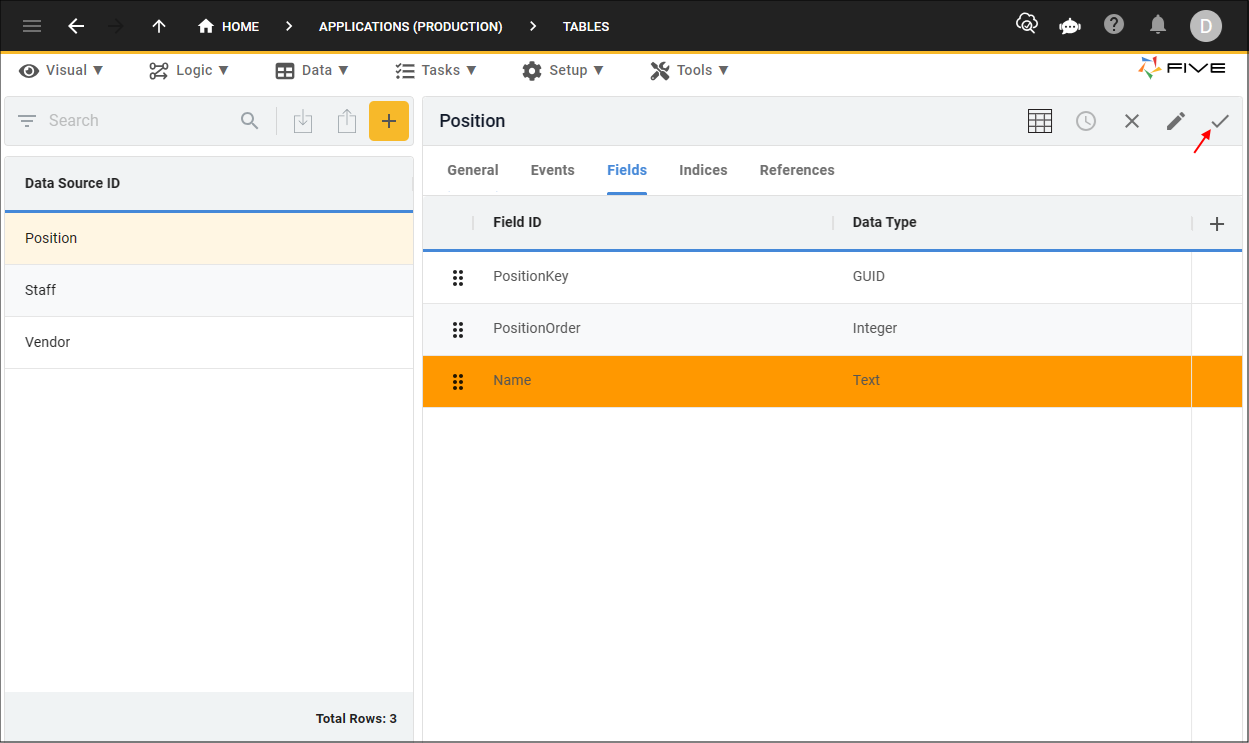
Figure 15 - Save button
Edit an Index Record
1. Select the table record in the list.2. Click the Indices tab.
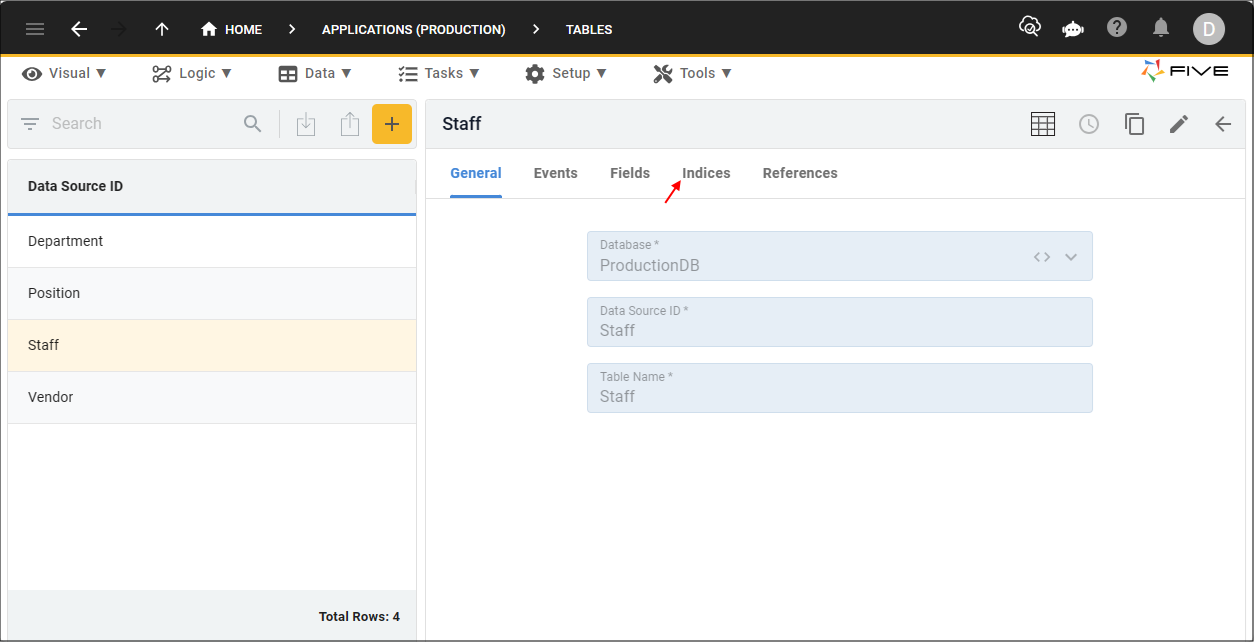
Figure 16 - Indices tab
3. Select the index record in the list.

Figure 17 - Index record
4. Either click the Edit button in the form app bar, or click directly in a field.
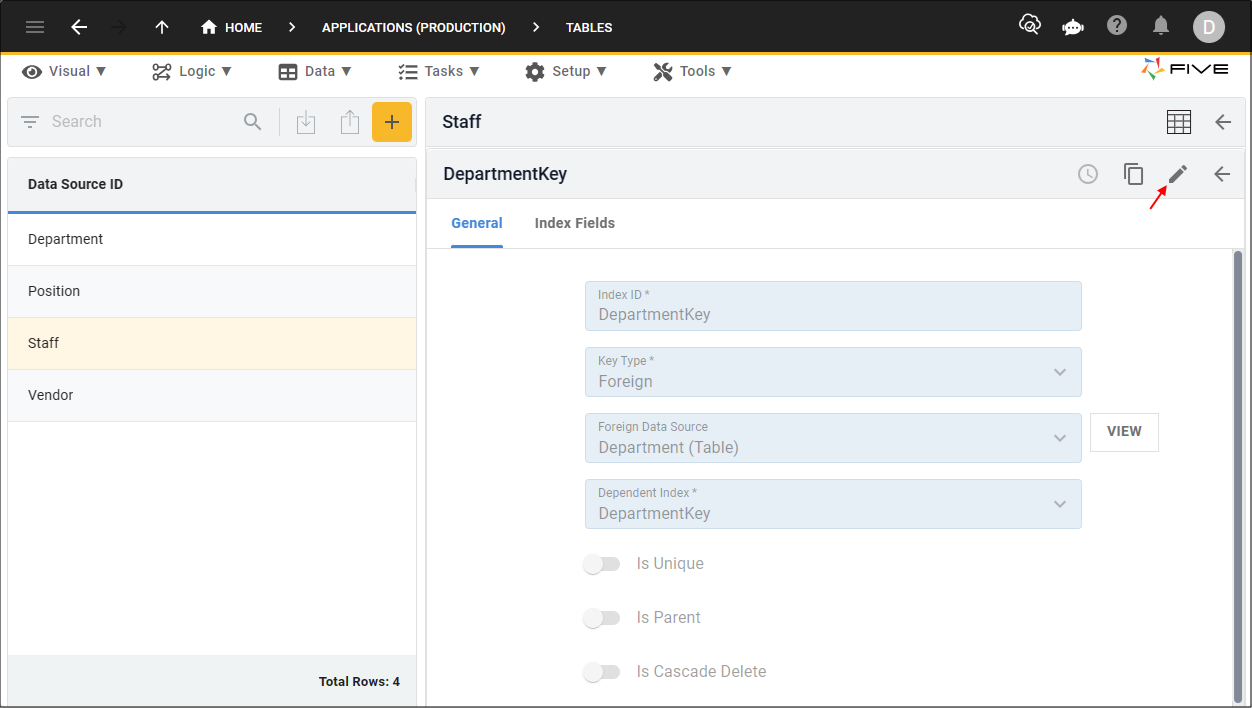
Figure 18 - Edit button
5. Make your changes.
6. Click the Save button in the form app bar.
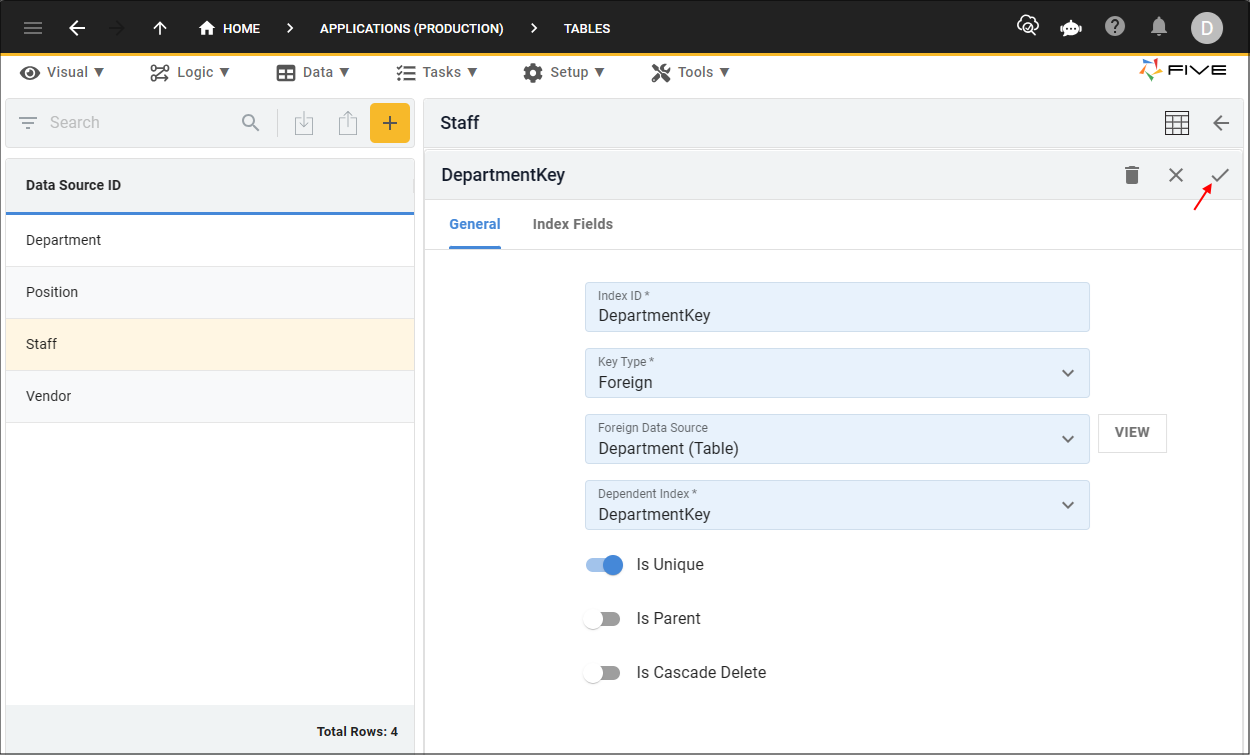
Figure 19 - Save button
7. Click the Save button in the form app bar above the list.
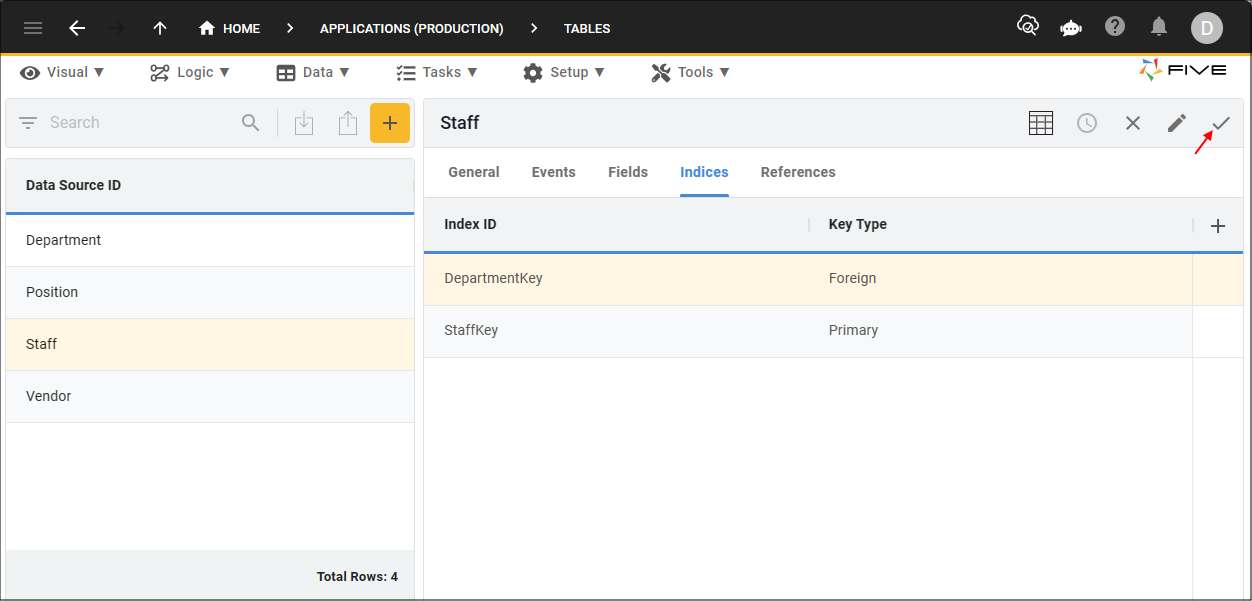
Figure 20 - Save button
Delete an Index Record
1. Select the table record in the list.2. Click the Indices tab.
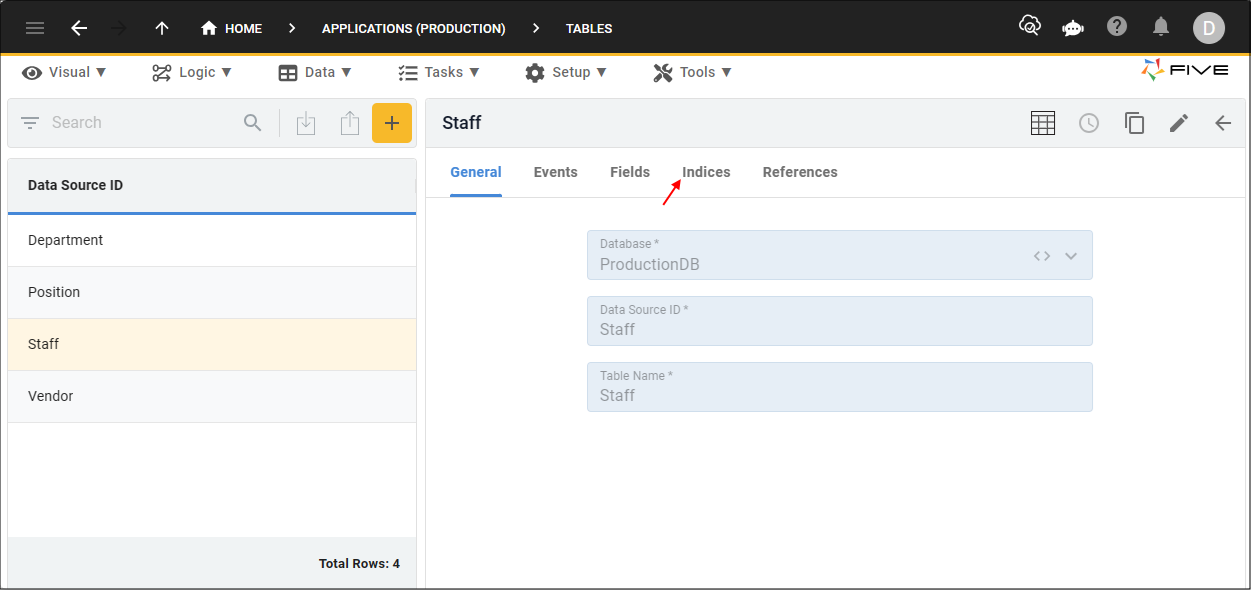
Figure 21 - Indices tab
3. Select the index record in the list.
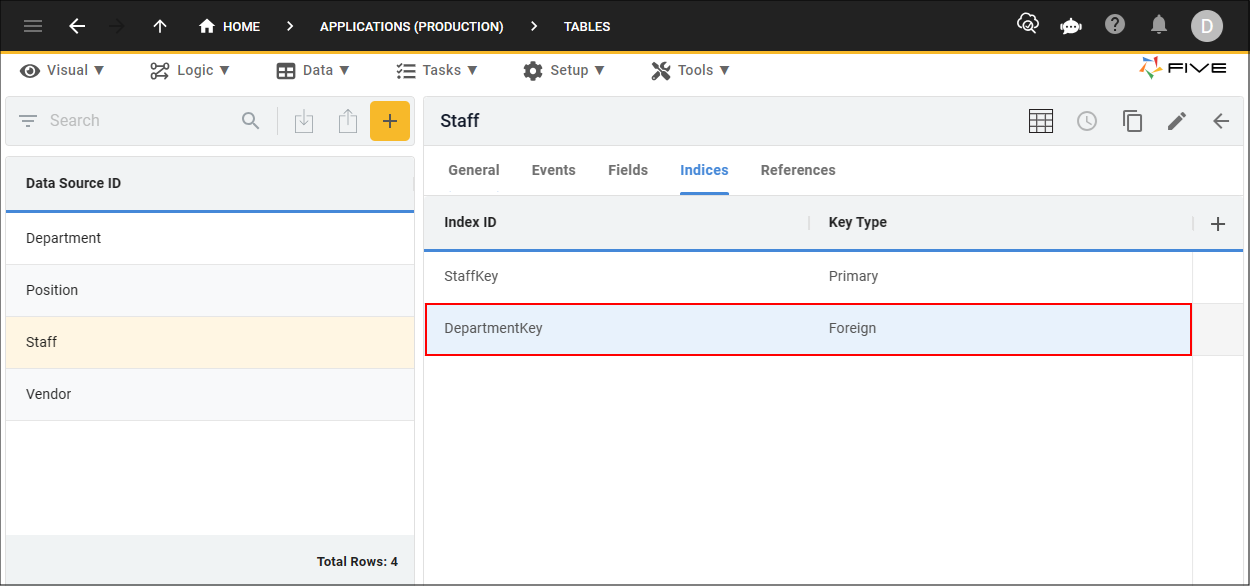
Figure 22 - Index record
4. Click the Edit button in the form app bar.
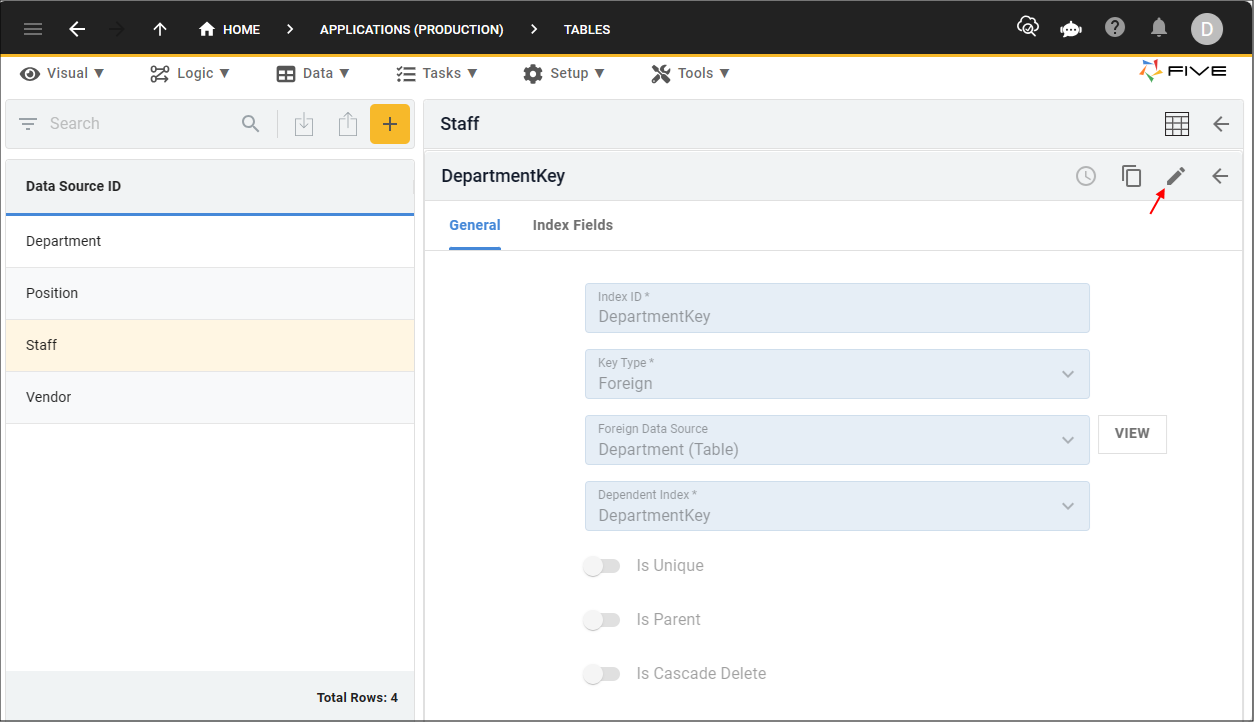
Figure 23 - Edit button
5. Click the Delete button in the form app bar.
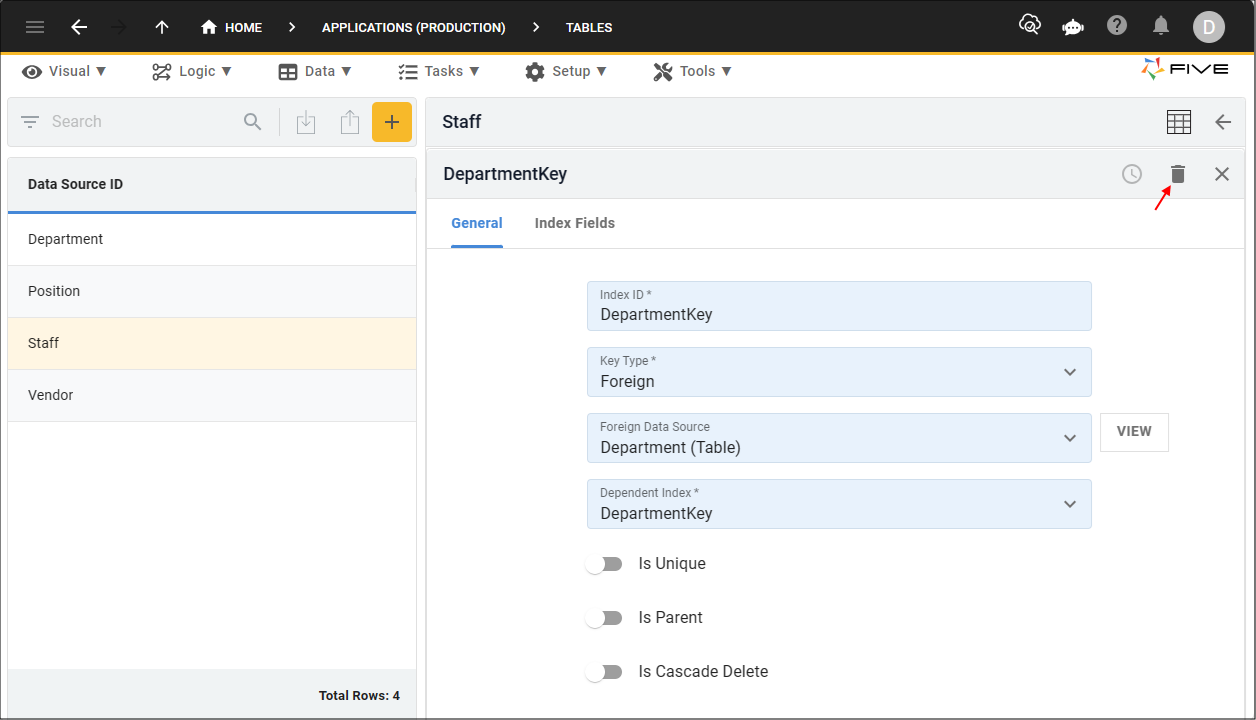
Figure 24 - Delete button
6. Click the Save button in the form app bar above the list.
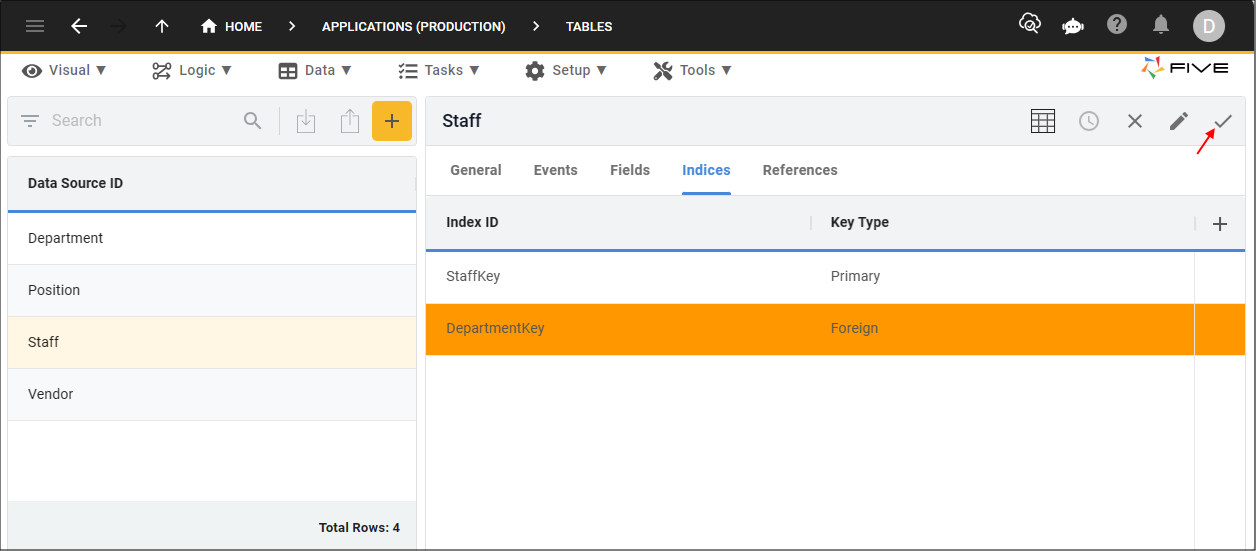
Figure 25 - Save button
Table Events
Five has a number of table events that you can attach your code and add functionality. Please refer to the API documentation to have each event's description.Add an Event
info
You will need to save your functions in one of Five's Code Editors for them to be available in the event lookup lists.
1. Select the table record in the list.
2. Click the Events tab.
Figure 26 - Events tab
3. Either click the Edit button in the form app bar, or click directly in a field.
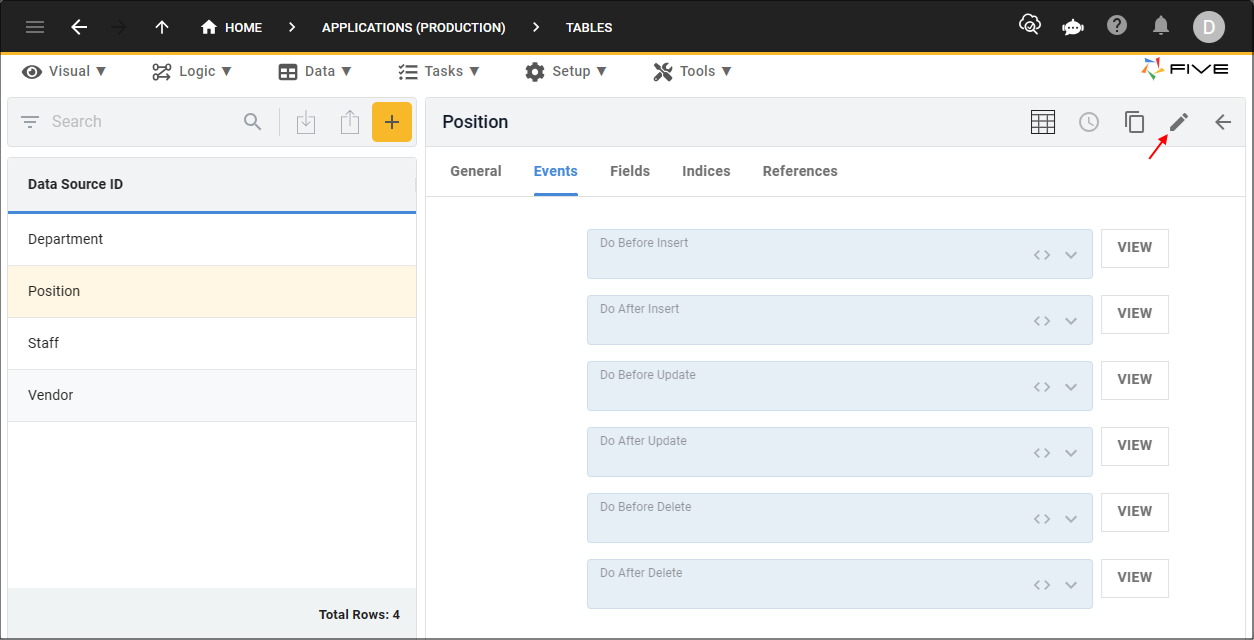
Figure 27 - Edit button
4. Click the lookup icon in the required event field and select the function.

Figure 28 - Add an event
5. Click the Save button in the form app bar.
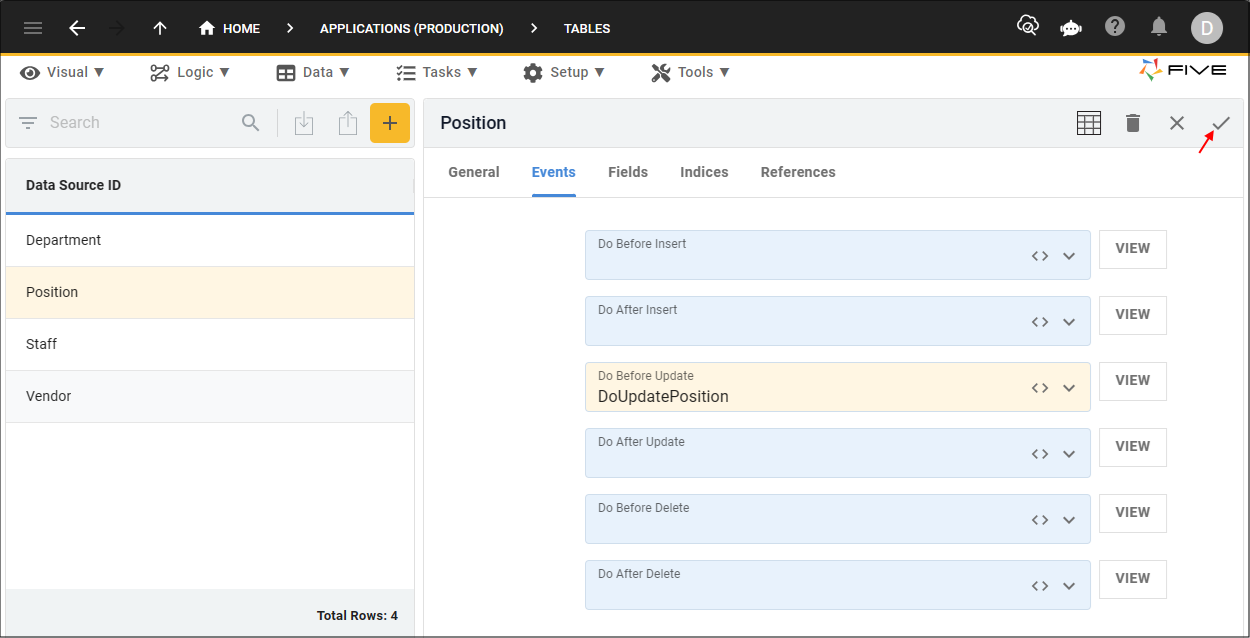
Figure 29 - Save button
Delete an Event
1. Select the table record in the list.2. Click the Events tab.
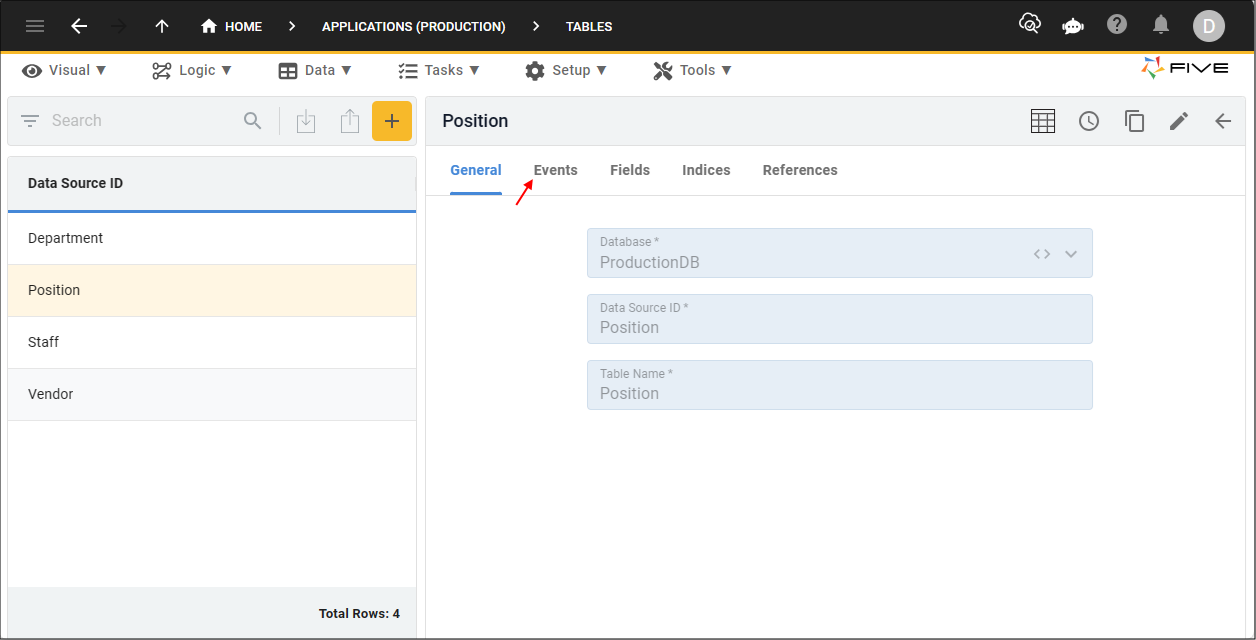
Figure 30 - Events tab
3. Either click the Edit button in the form app bar, or click directly in an event field.
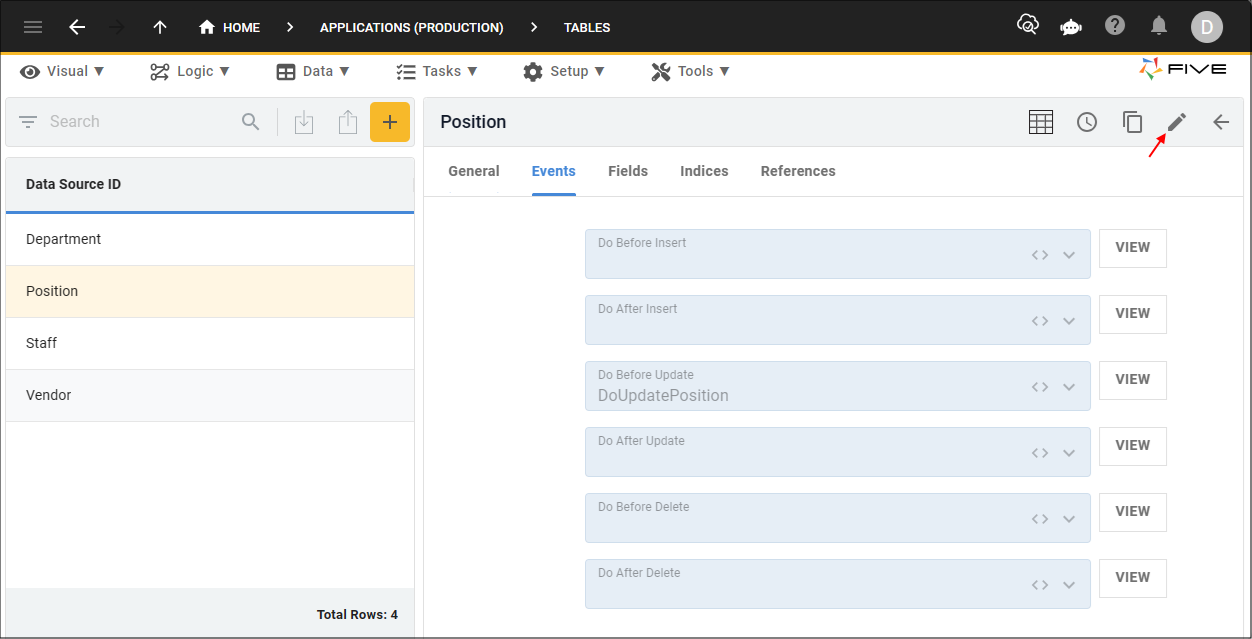
Figure 31 - Edit button
4. Click the Cancel button in the required event field.
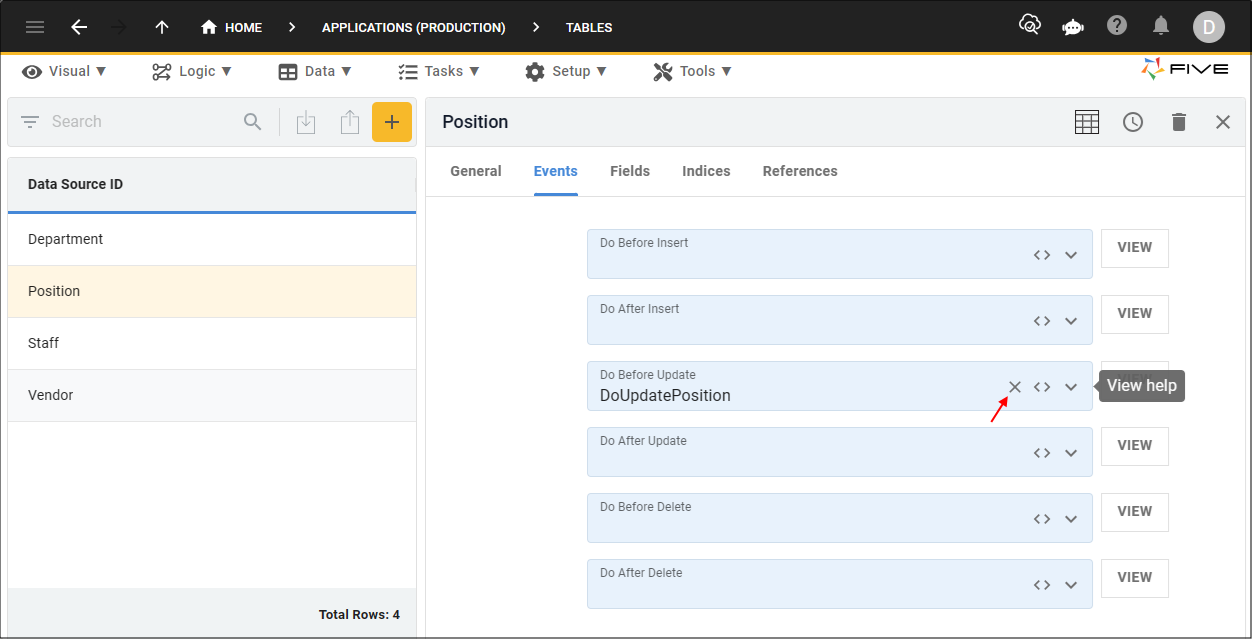
Figure 32 - Cancel button
5. Click the Save button in the form app bar.
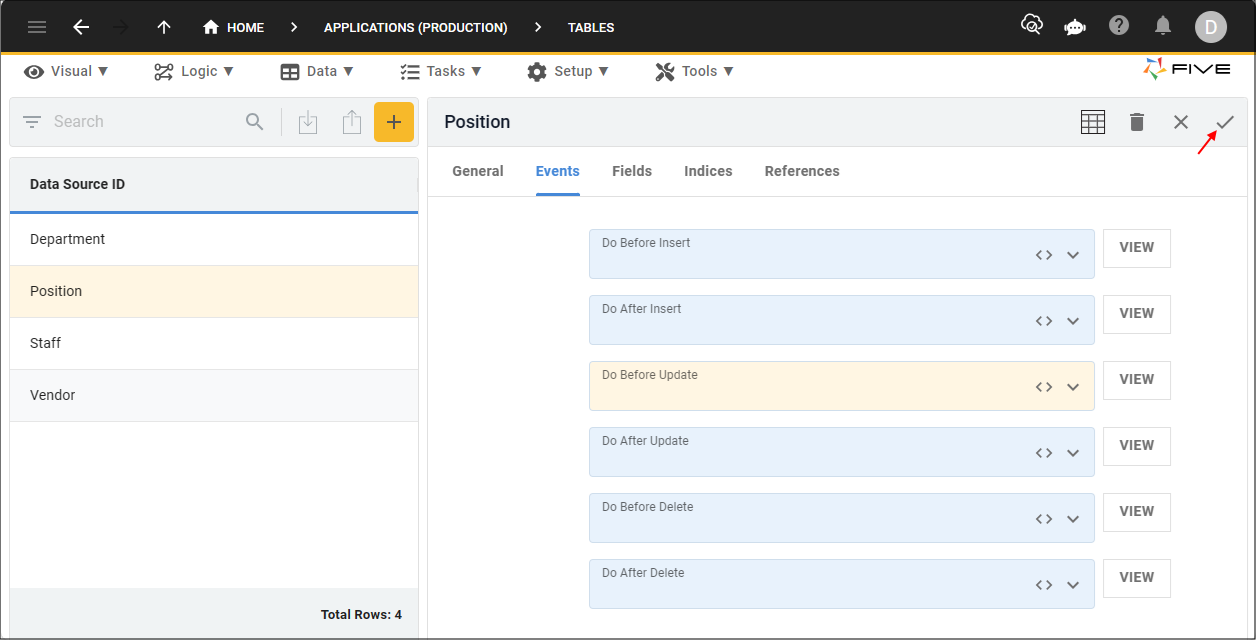
Figure 33 - Save button
Create Table
caution
The Create Table button will remove all the data in the table, effectively resetting the table. It is strongly recommended to backup your data by exporting it into a CSV file, before using the Create Table button.
1. Select the table record in the list.
2. Click the Create Table button in the form app bar.

Figure 34 - Create Table button
3. Click the OK button.
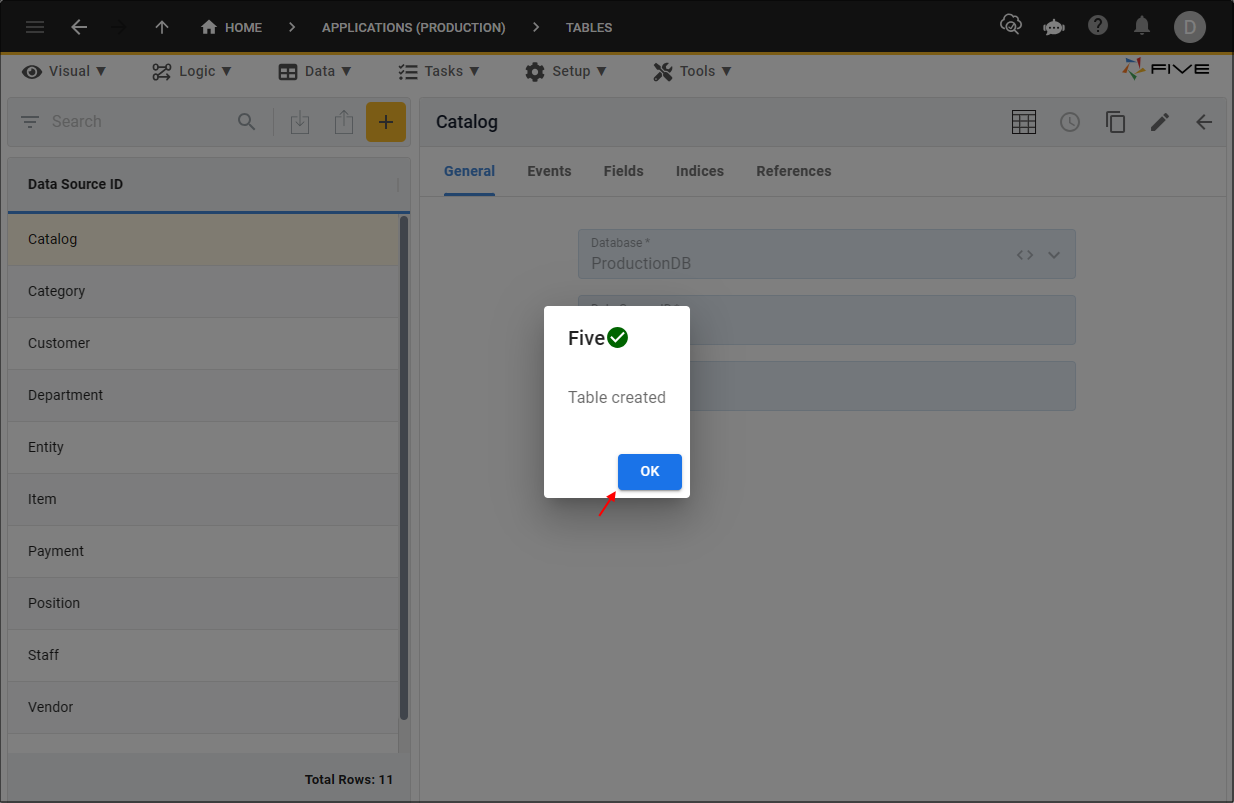
Figure 35 - OK button