Resources
Last updated 19/05/2022
Resources in Five
Resources allow you to upload a resource into Five. This resource will then be available to use in your email templates.
At the time of this documentation Resources only supports images.
Uploading Resources
Prerequisite
The Role of Developer or Control is required to upload resources into Five.
Steps
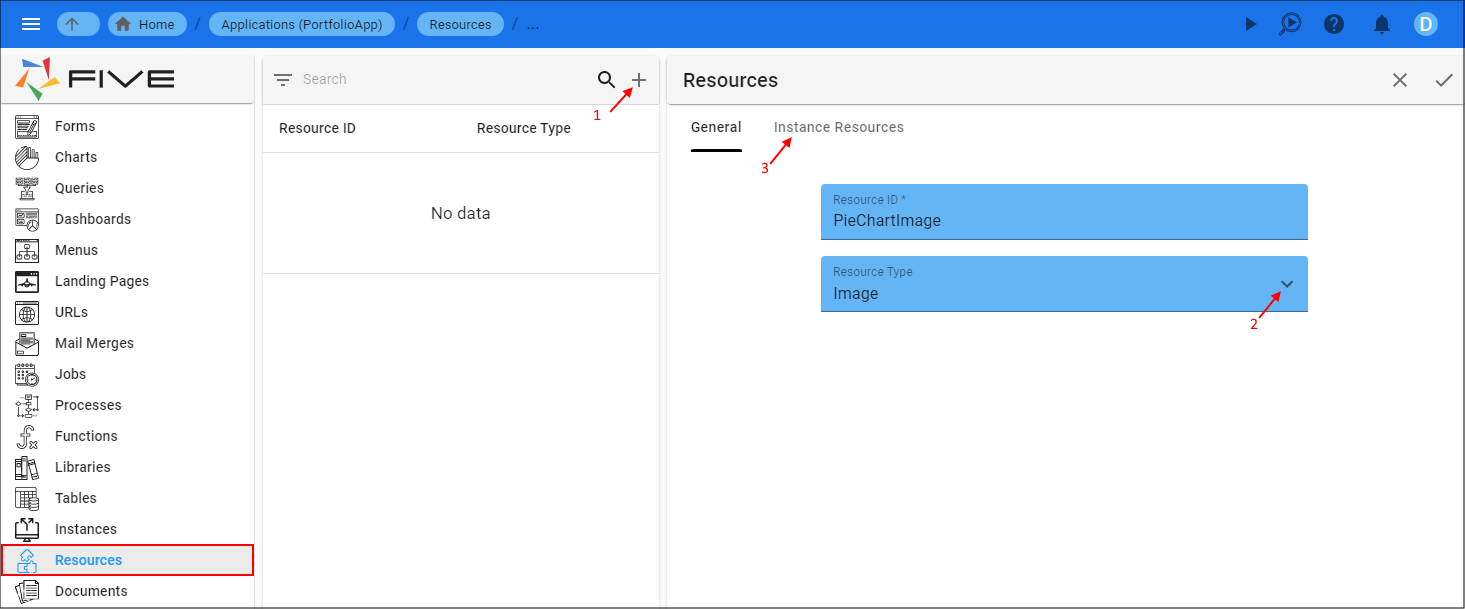
Select Resources in the menu.
Click the Add Item button in the list app bar.
Type an ID for the resource in the Resource ID field.
Click the lookup icon in the Resource Type field and select Image.
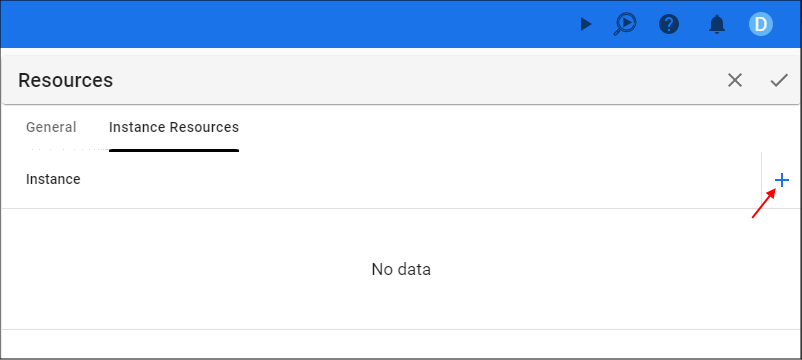
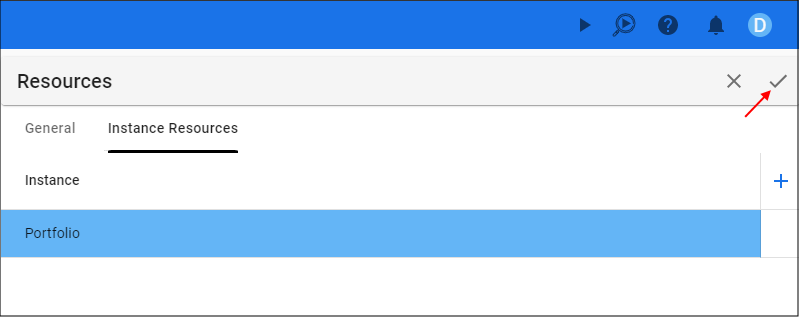
Click the Instance Resources tab.
- Click the Add Instance Resources button.
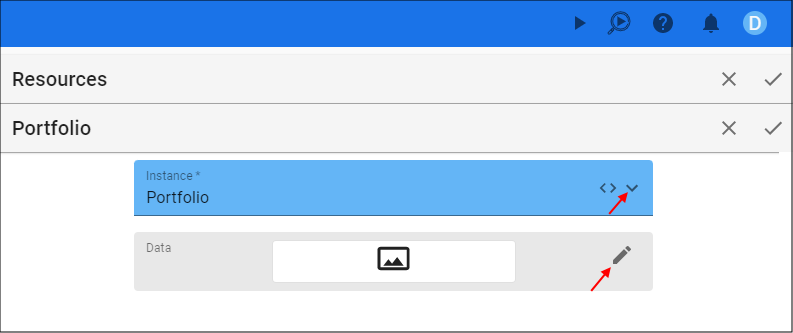
- Click the lookup icon in the Instance field and select the instance record required.
info
If you only have one instance for your application, Five will prepopulate the field with the instance name.
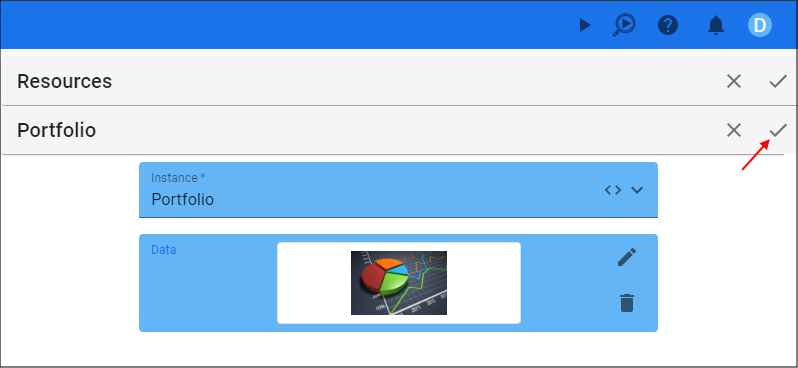
- Click the Edit button in the Data field and navigate your files to select the image file.
- Click the Save button in the form app bar.
- Click the Save button in the form app bar above the list.
How to Access the Resource
The resource can be attached to your email templates and will be available in several locations in Five:
- The Invite Email on the Instances form.
- The Password Reset Email on the Instances form.
- Mail Merges when creating an email.
Attach a Resource to the Invite Email
Prerequisite
The role of Administrator or Control is required to attach resources to an Invite Email template for an instance.
Steps
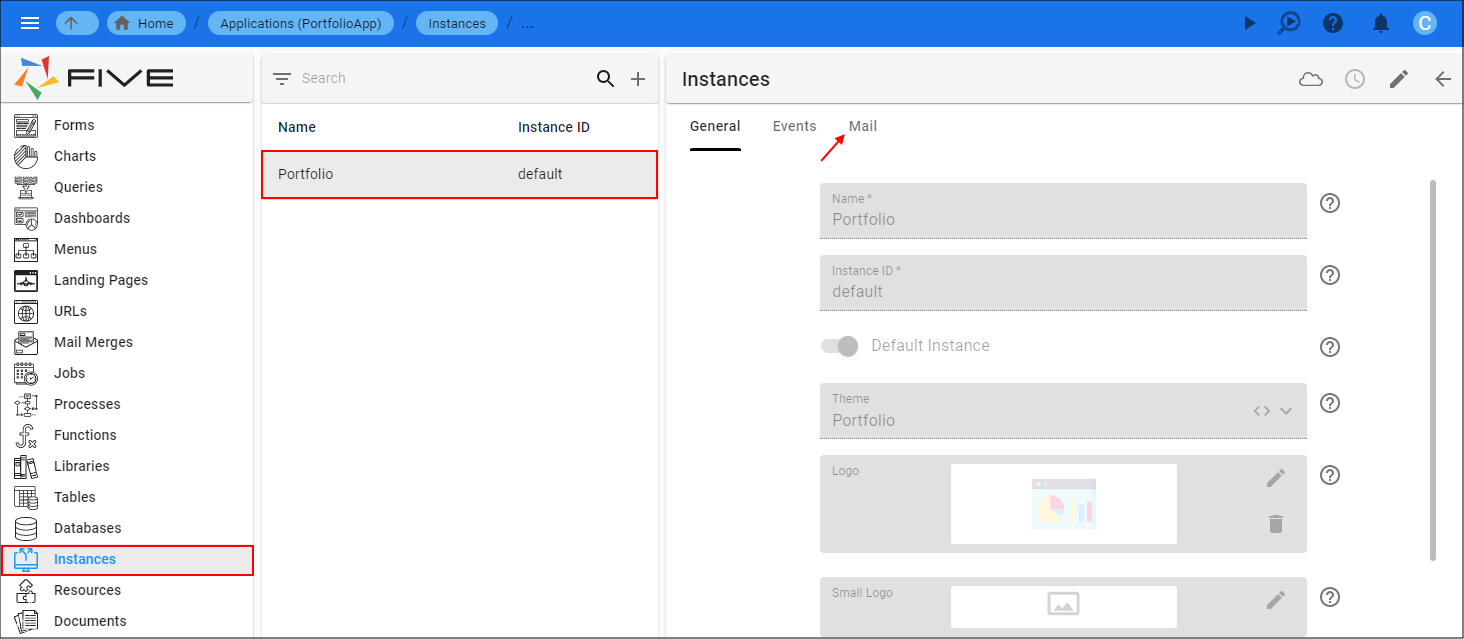
Select Instances in the menu.
Select the required Instance record in the list.
Click the Mail tab.
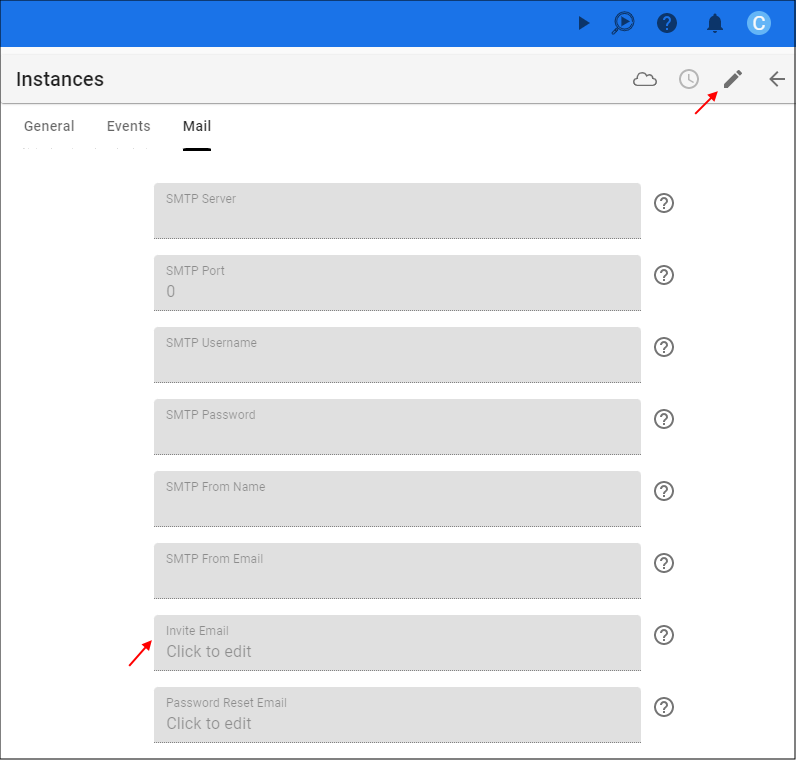
- Either click the Edit button in the form app bar, or, click directly in the Invite Email field.
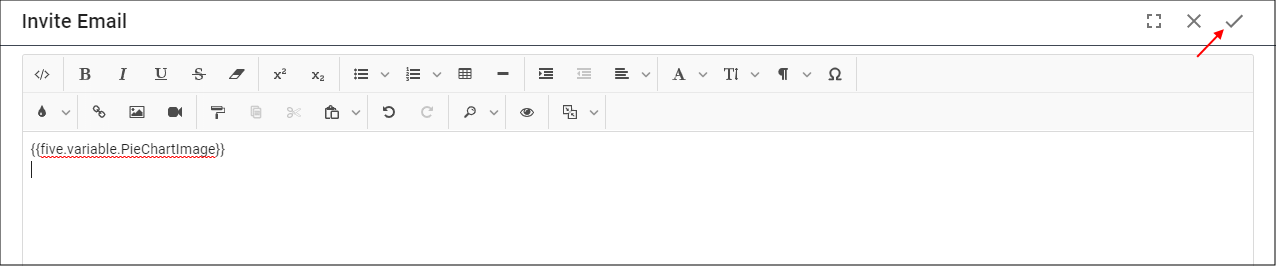
Click the Tag's button lookup icon the editor's ribbon.
Select the Resource ID.
info
Five will embed your resource using the five.variable.[Resource ID] property.
Type and design your Invite Email template.
Click the Save button in the editor app bar.
- Click the Save button in the form app bar.
info
This resource will now be displayed in all Invite emails that are sent.
Attach a Resource to the Password Reset Email
Prerequisite
The role of Administrator or Control is required to attach resources to a Password Reset Email template for an instance.
Steps
Select Instances in the menu.
Select the required Instance record in the list.
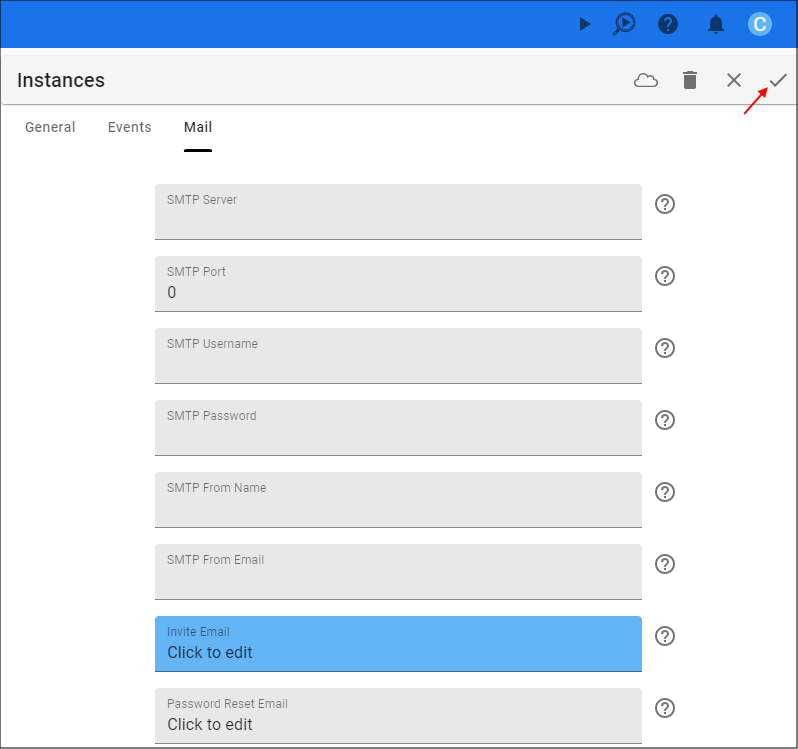
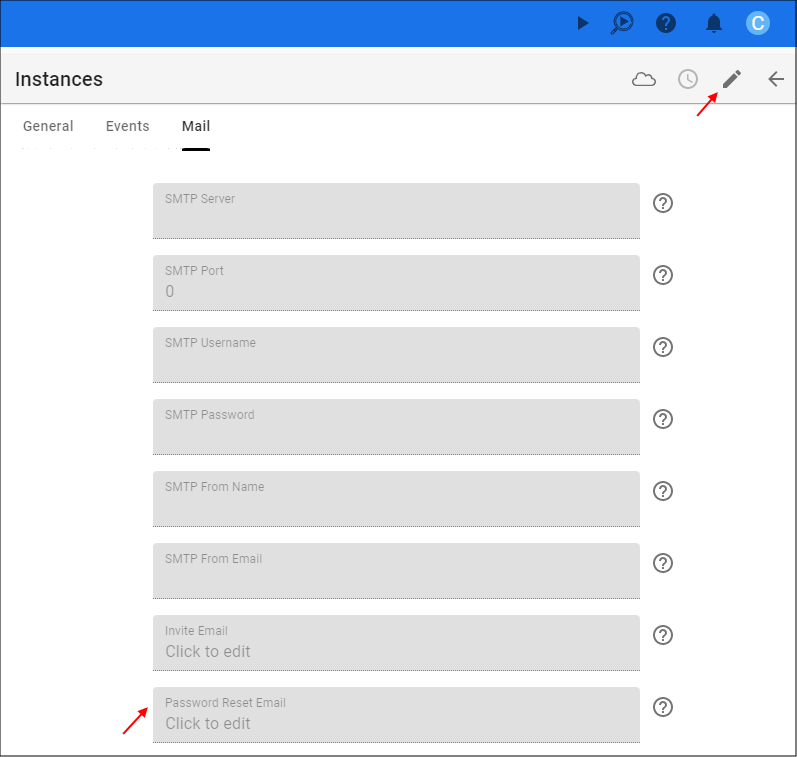
Click the Mail tab.
- Either click the Edit button in the form app bar, or, click directly in the Password Reset Email field.
Click the Tag's button lookup icon the editor's ribbon.
Select the Resource ID.
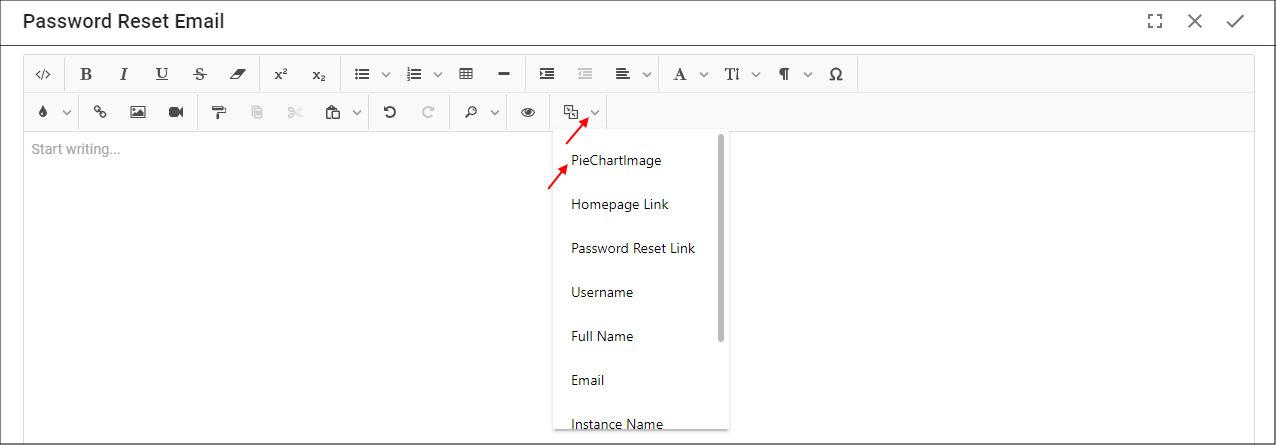
info
Five will embed your resource using the five.variable.[Resource ID] property.
Type and design your Password Reset Email template.
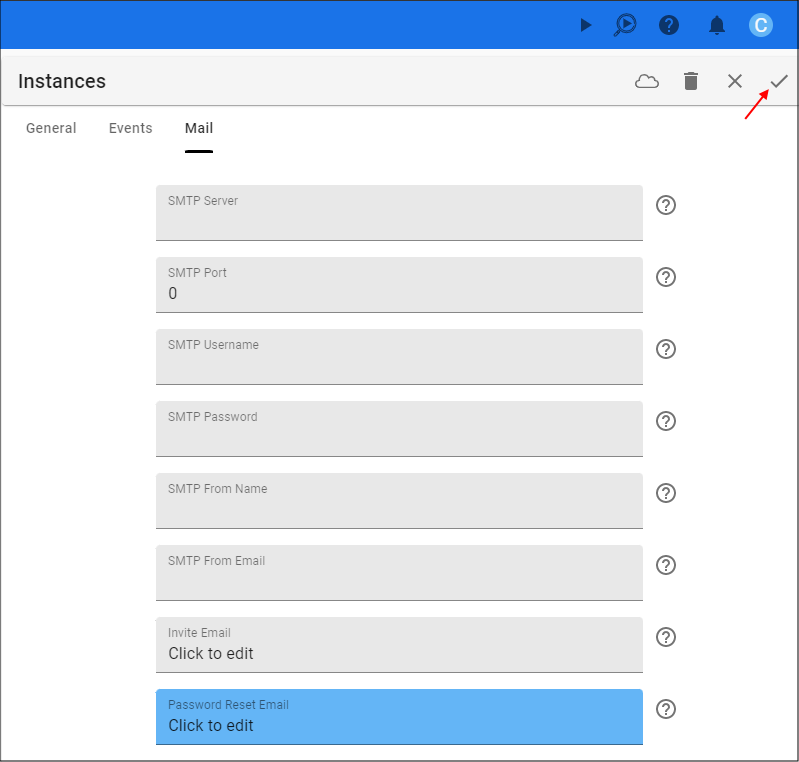
Click the Save button in the editor app bar.

- Click the Save button in the form app bar.
info
This resource will now be displayed in all Password Reset emails that are sent.
Attach a Resource to a Mail Merge
Prerequisites
- The role of Developer or Control is required to attach resources to a Mail Merge template.
- A query for your email will need to be written in the Queries view.
Steps
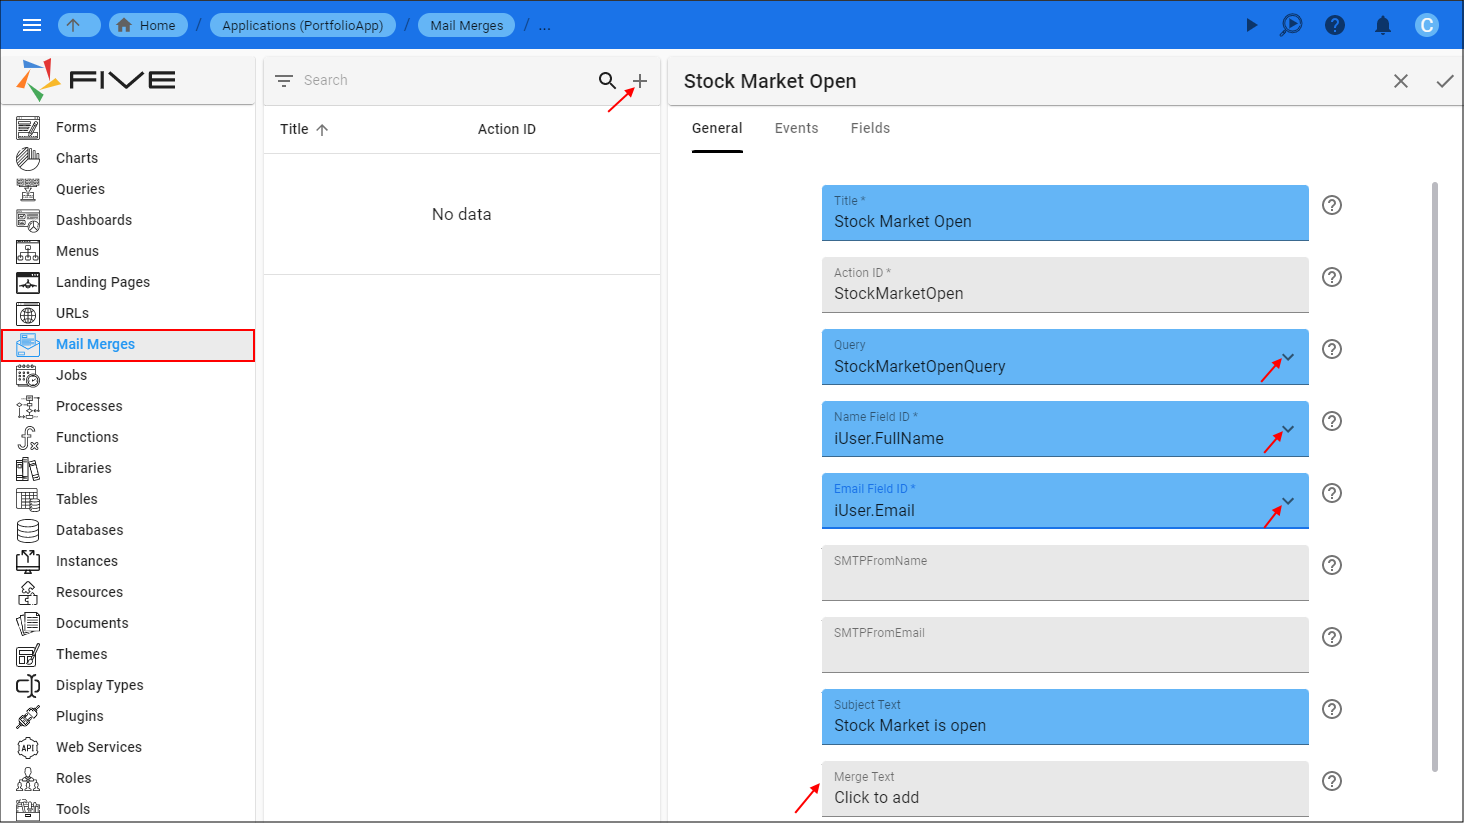
Select Mail Merges in the menu.
Click the Add Item button in the list app bar.
Click the lookup icon in the Query field and select the required query.
Click the lookup icon in the Name Field ID field and select the name field required.
Click the lookup icon in the Email Field ID field and select the email field required.
Type a subject line in the Subject Text field.
Click in the Merge Text field.
Click the Tag's button lookup icon in the editor's ribbon.
Select the Resource ID.
info
Five will embed your resource using the five.variable.[Resource ID] property.
Type and design your Mail Merge template.
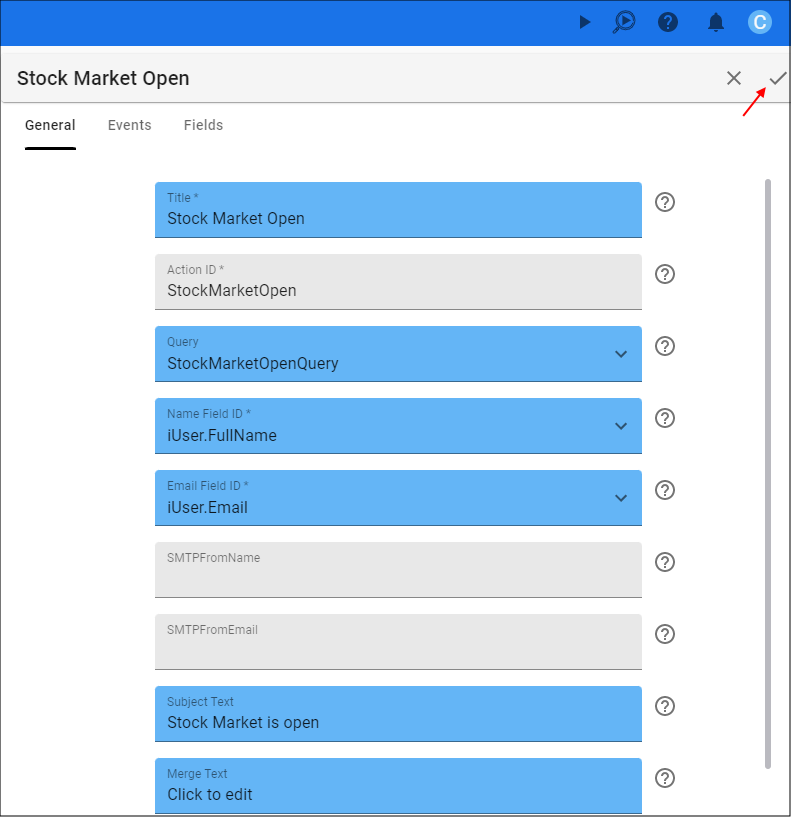
Click the Save button in the editor app bar.

- Click the Save button in the form app bar.
info
This resource will now be displayed in all emails that are sent.