Create Parent Table Relationships
Last updated 21/02/2023
How to Create Parent Table Relationships with Five's Table Wizard
Learn how to create a parent table relationship with Five's Table Wizard. This is the third tutorial in a series of four videos.Create a Parent Relationship
1. Click the New Table Wizard button.2. Type a name in the Name field.
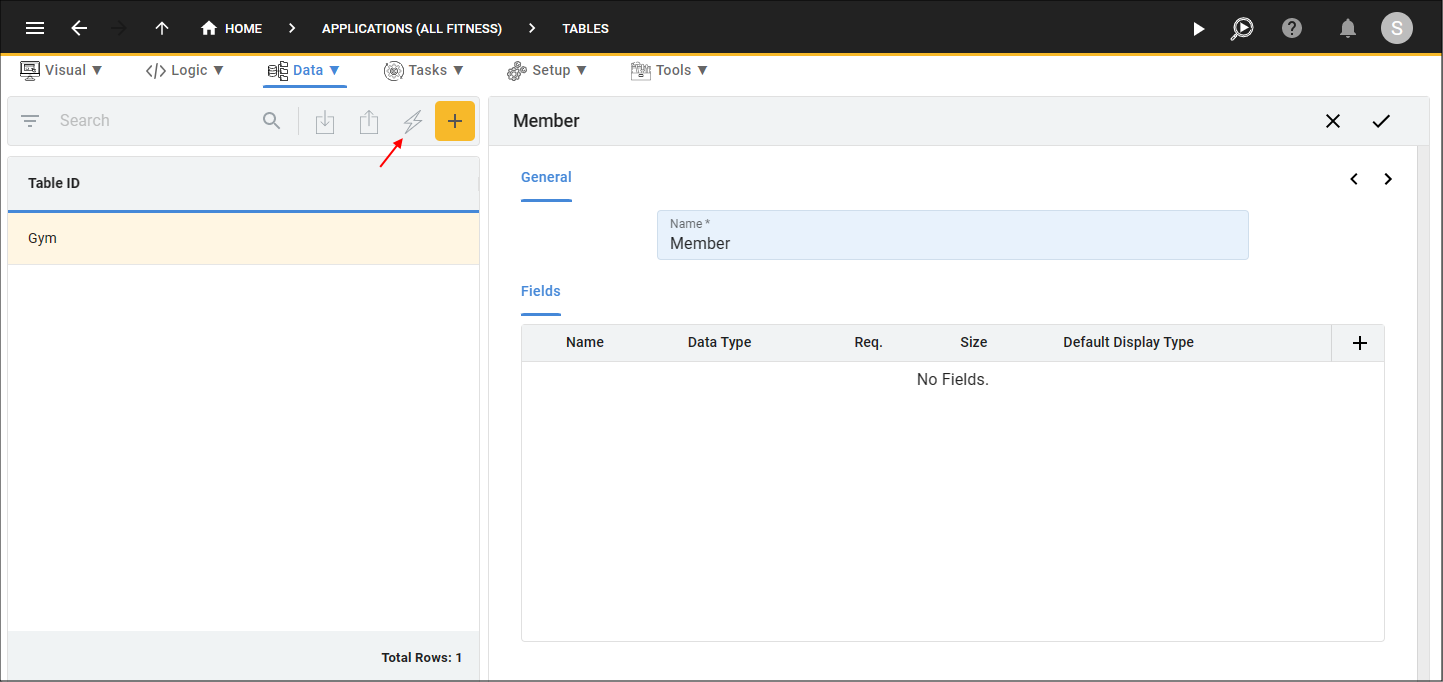
Figure 1 - Add a table
3. Add field/s to your table.
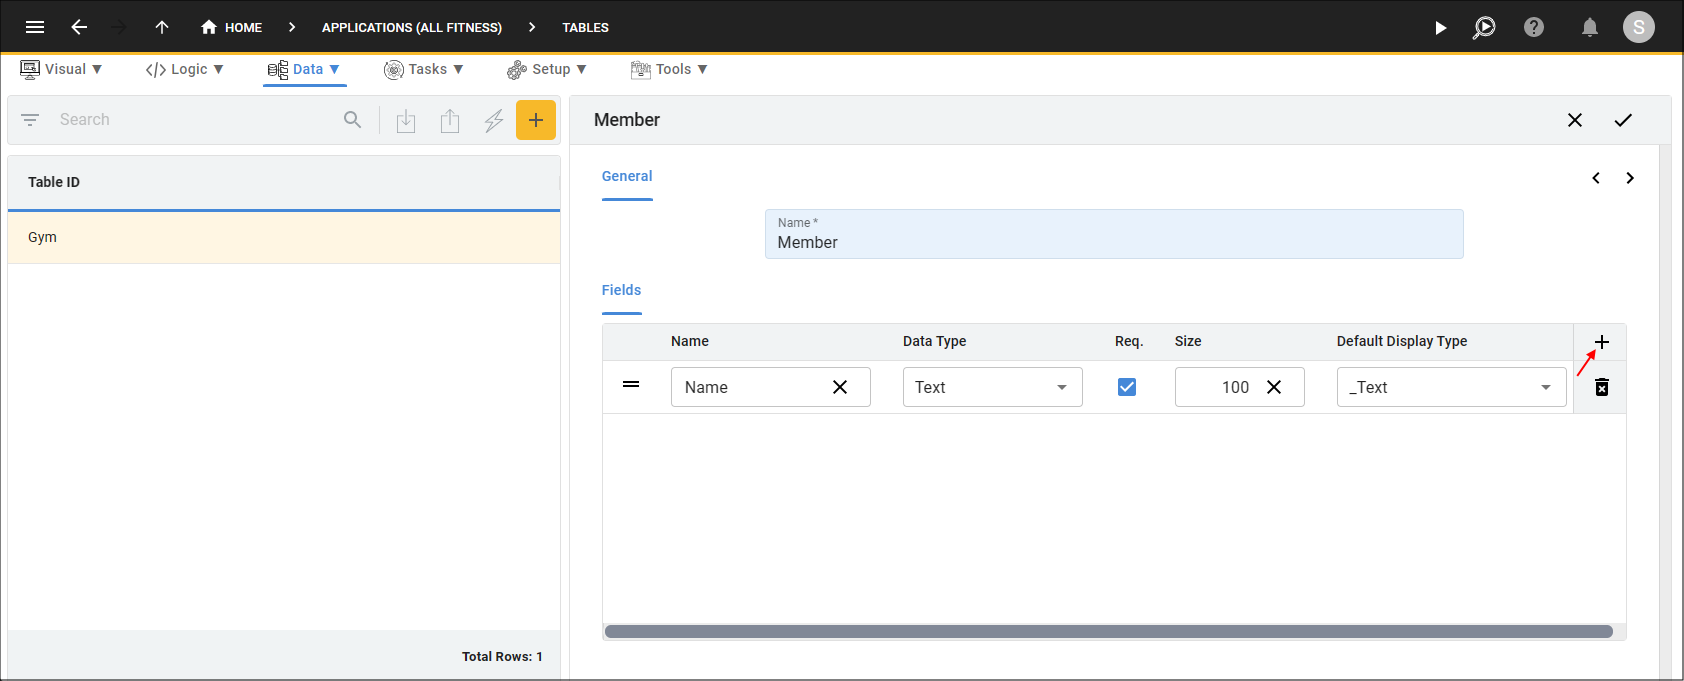
Figure 2 - Add field/s
4. Click the Next button.
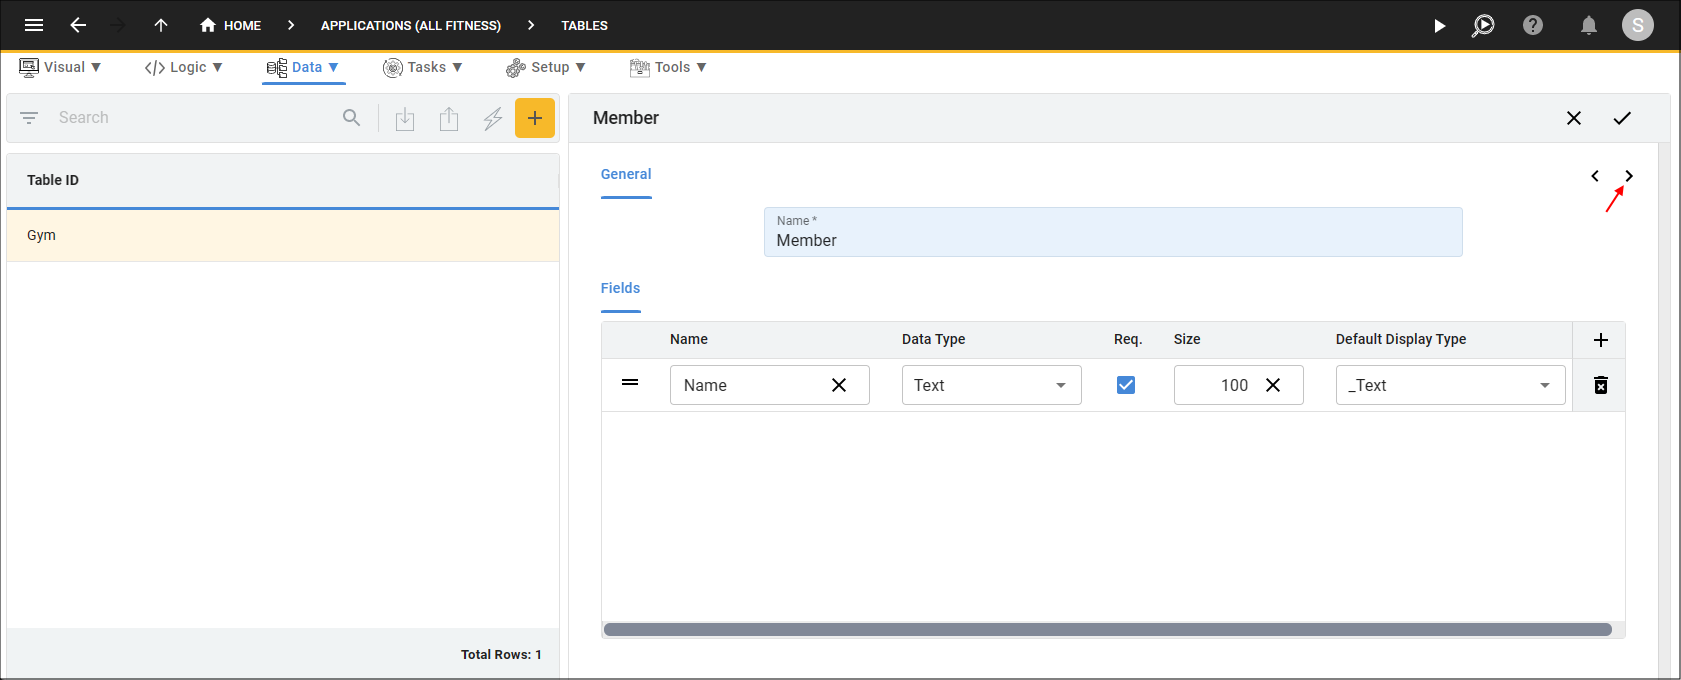
Figure 3 - Next button
5. Click the Add Relationships button.

Figure 4 - Add Relationships button
6. Click the lookup icon in the Table field and select a table.
7. Optionally, click the Required checkbox.
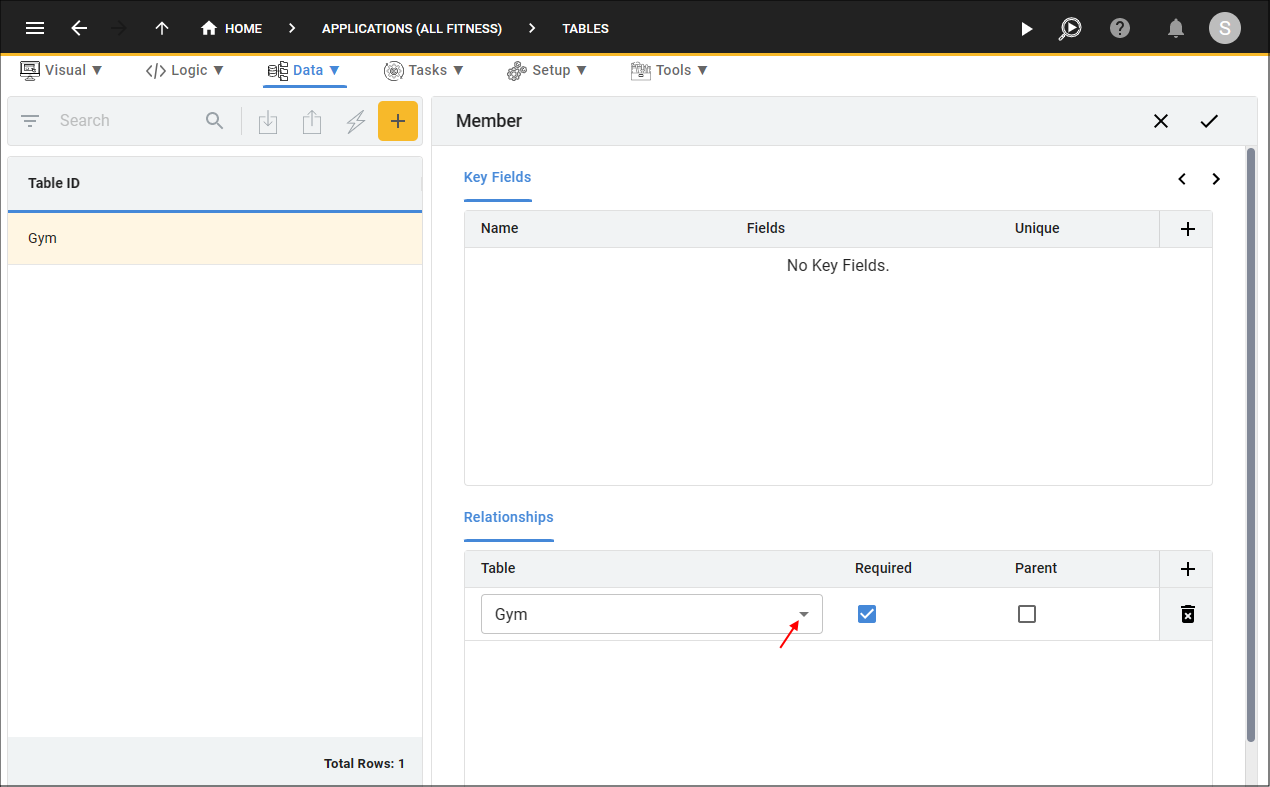
Figure 5 - Select a table
8. Click the Parent checkbox.
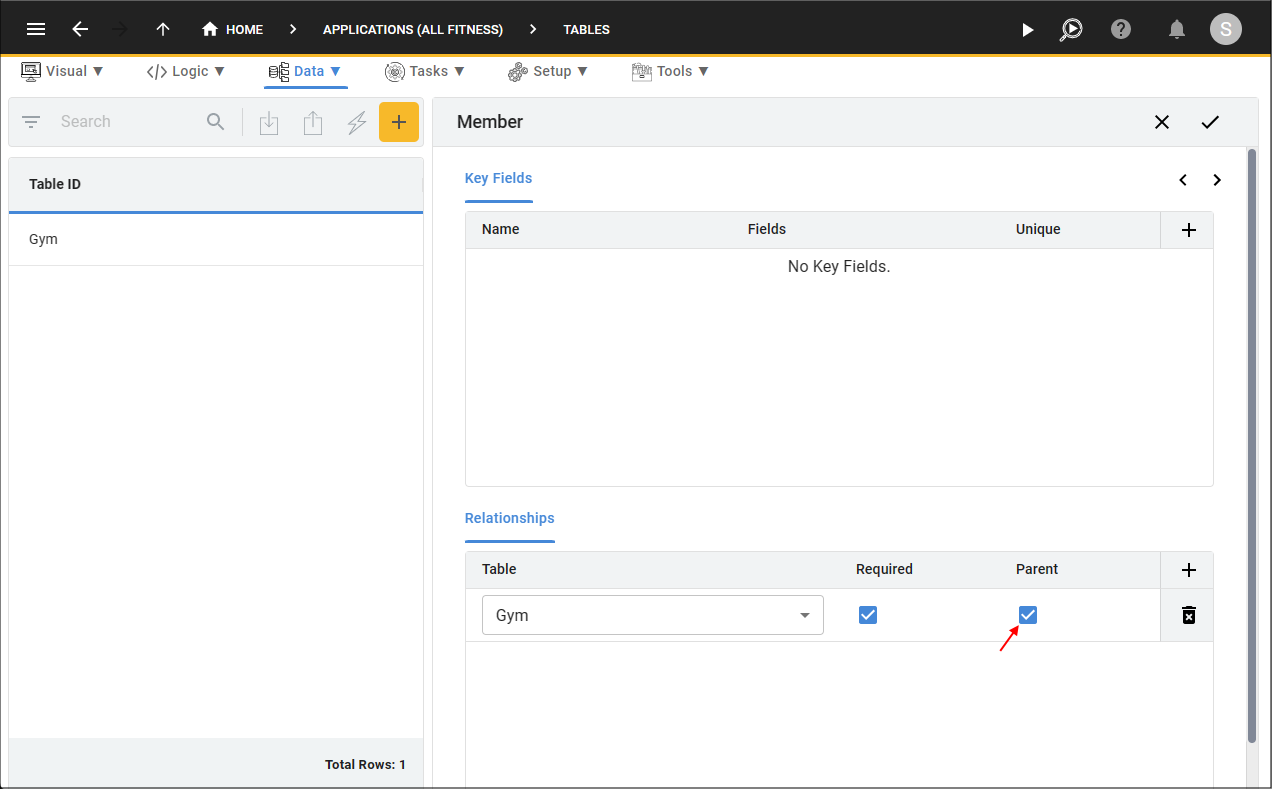
Figure 6 - Parent checkbox
9. Click the Save button.
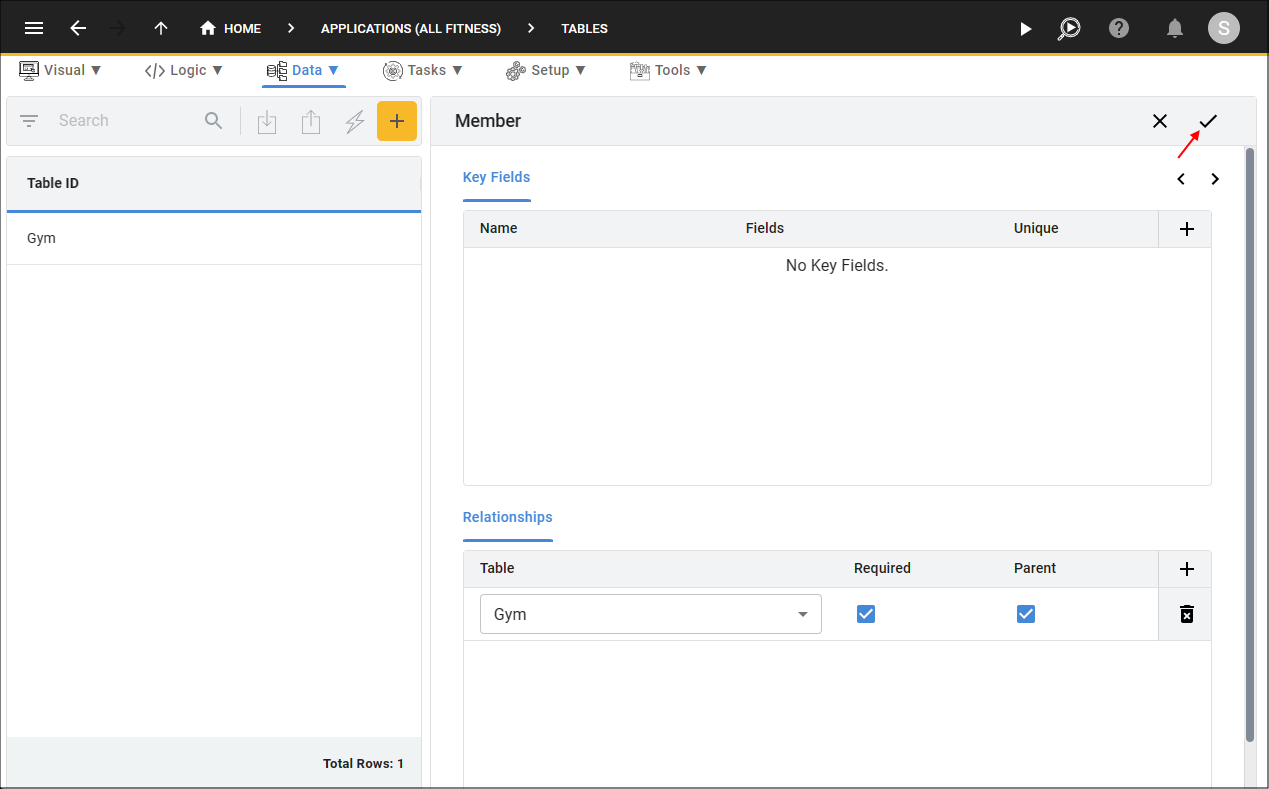
Figure 7 - Save button
info
For the example above, another table needs to be created that has a relationship with the Member table. With the Gym table as the parent of the Member table, the Members field on a form will have its members grouped by the Gym that the members belong to.
10. Click the New Table Wizard button.
11. Type a name in the Name field.
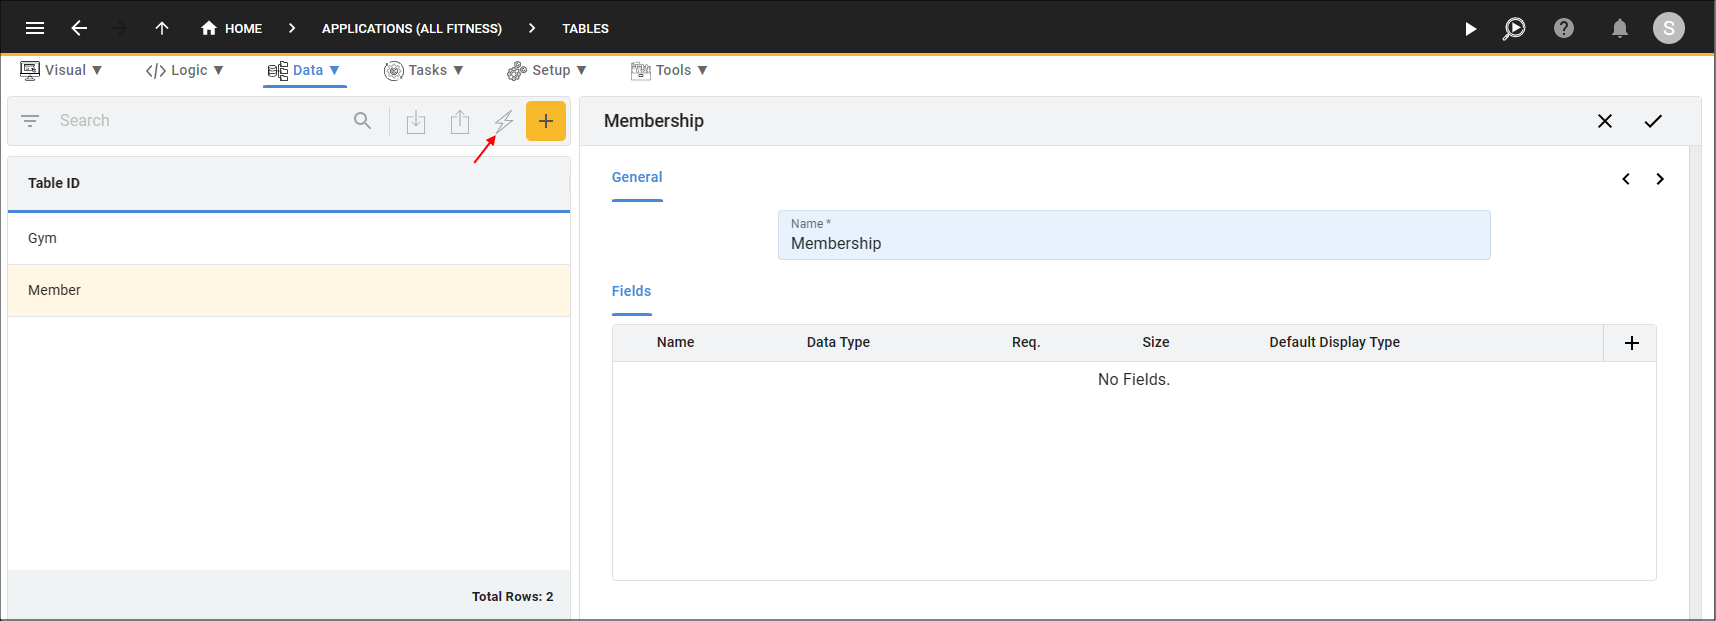
Figure 8 - Add a table
12. Add field/s to your table.
13. Click the Next button.
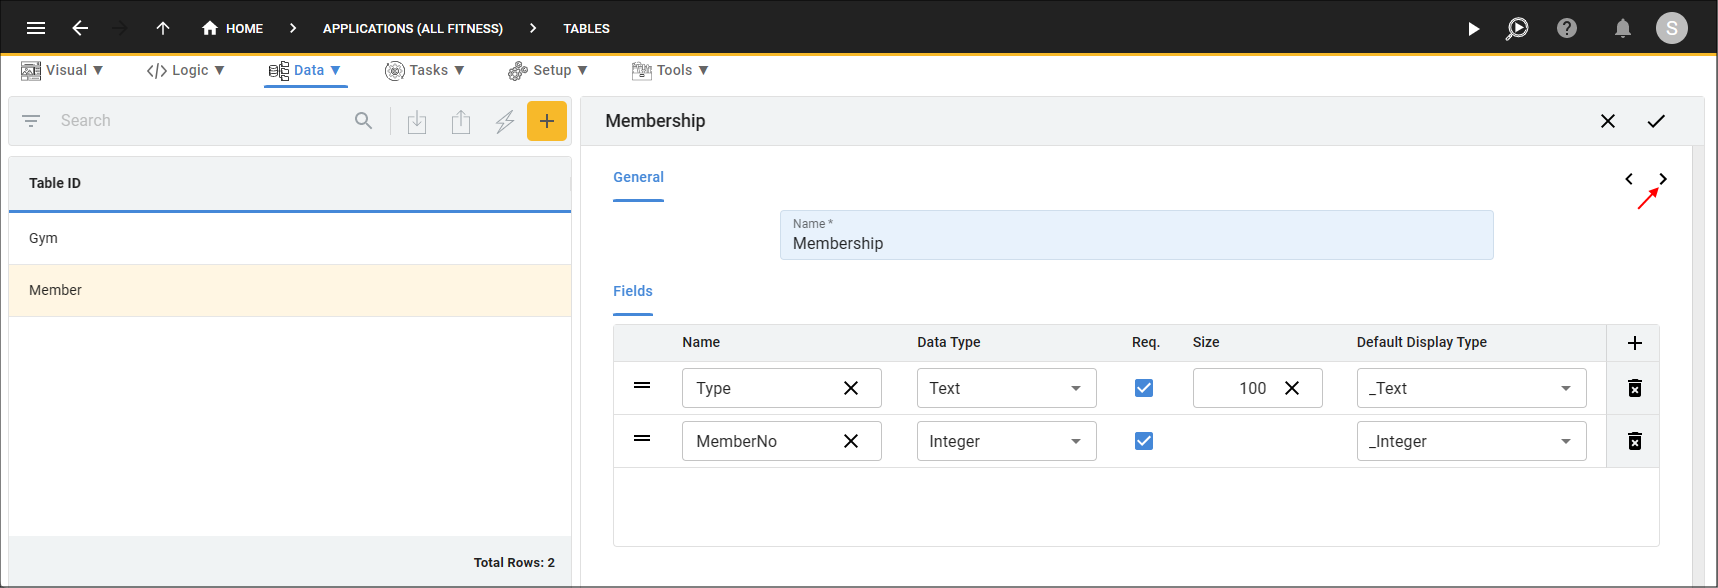
Figure 9 - Next button
14. Click the Add Relationships button.
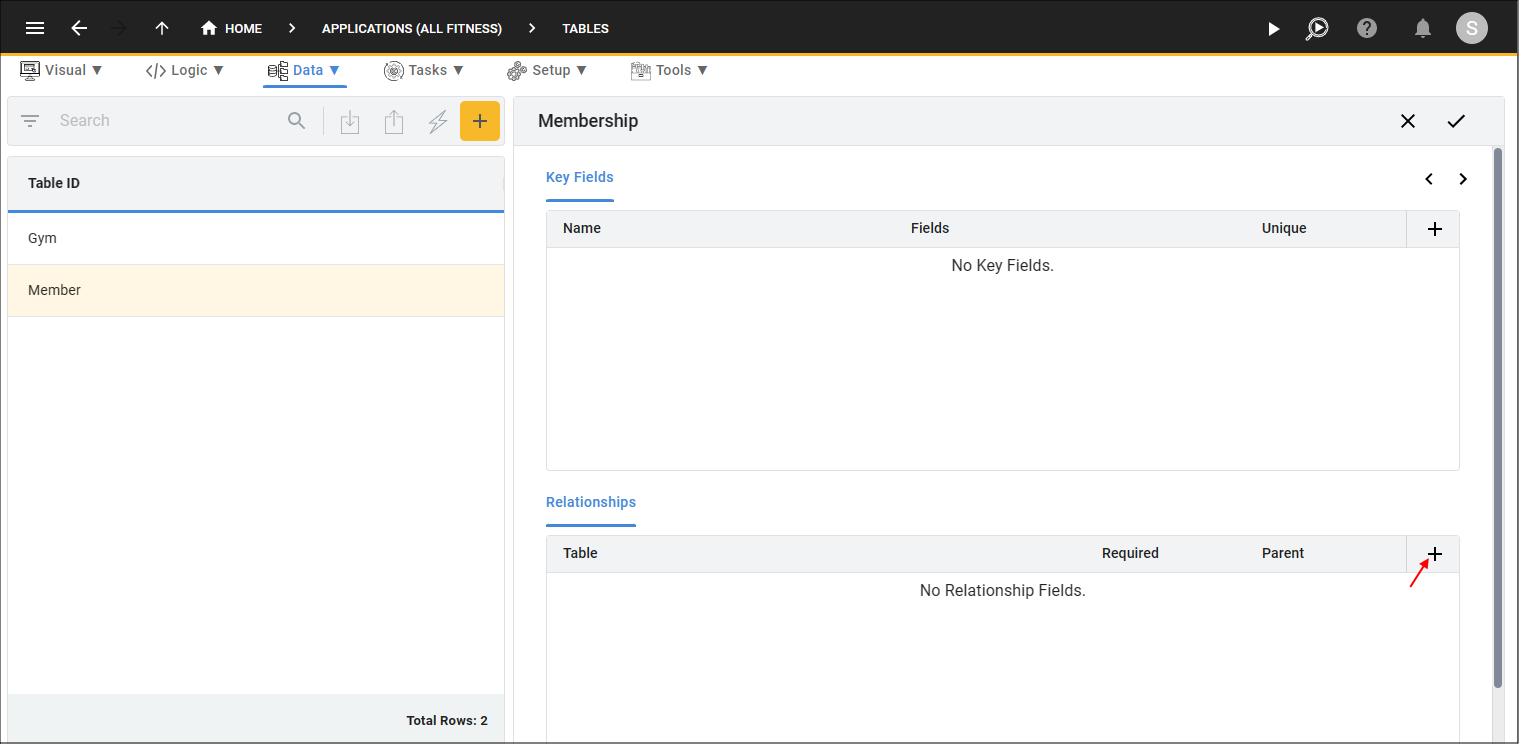
Figure 10 - Add Relationships button
15. Click the lookup icon in the Table field and select the child table. For this example, the Member table.

Figure 11 - Select the child table
16. Click the Save button.
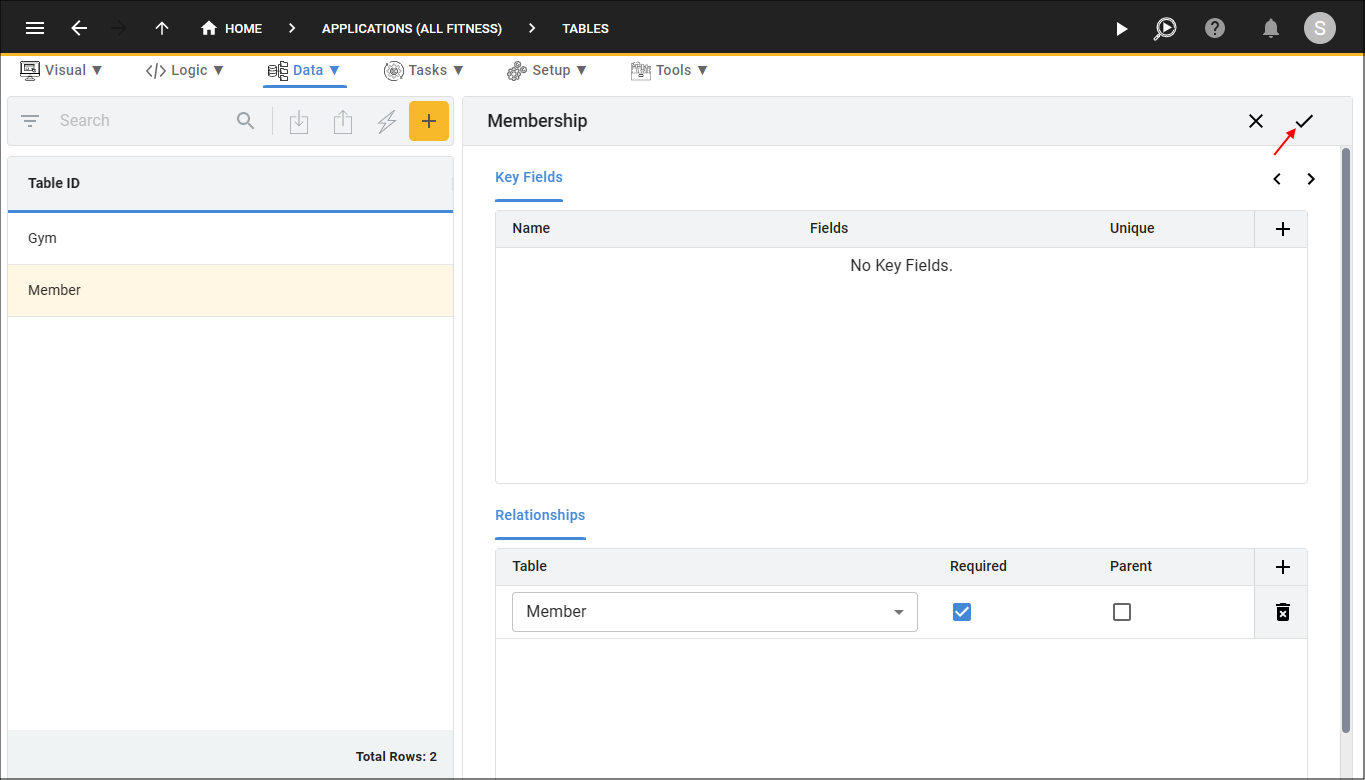
Figure 12 - Save button
info
All members are listed, however, now they are grouped by the gym they belong to as shown in the image below as the Gym table was set to be the parent table for the Member table.
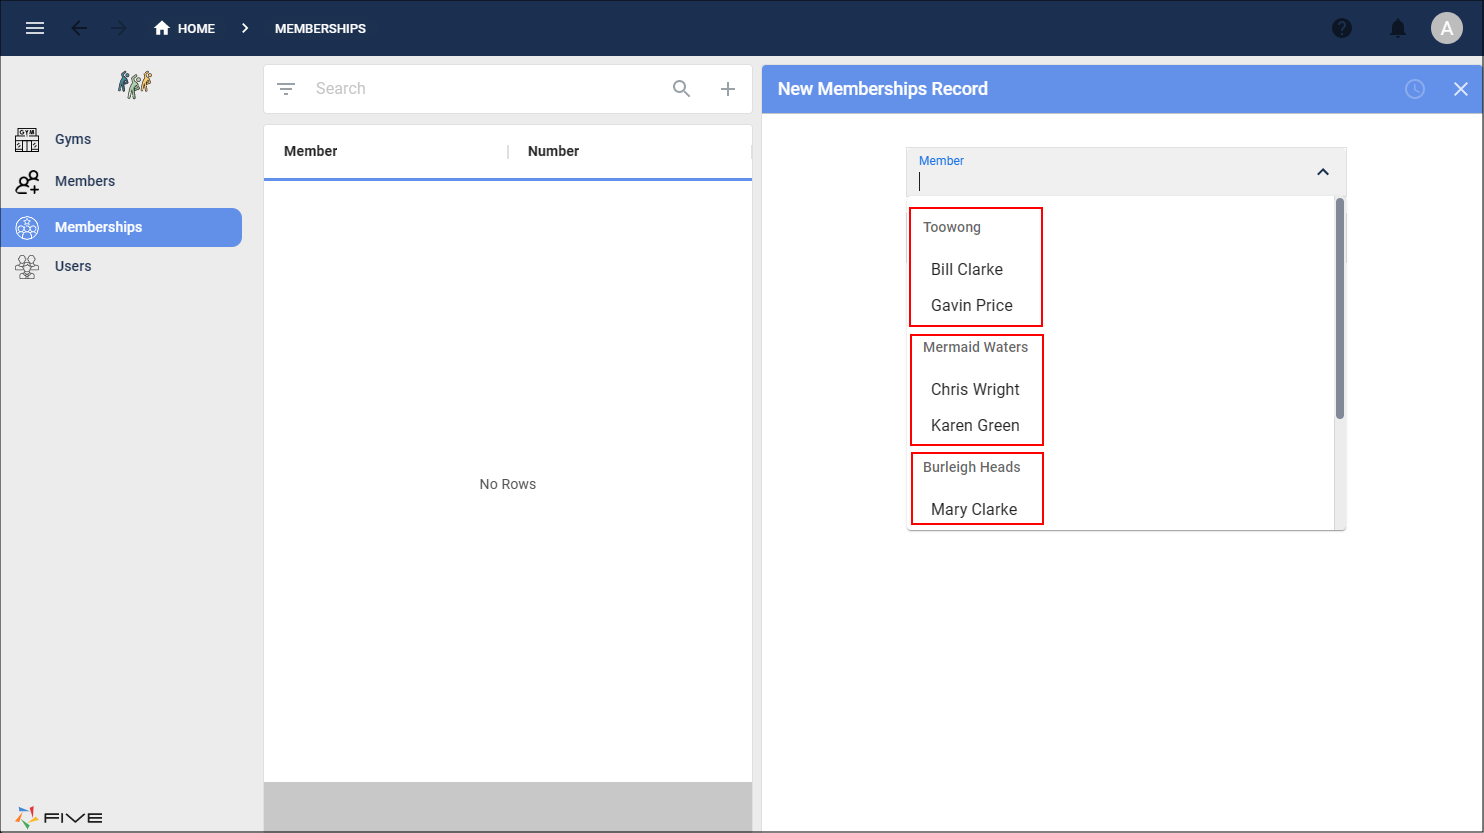
Figure 13 - Grouped by the parent